
9 Little Renovations That Can Transform Your RV
When we set out to decide on which RV would fit our family best, we had to consider a lot of things.
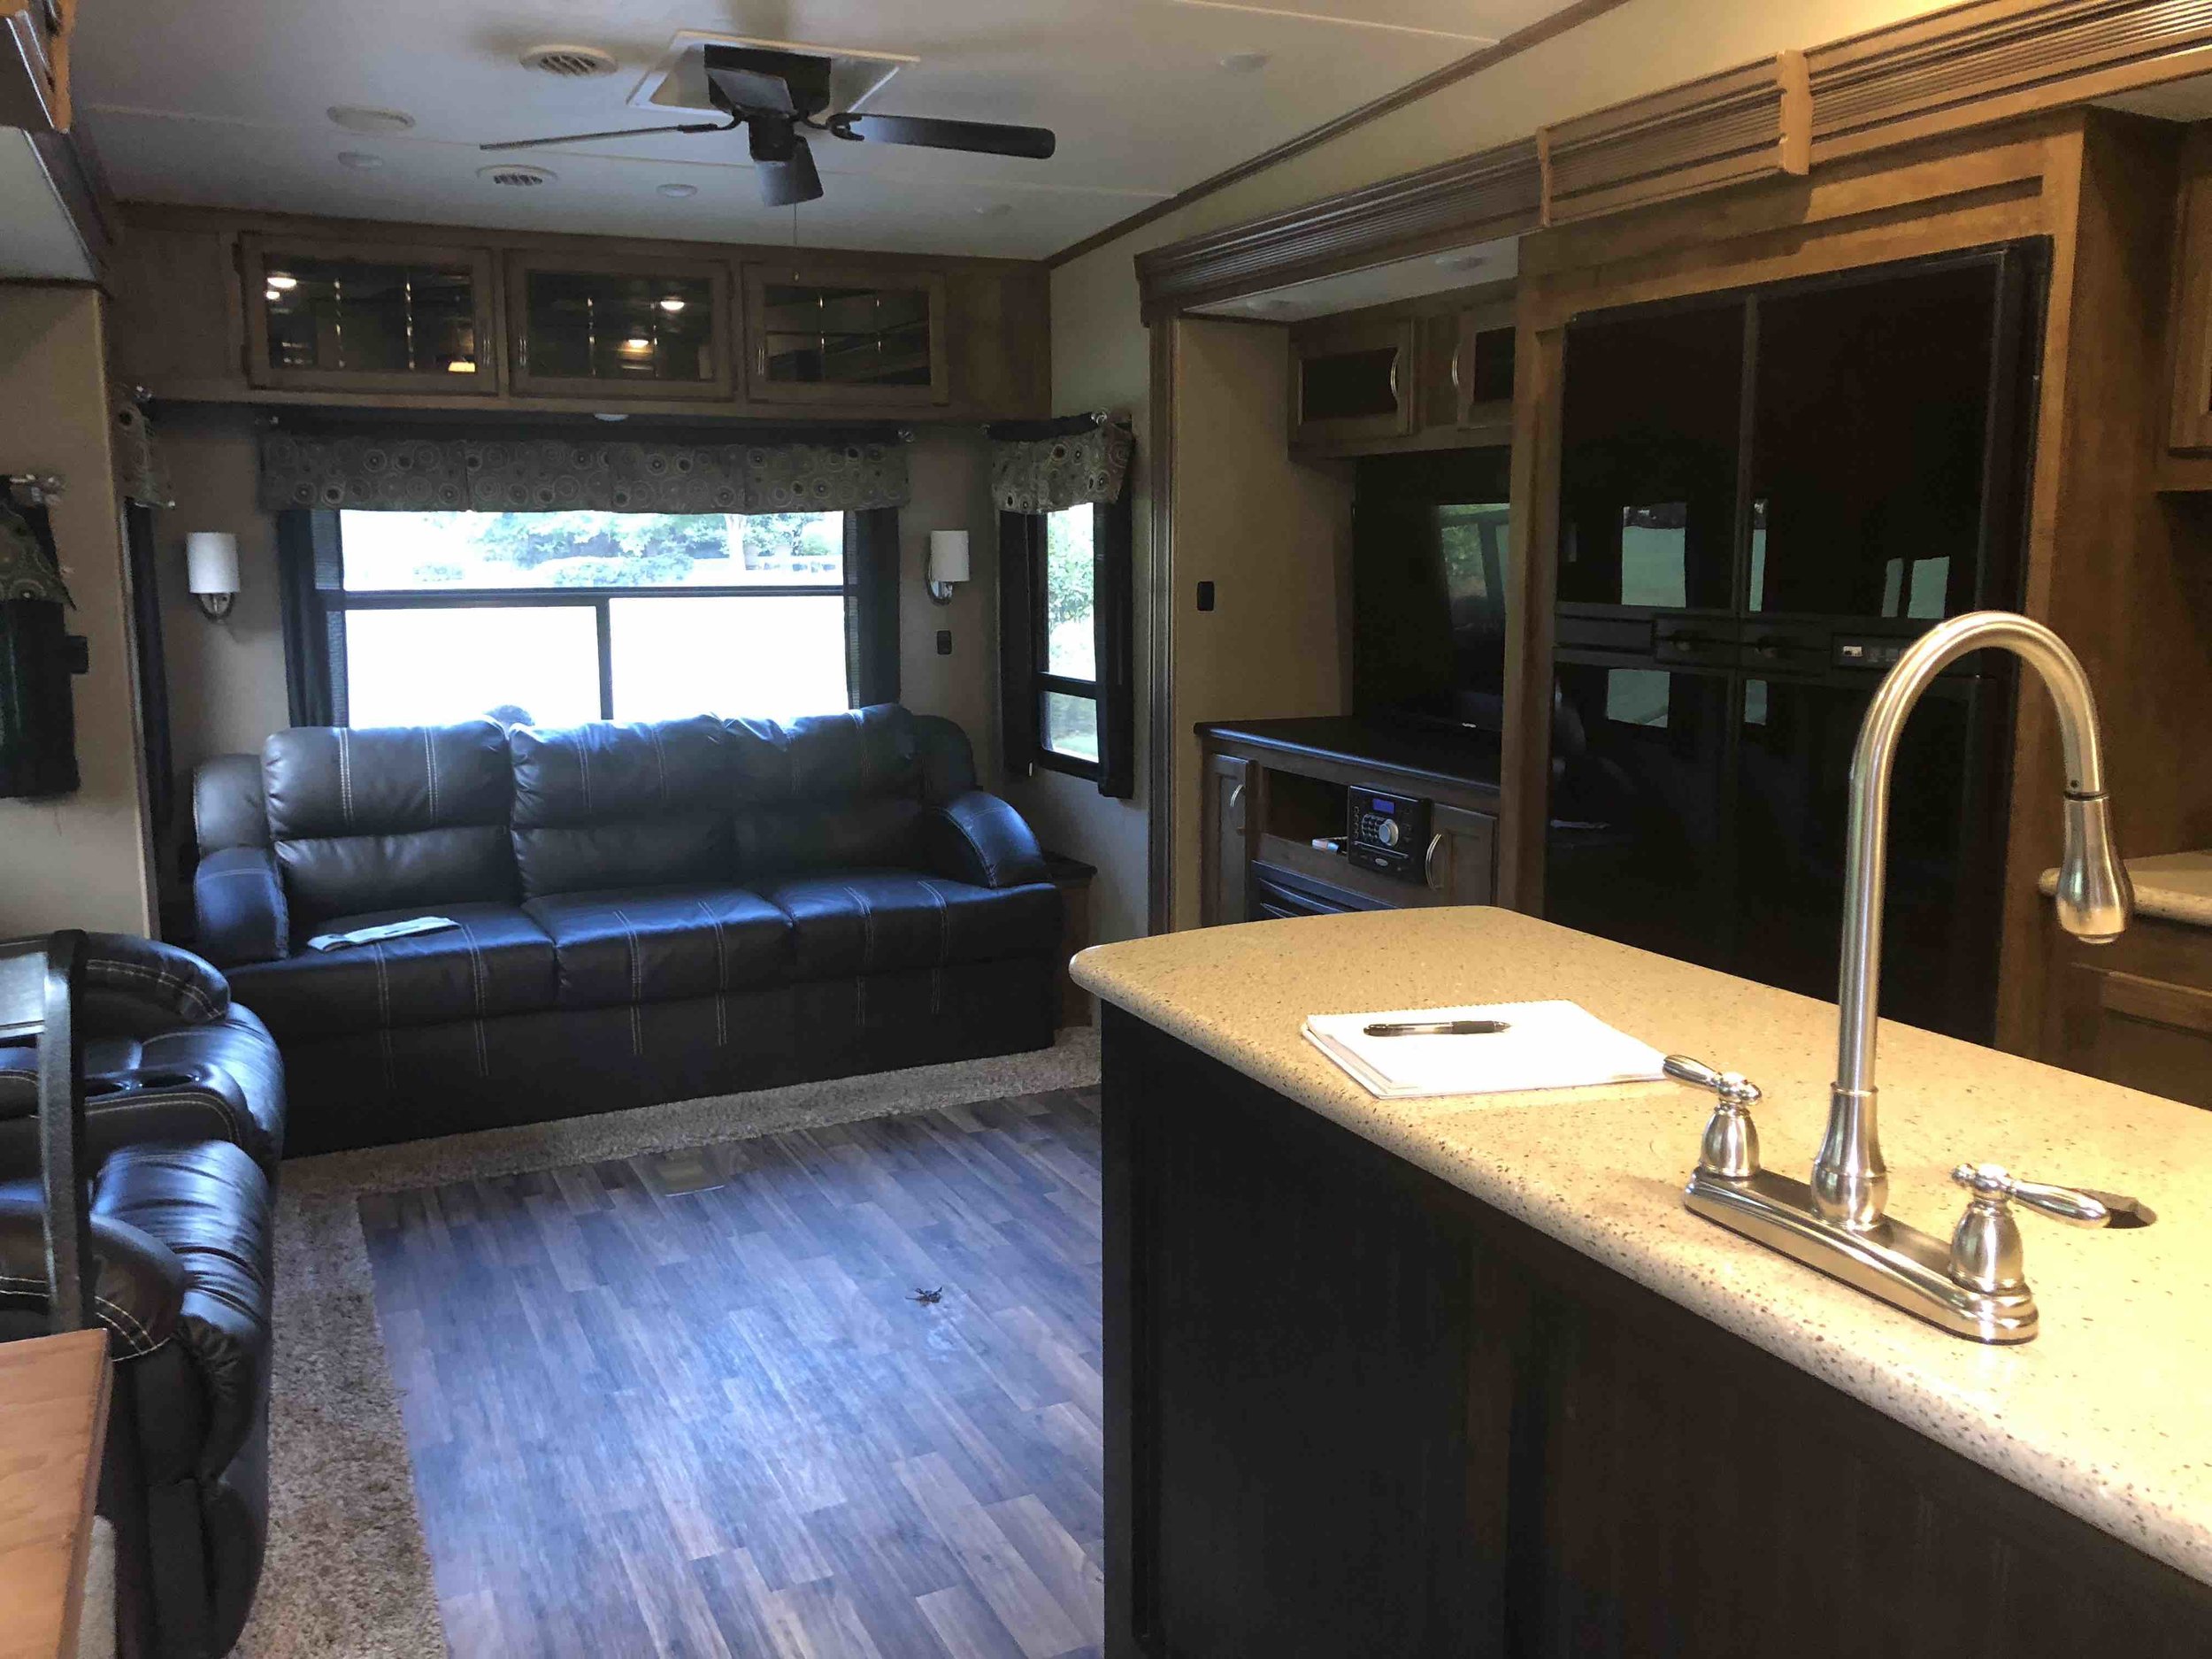
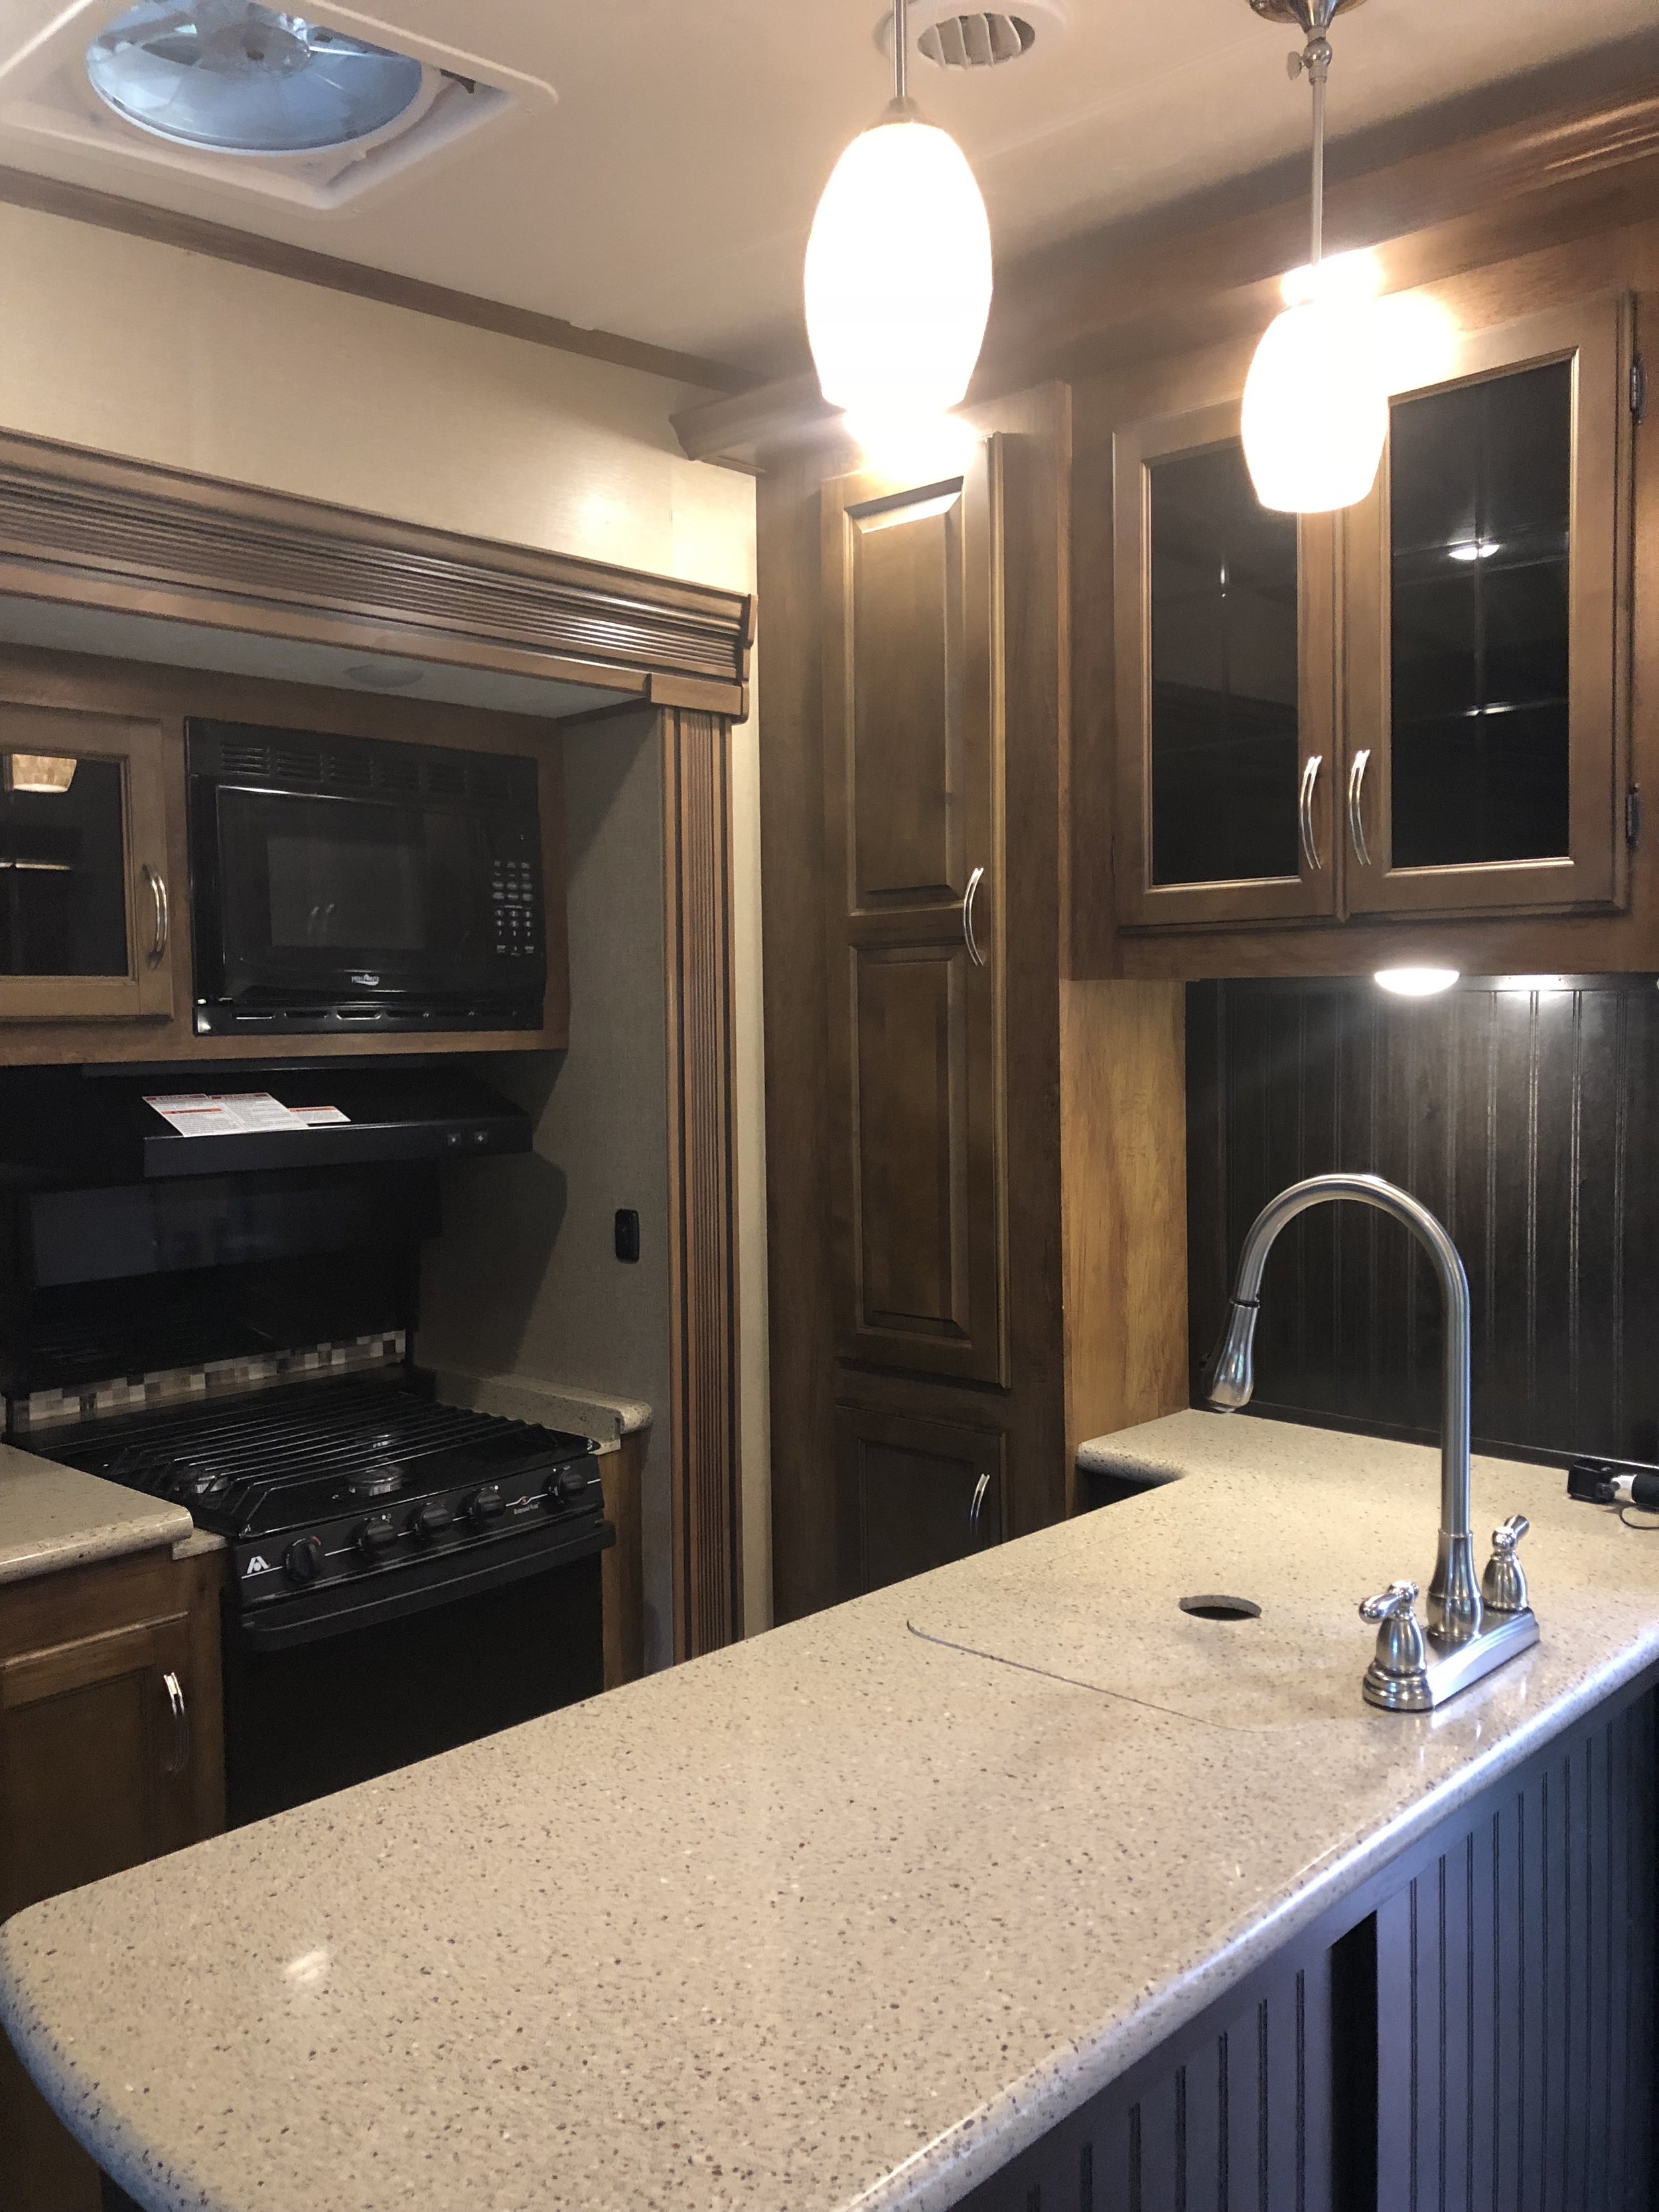
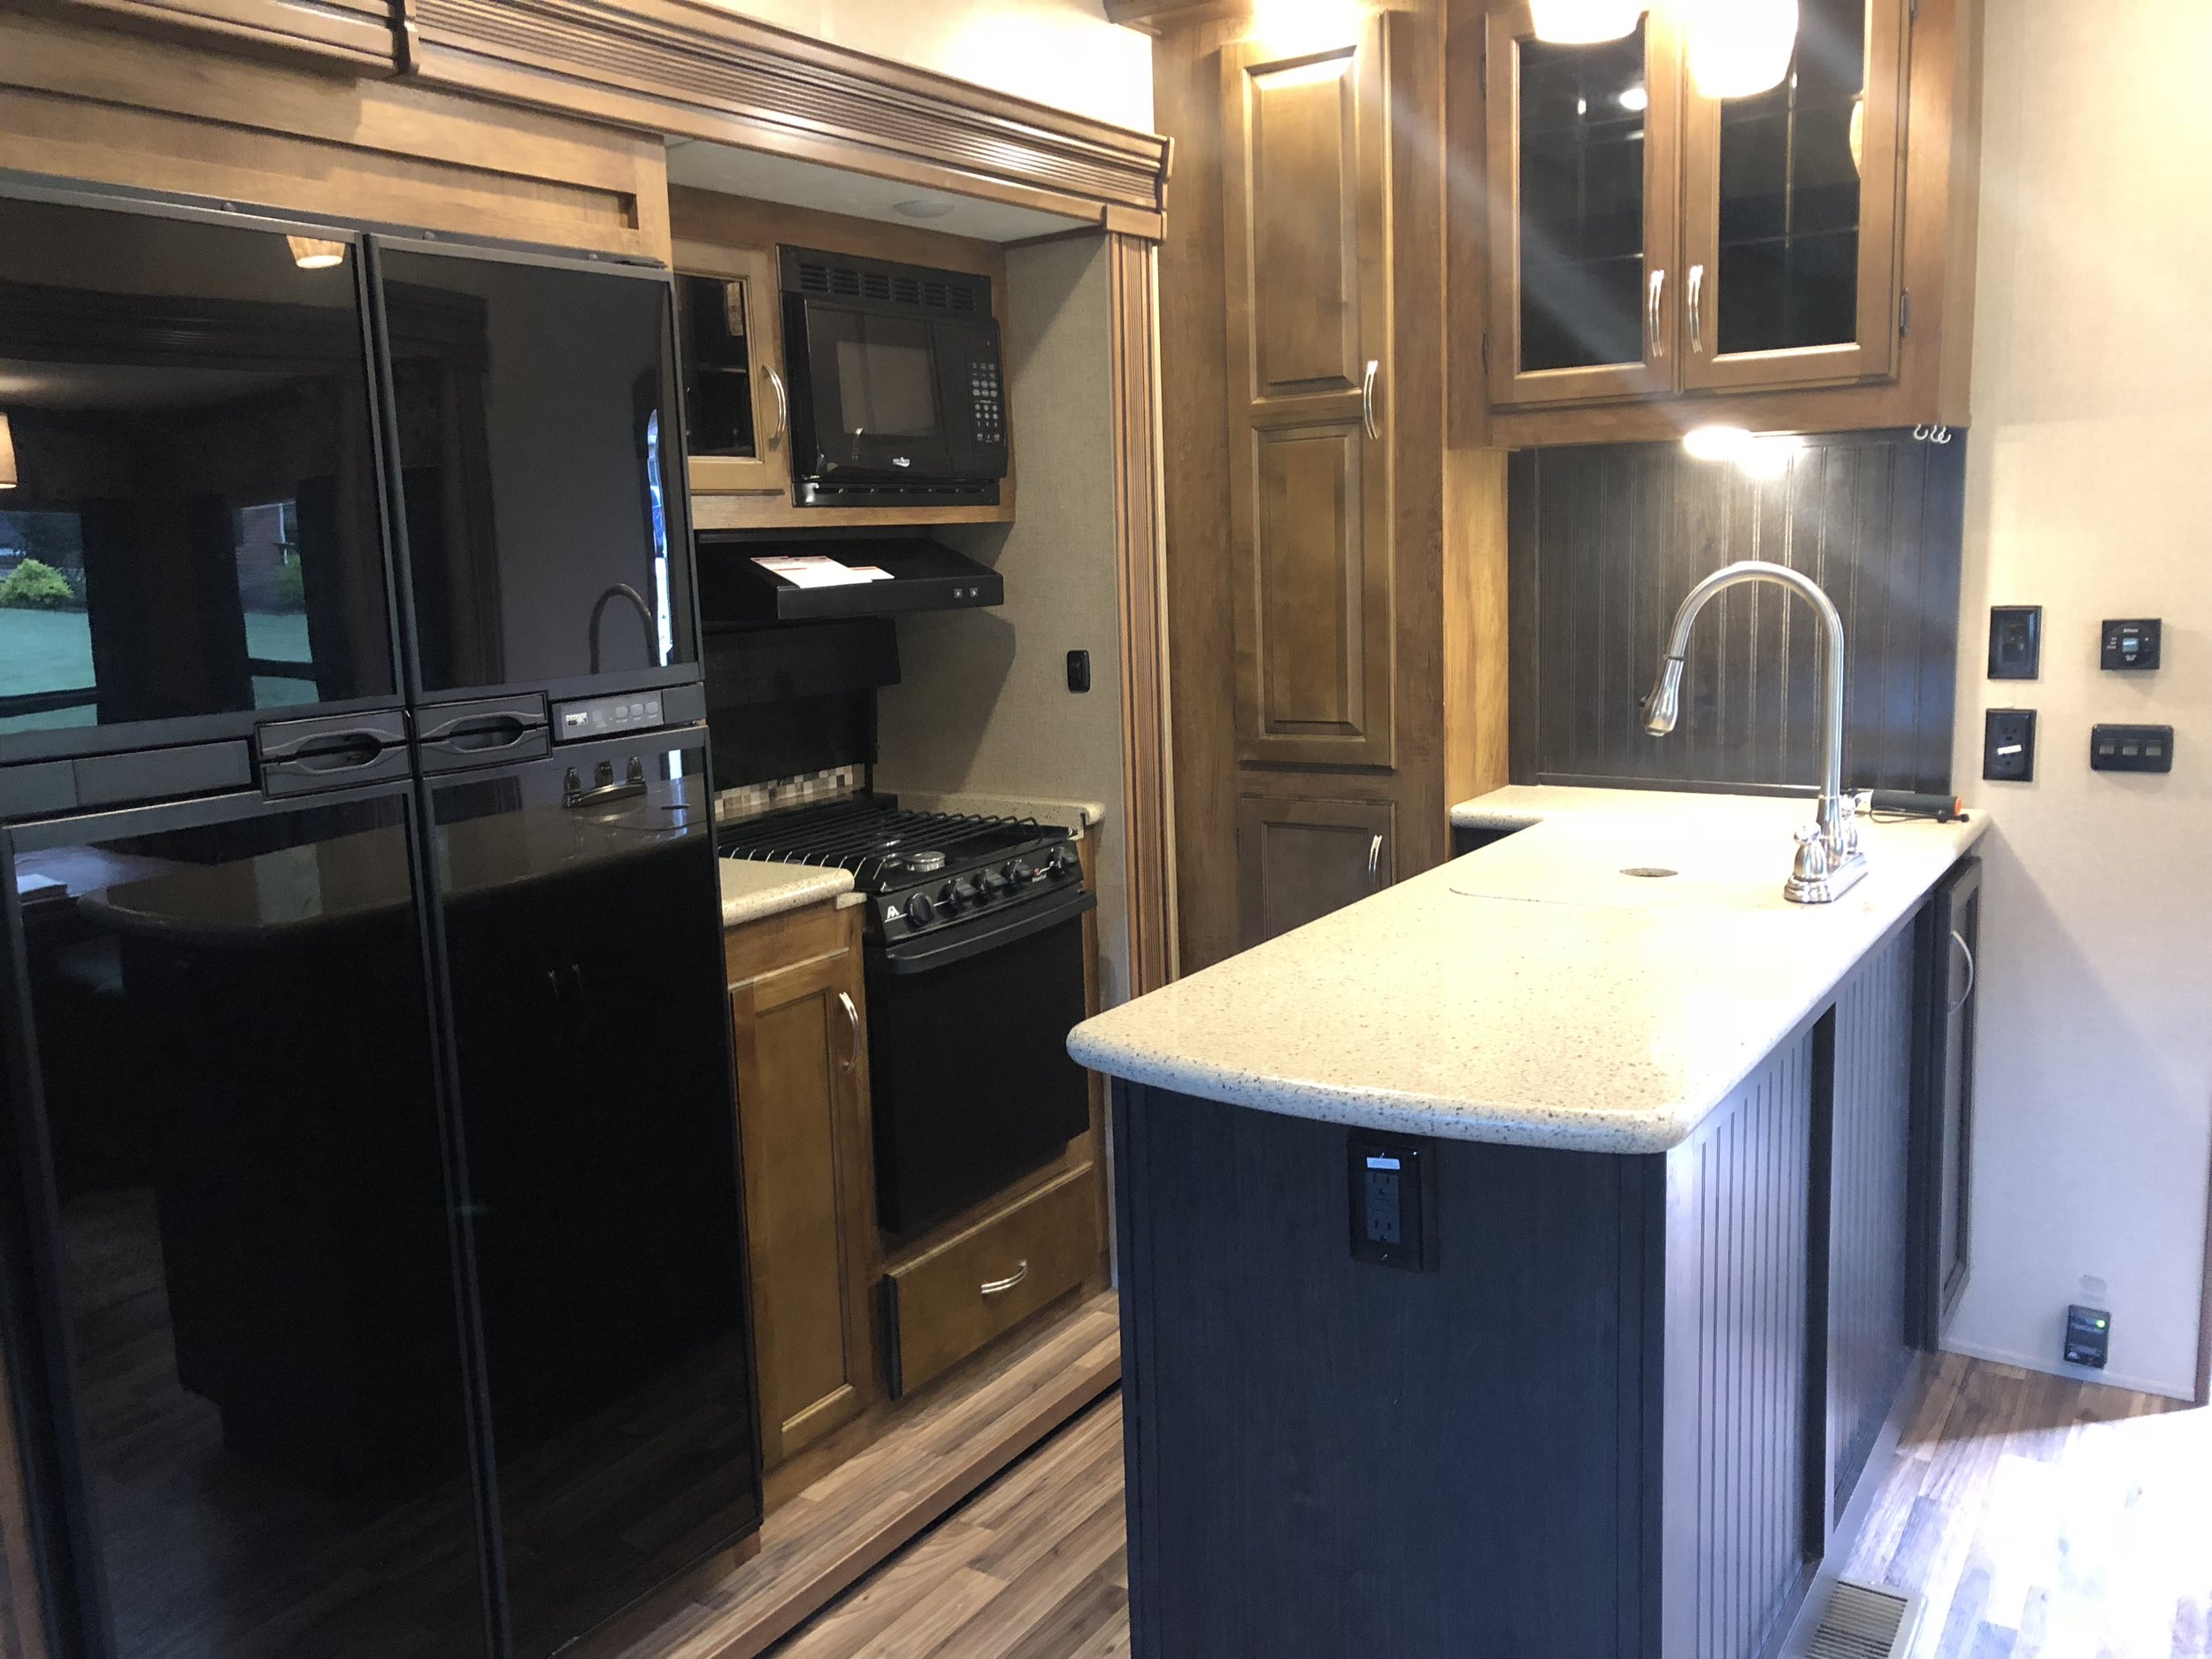
We purchased a used 2017 Coachman Chaparral 390QSMB from a private party. It was in near perfect condition, but wasn’t quite our style. There was a light brown wall paper throughout that we knew we wanted to brighten up, the curtains were brown and not our favorite, and we wanted to upgrade the light fixtures and hardware to something we loved.
We were able to really transform our RV by making the following changes:
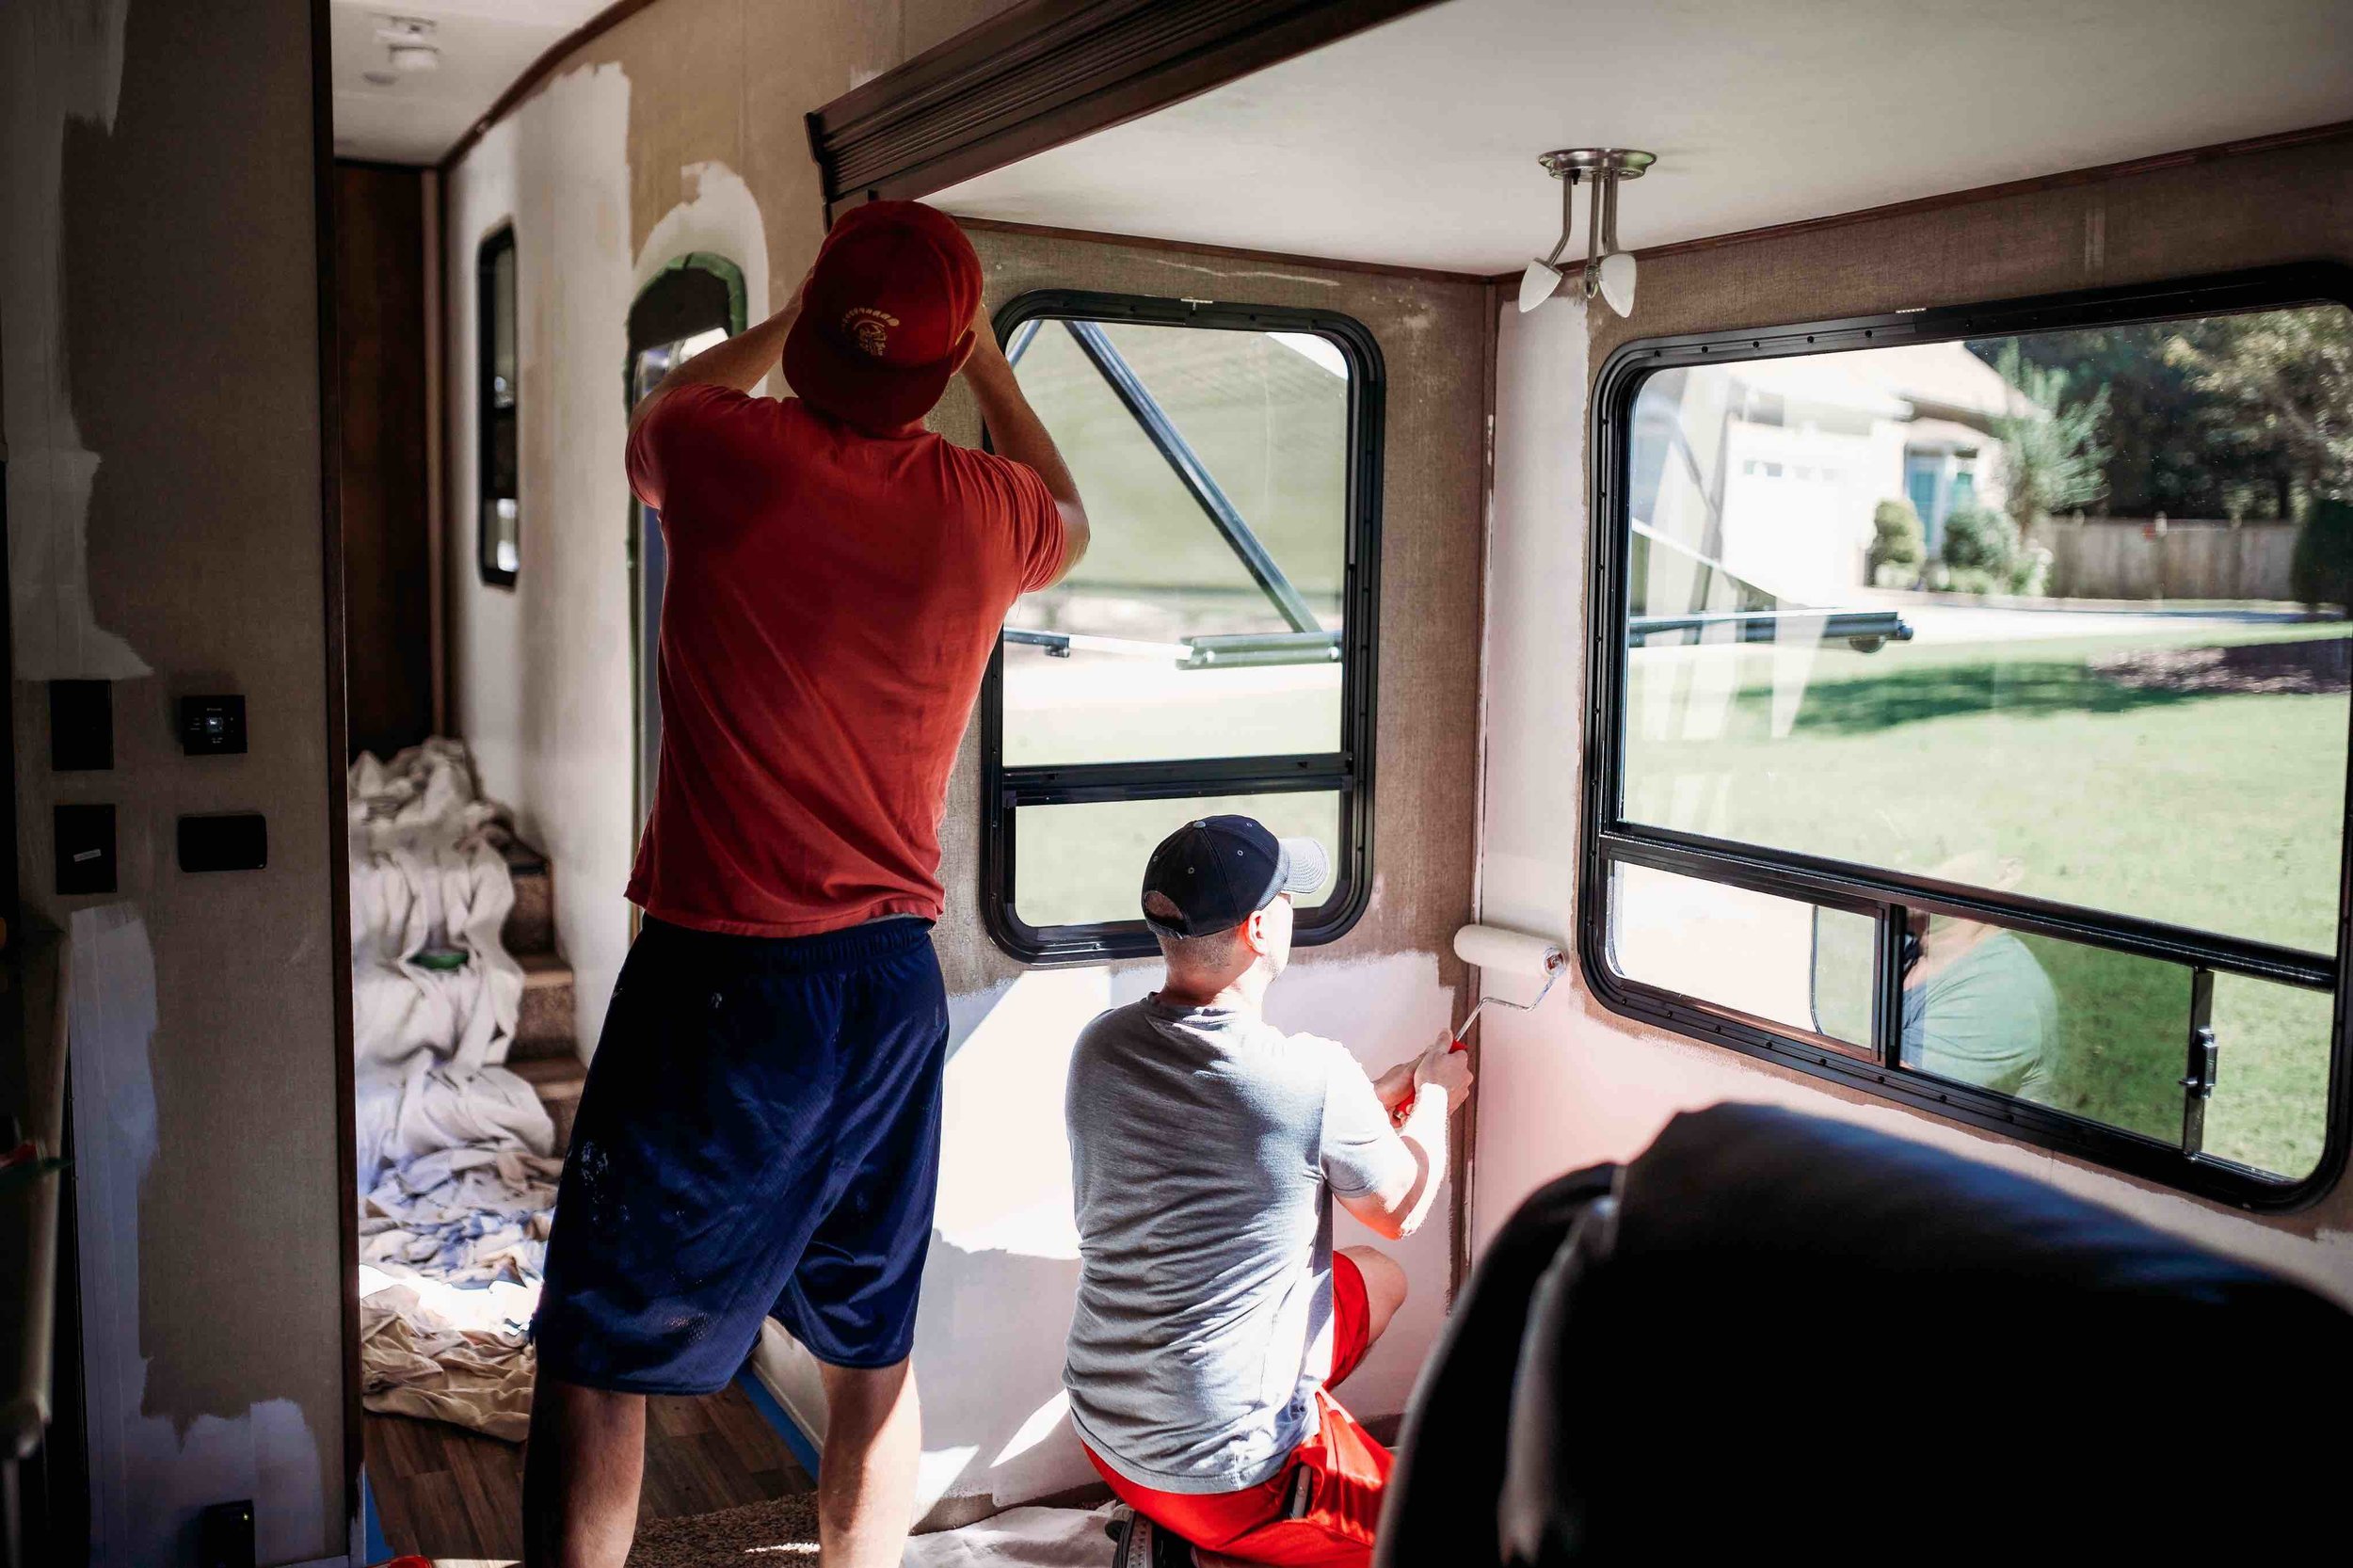
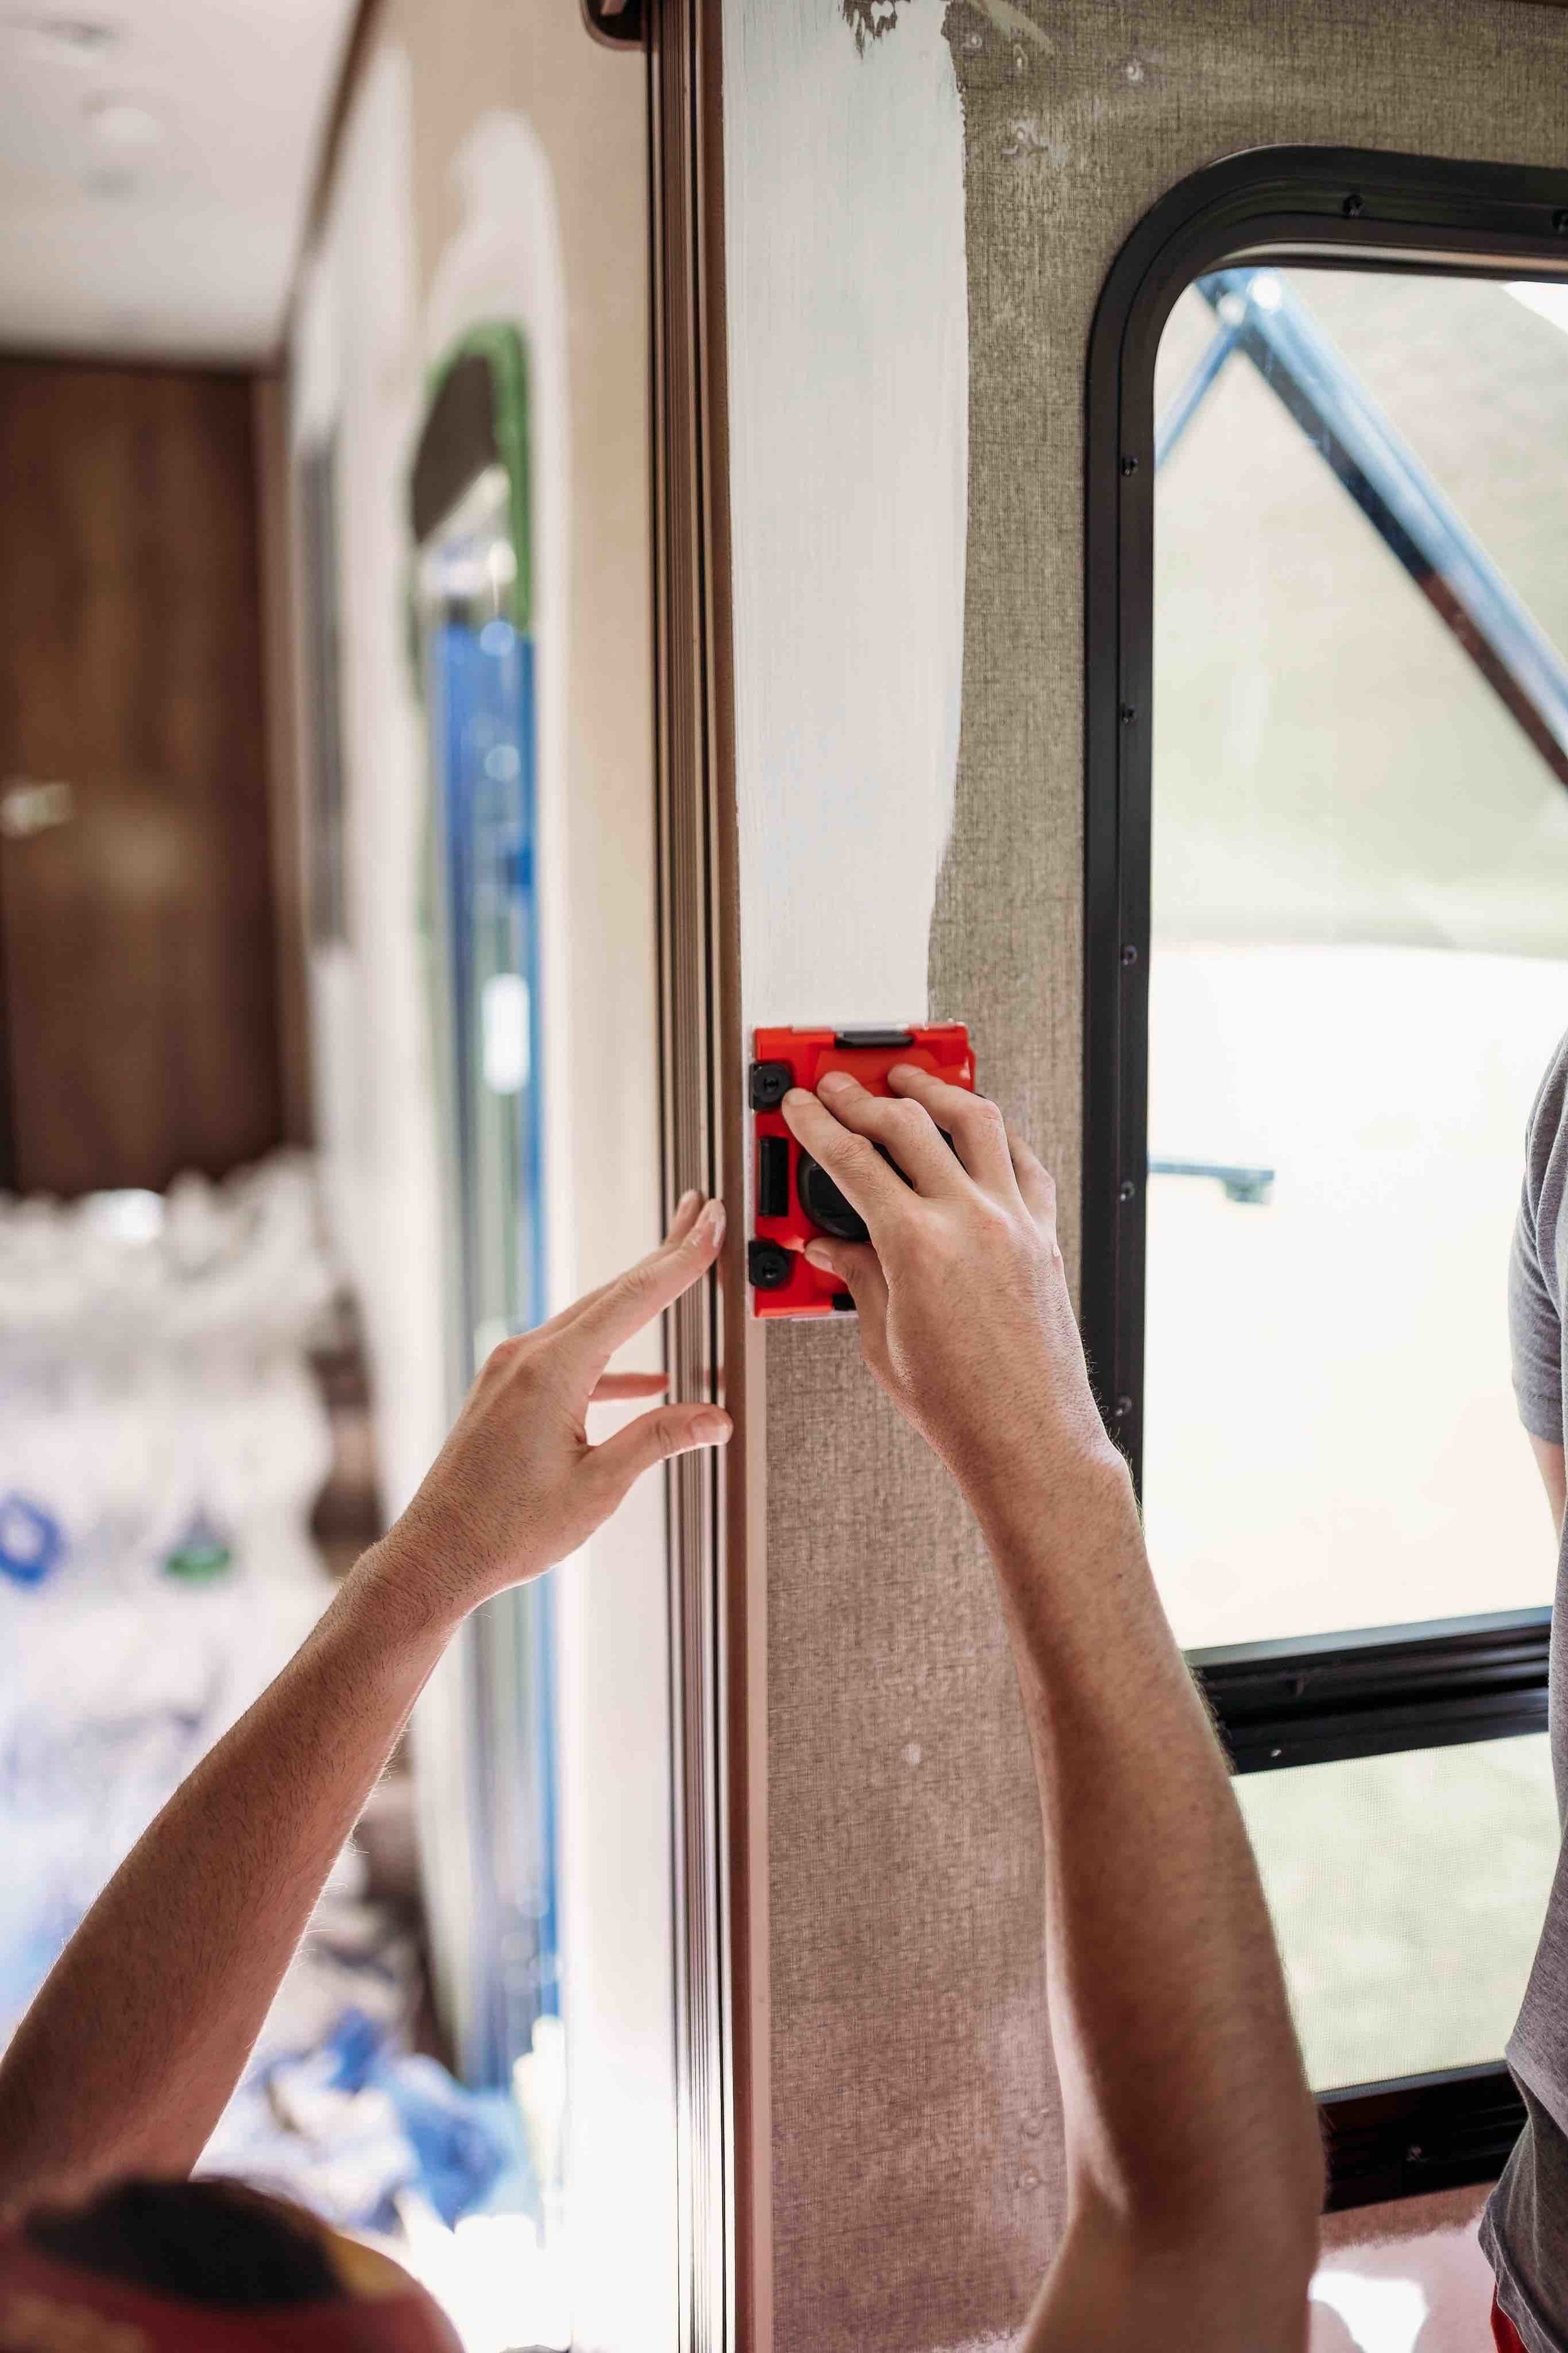
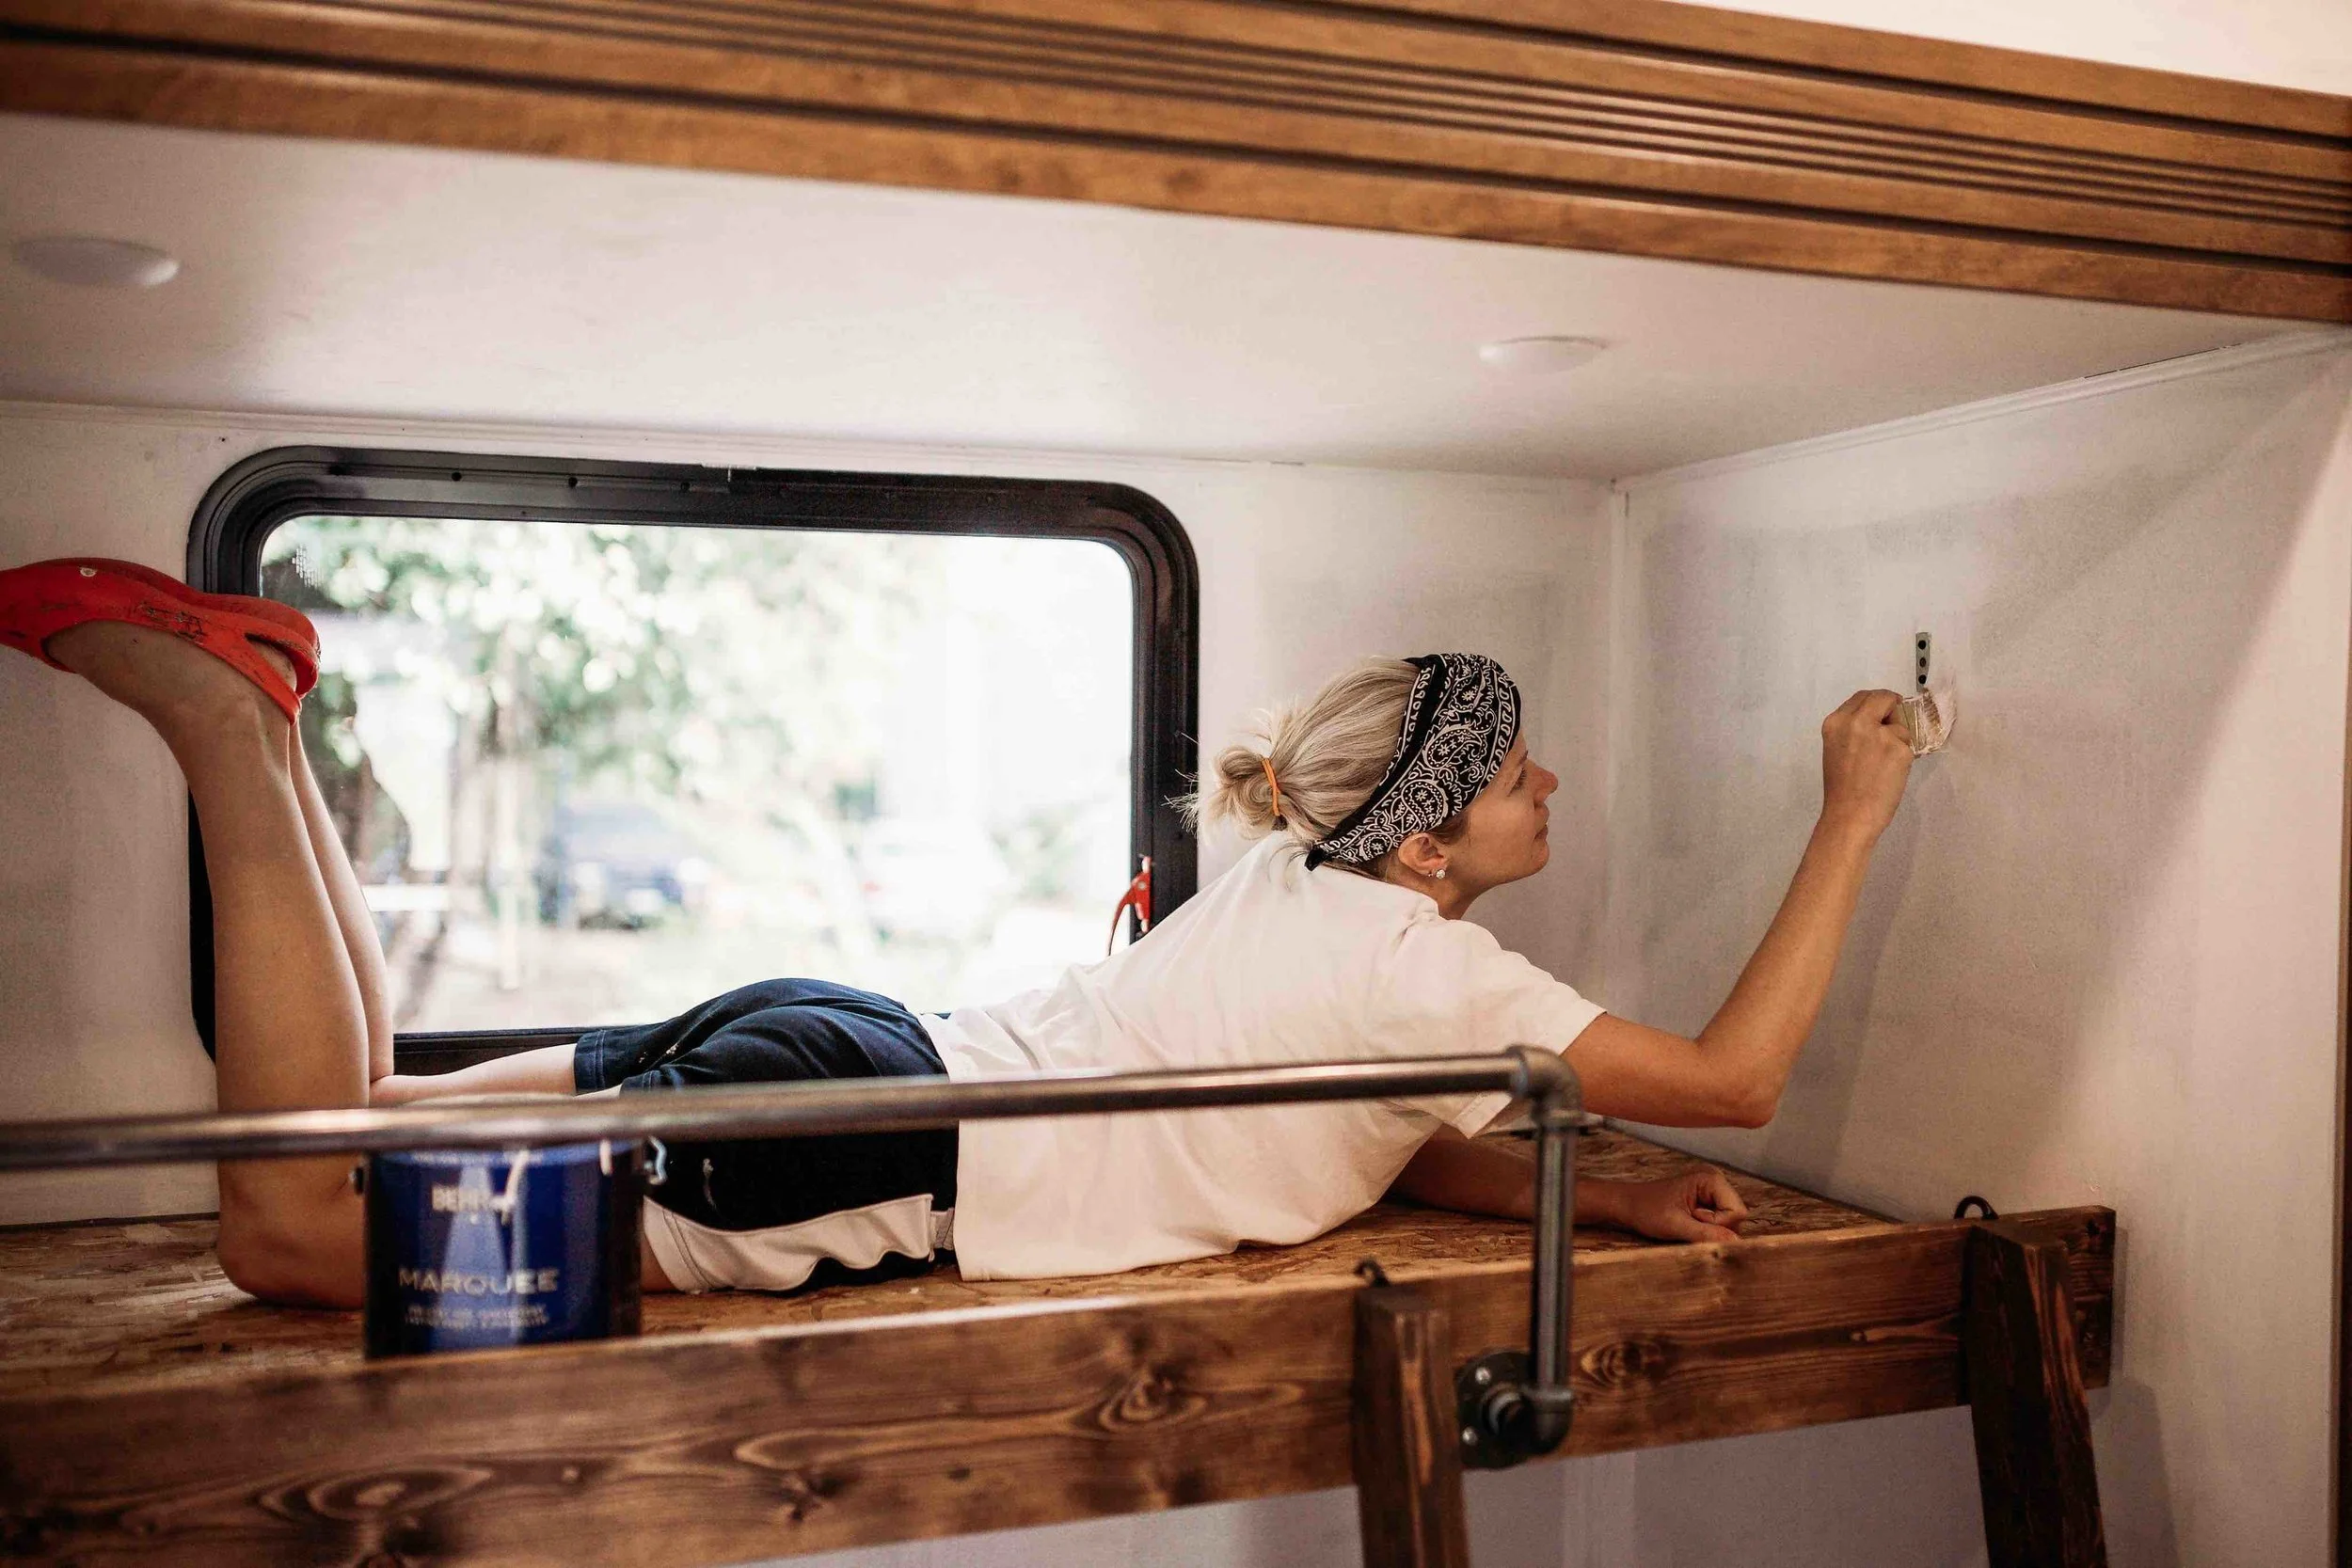
1 . Paint
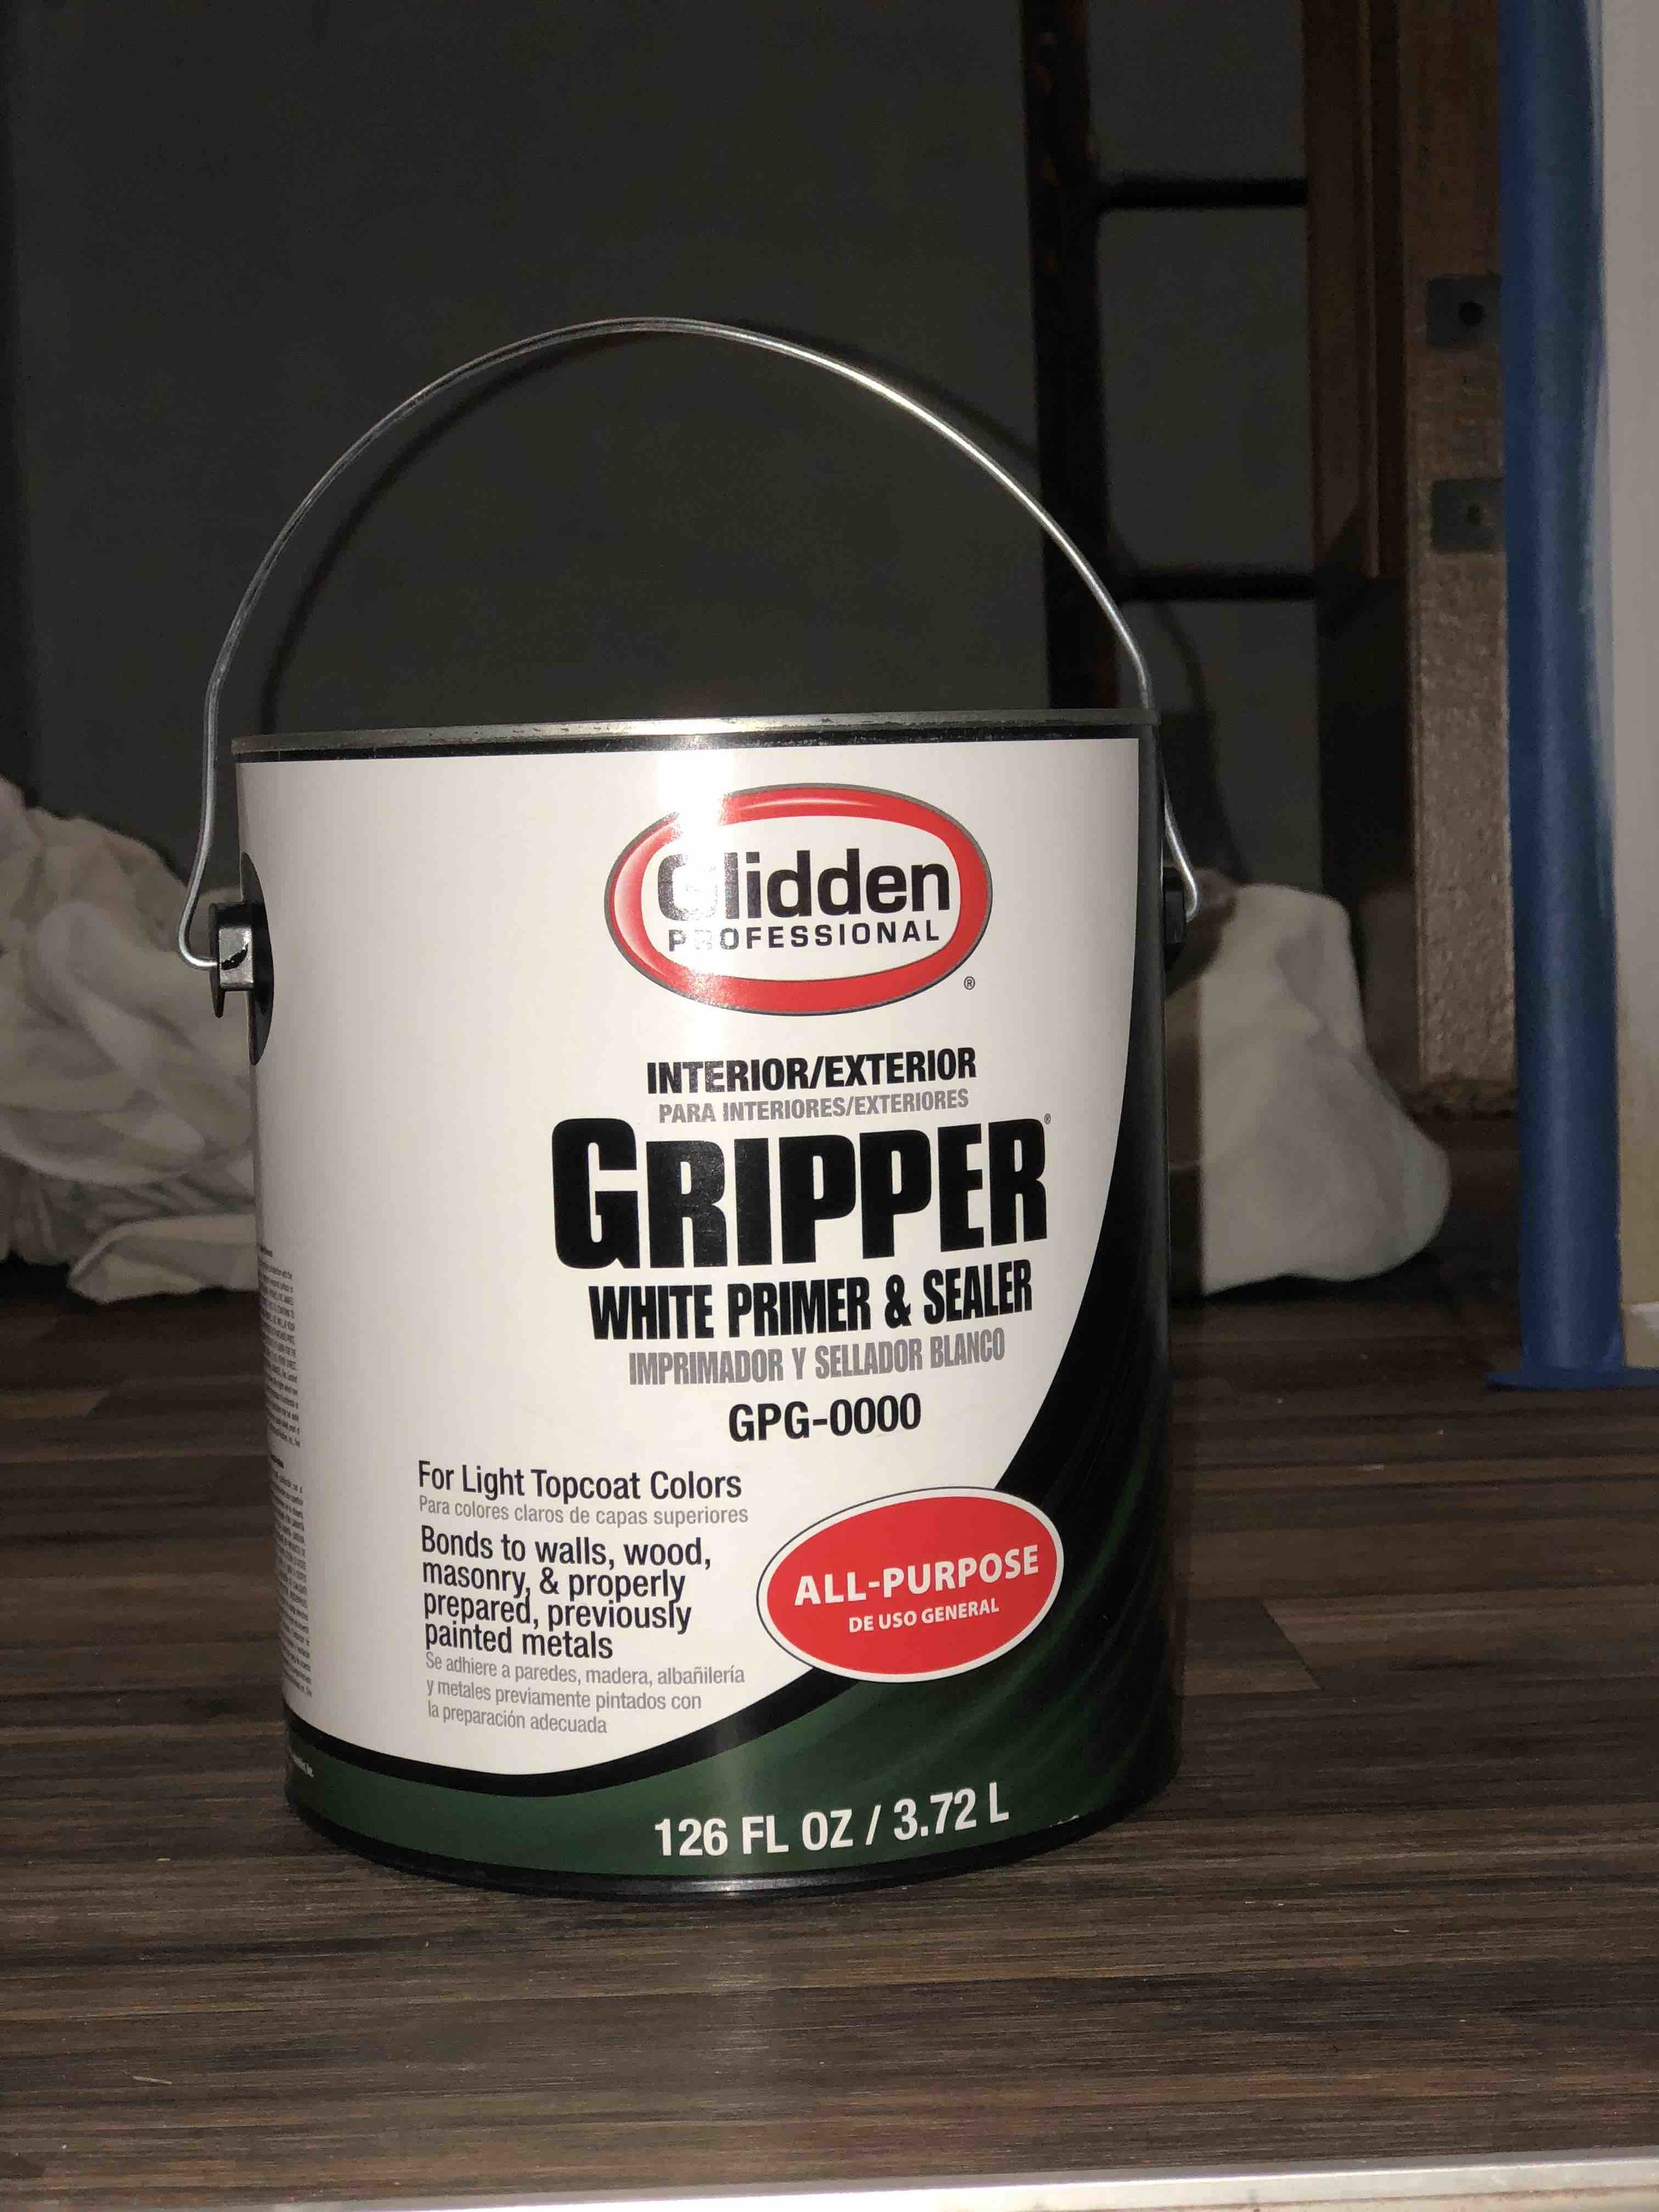
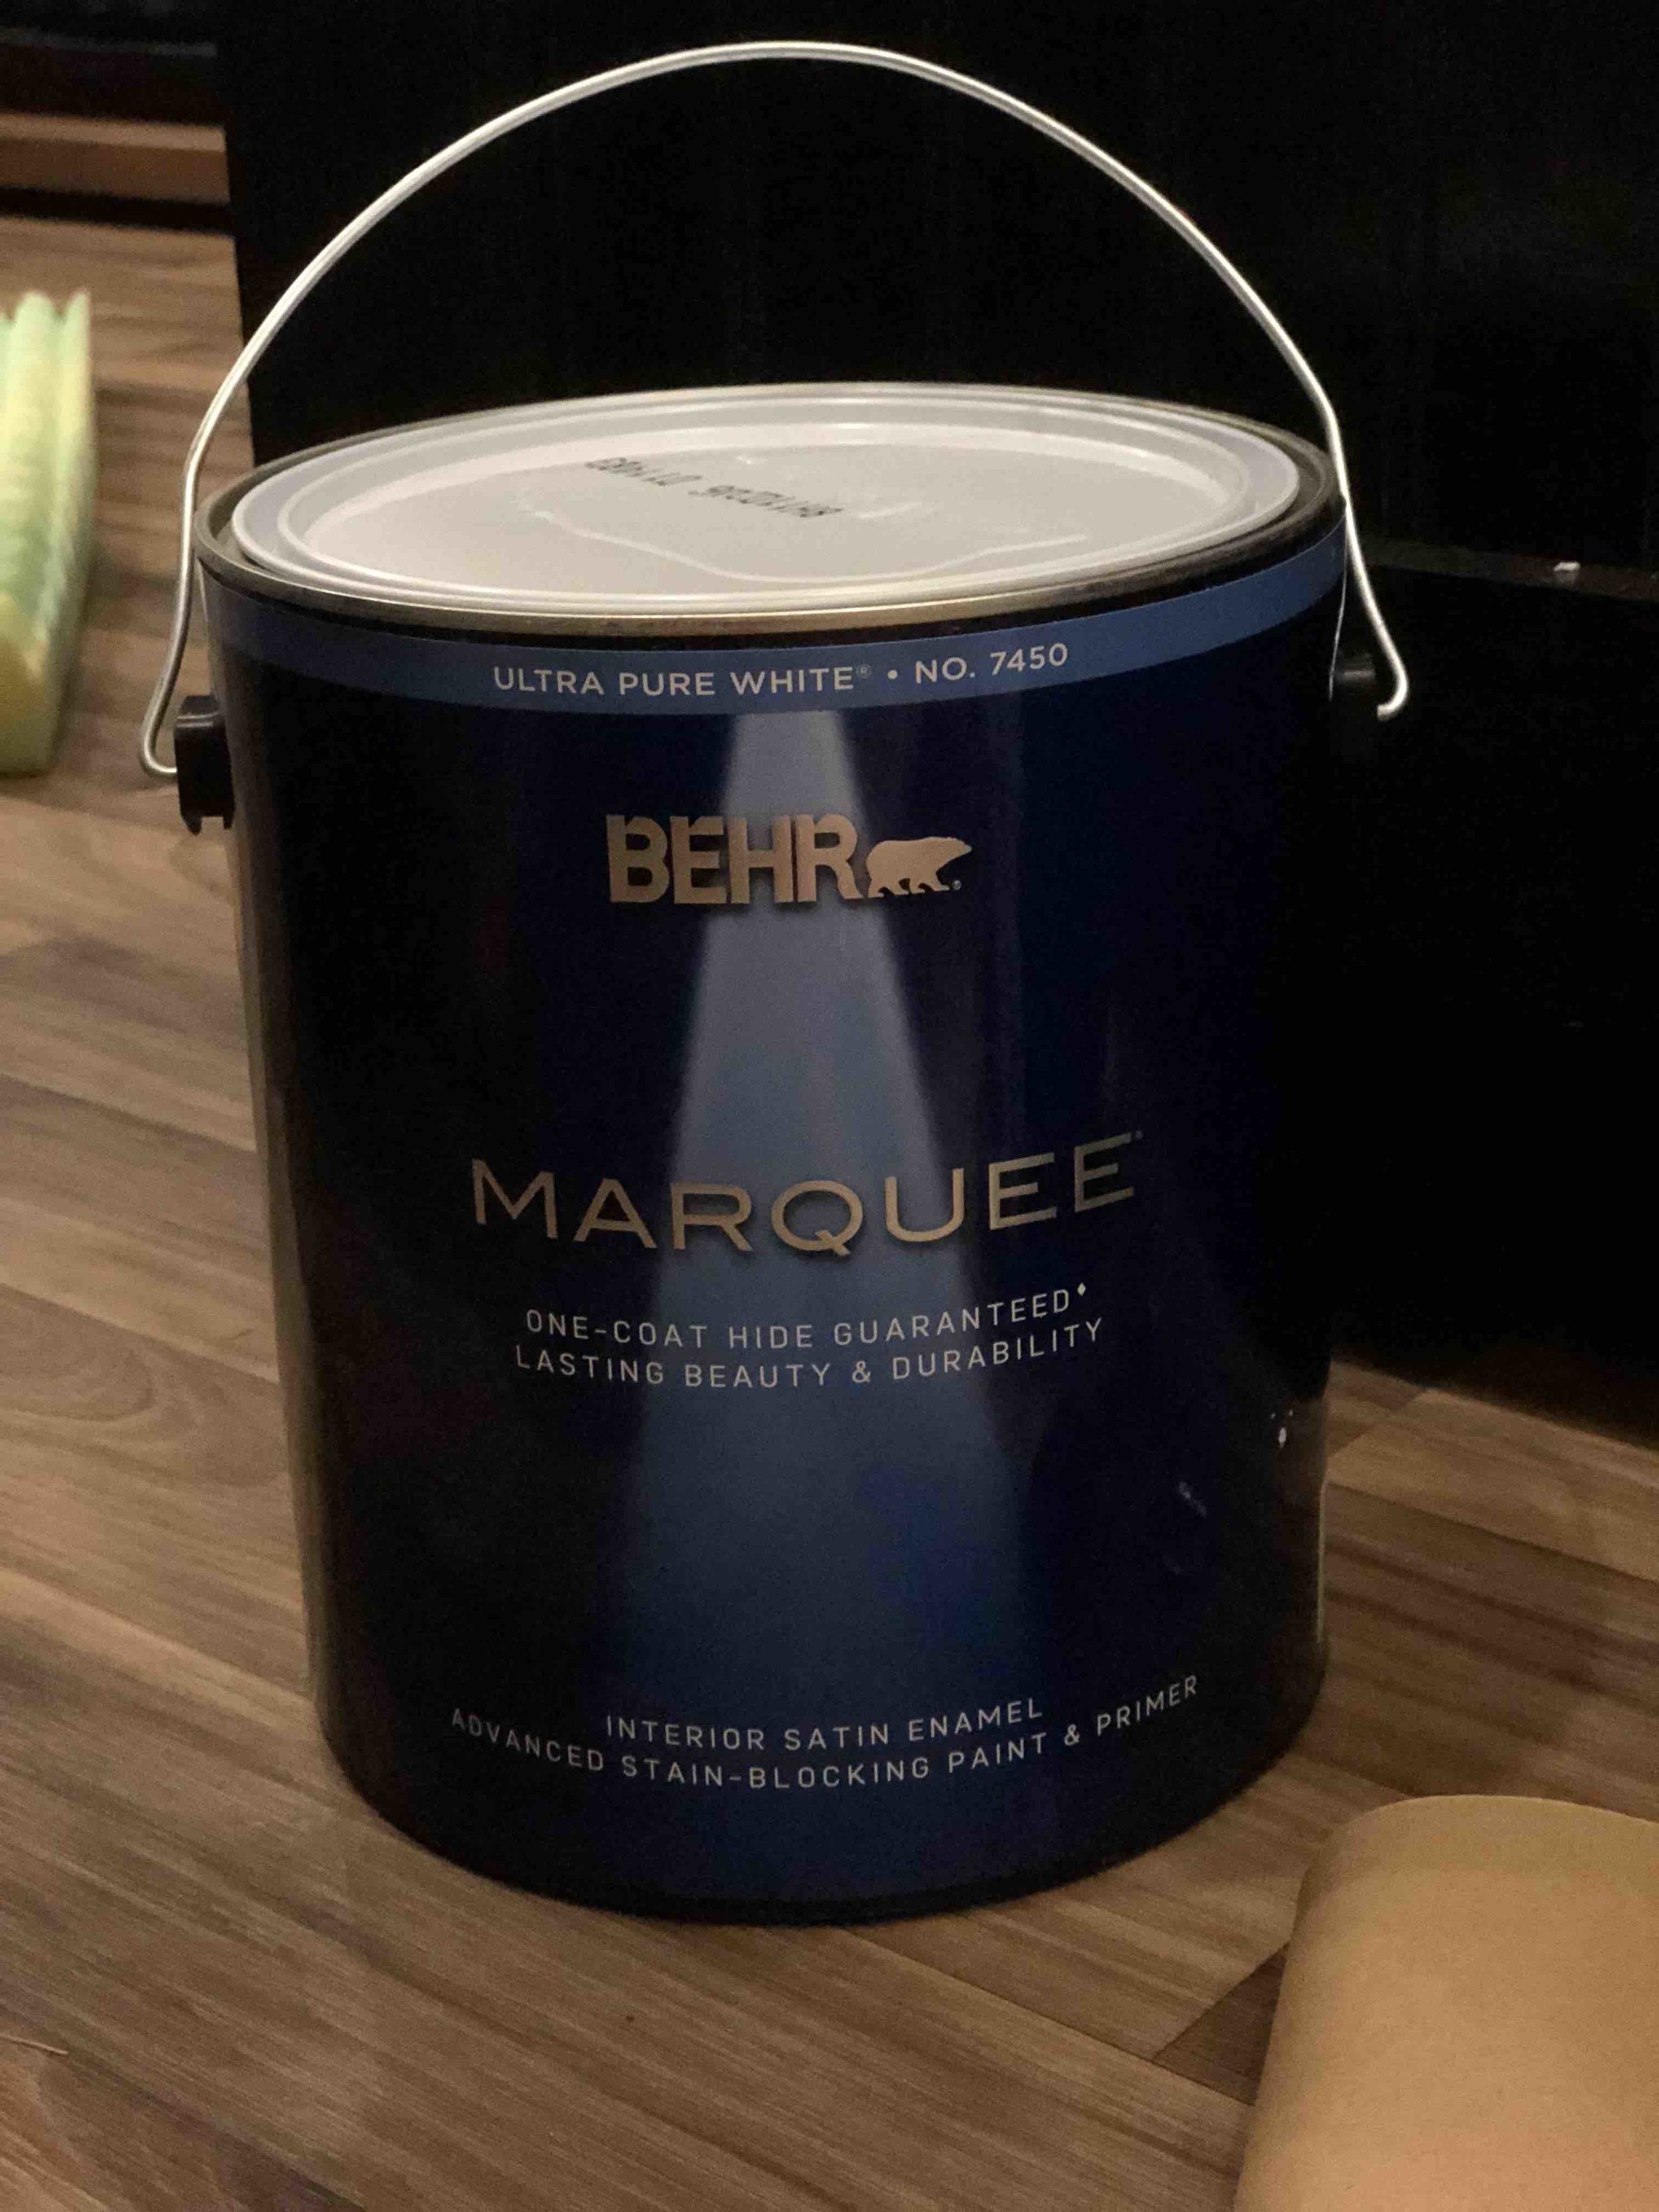
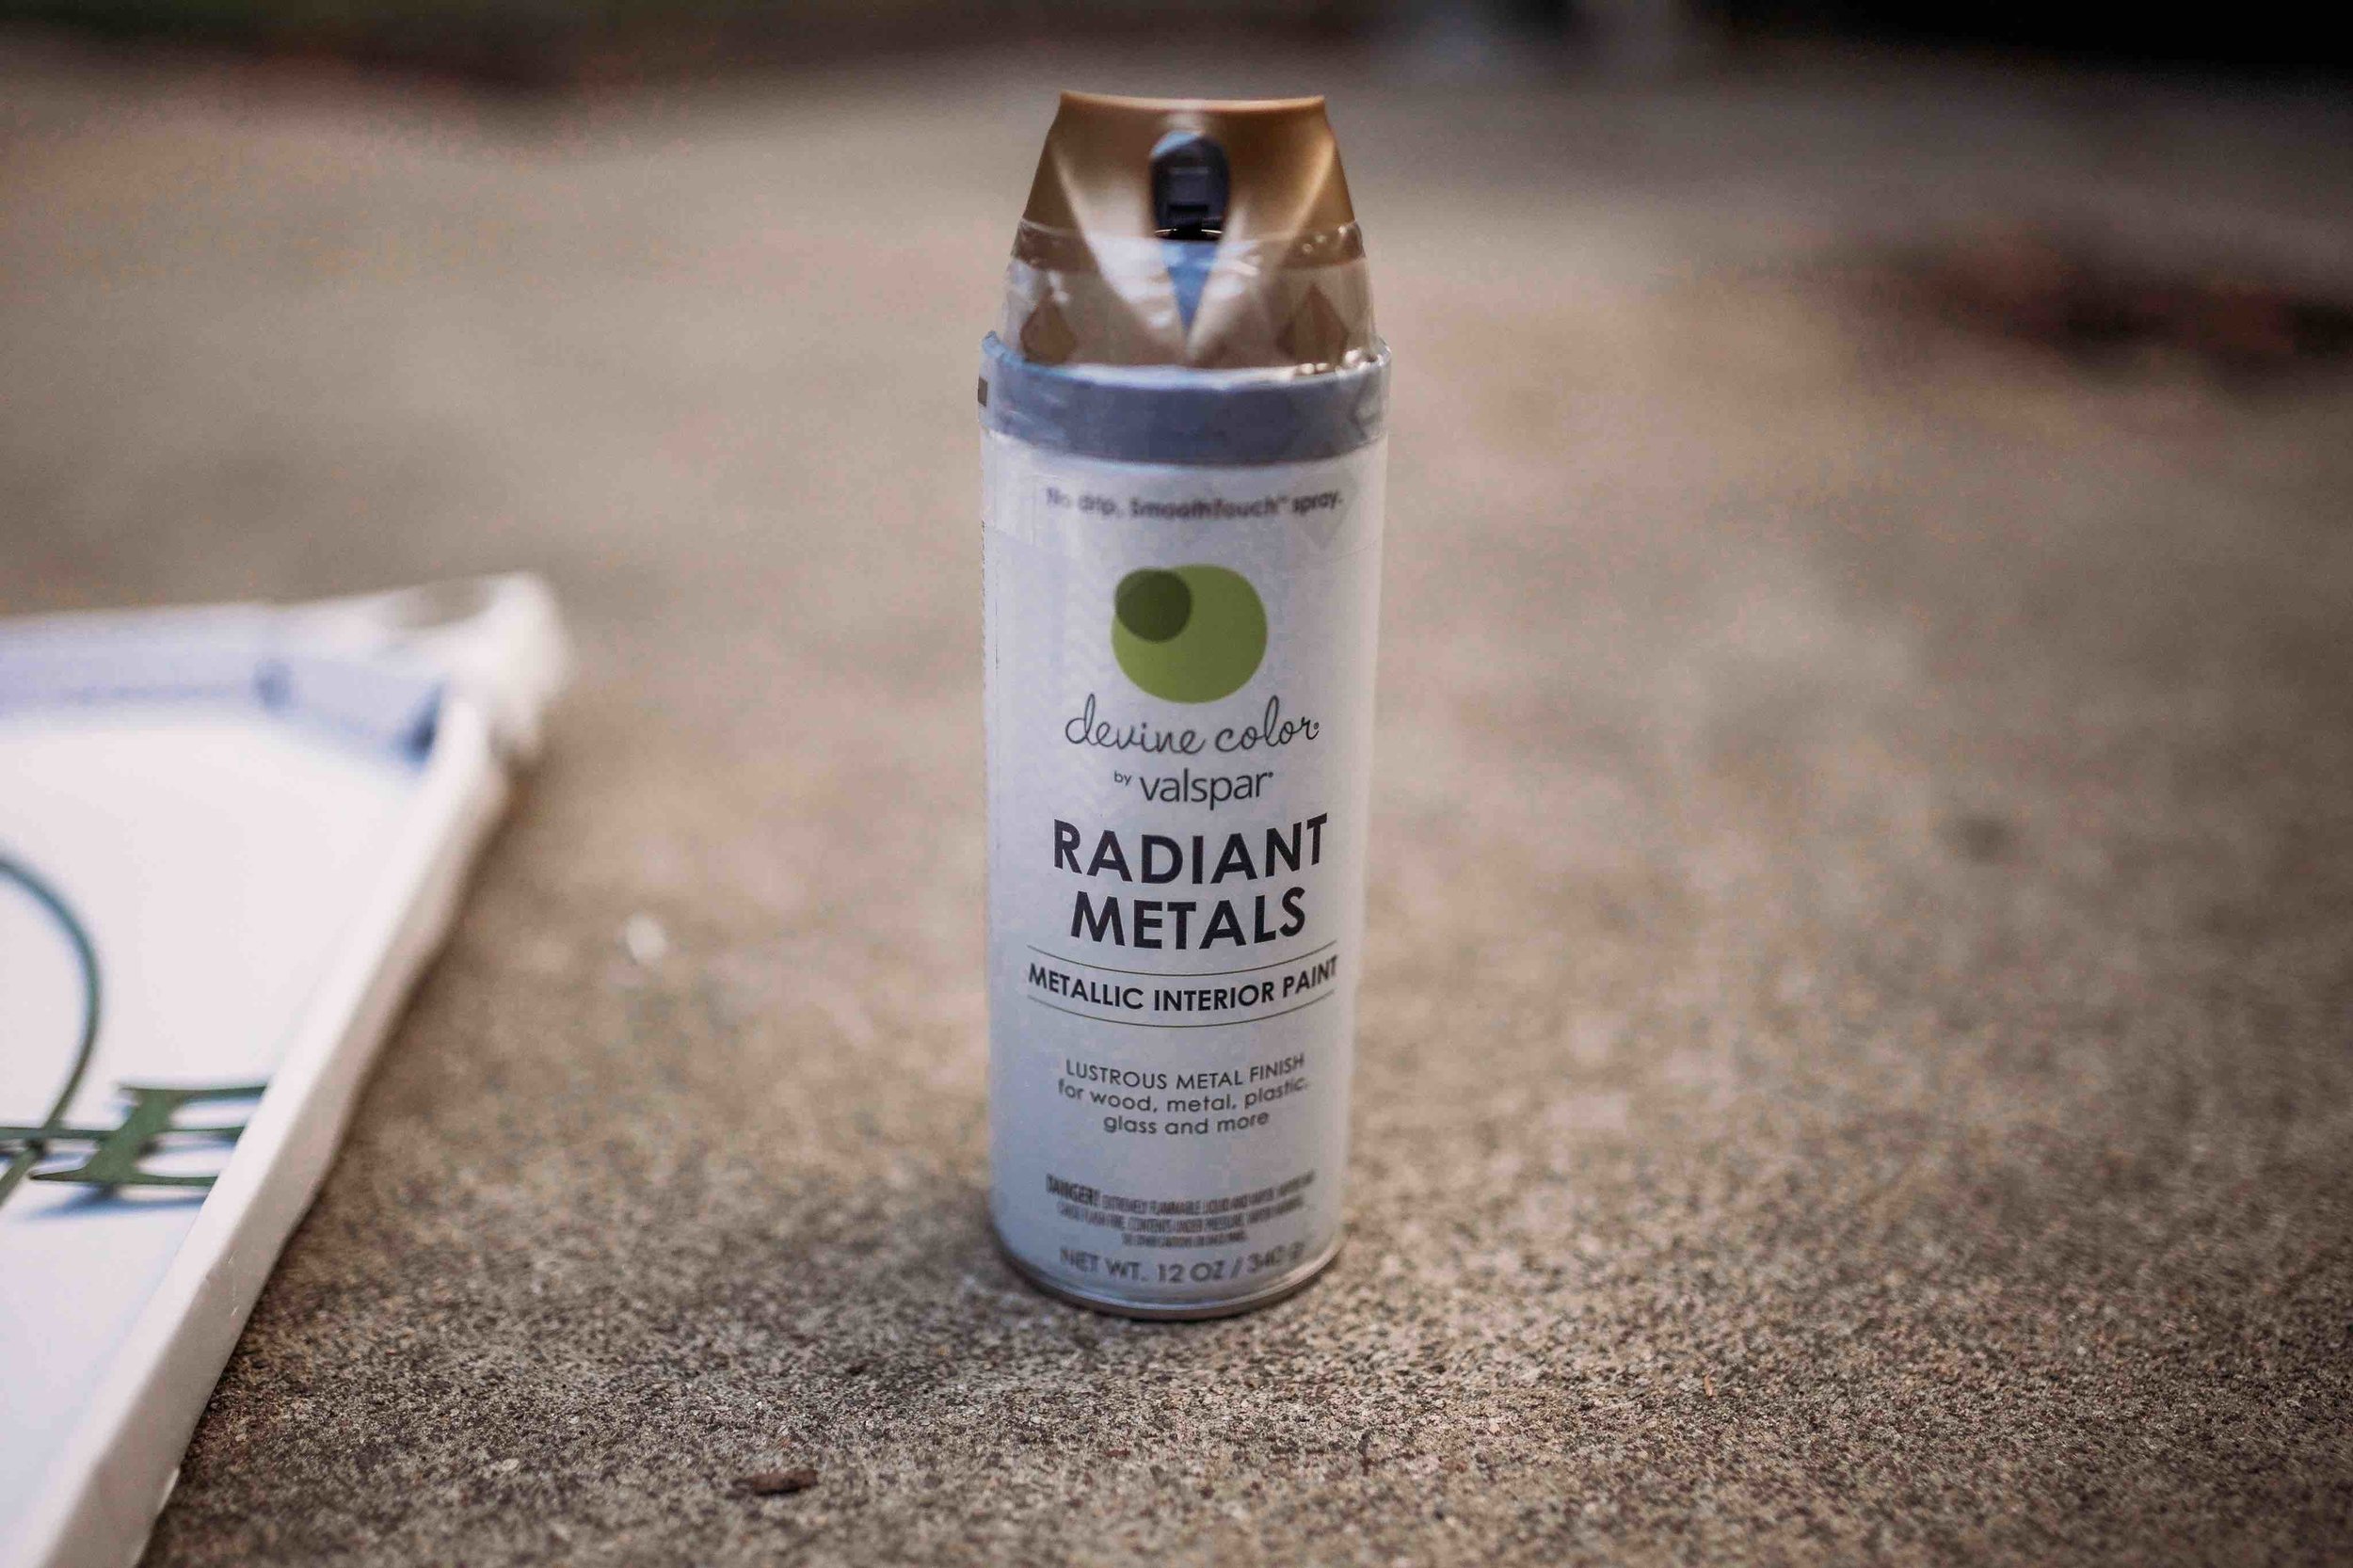
We did our research before painting and determined we would need to use several coats of primer first, and then several coats of a paint/primer combo. This sounds like a lot, and it was. But it was necessary. RV walls are different from “regular” walls and it’s hard to get good coverage. We used and recommend Glidden Gripper Primer and Sealer and Behr Marquee Interior Satin Enamel Advanced Stain Blocking Paint and Primer, available at The Home Depot.
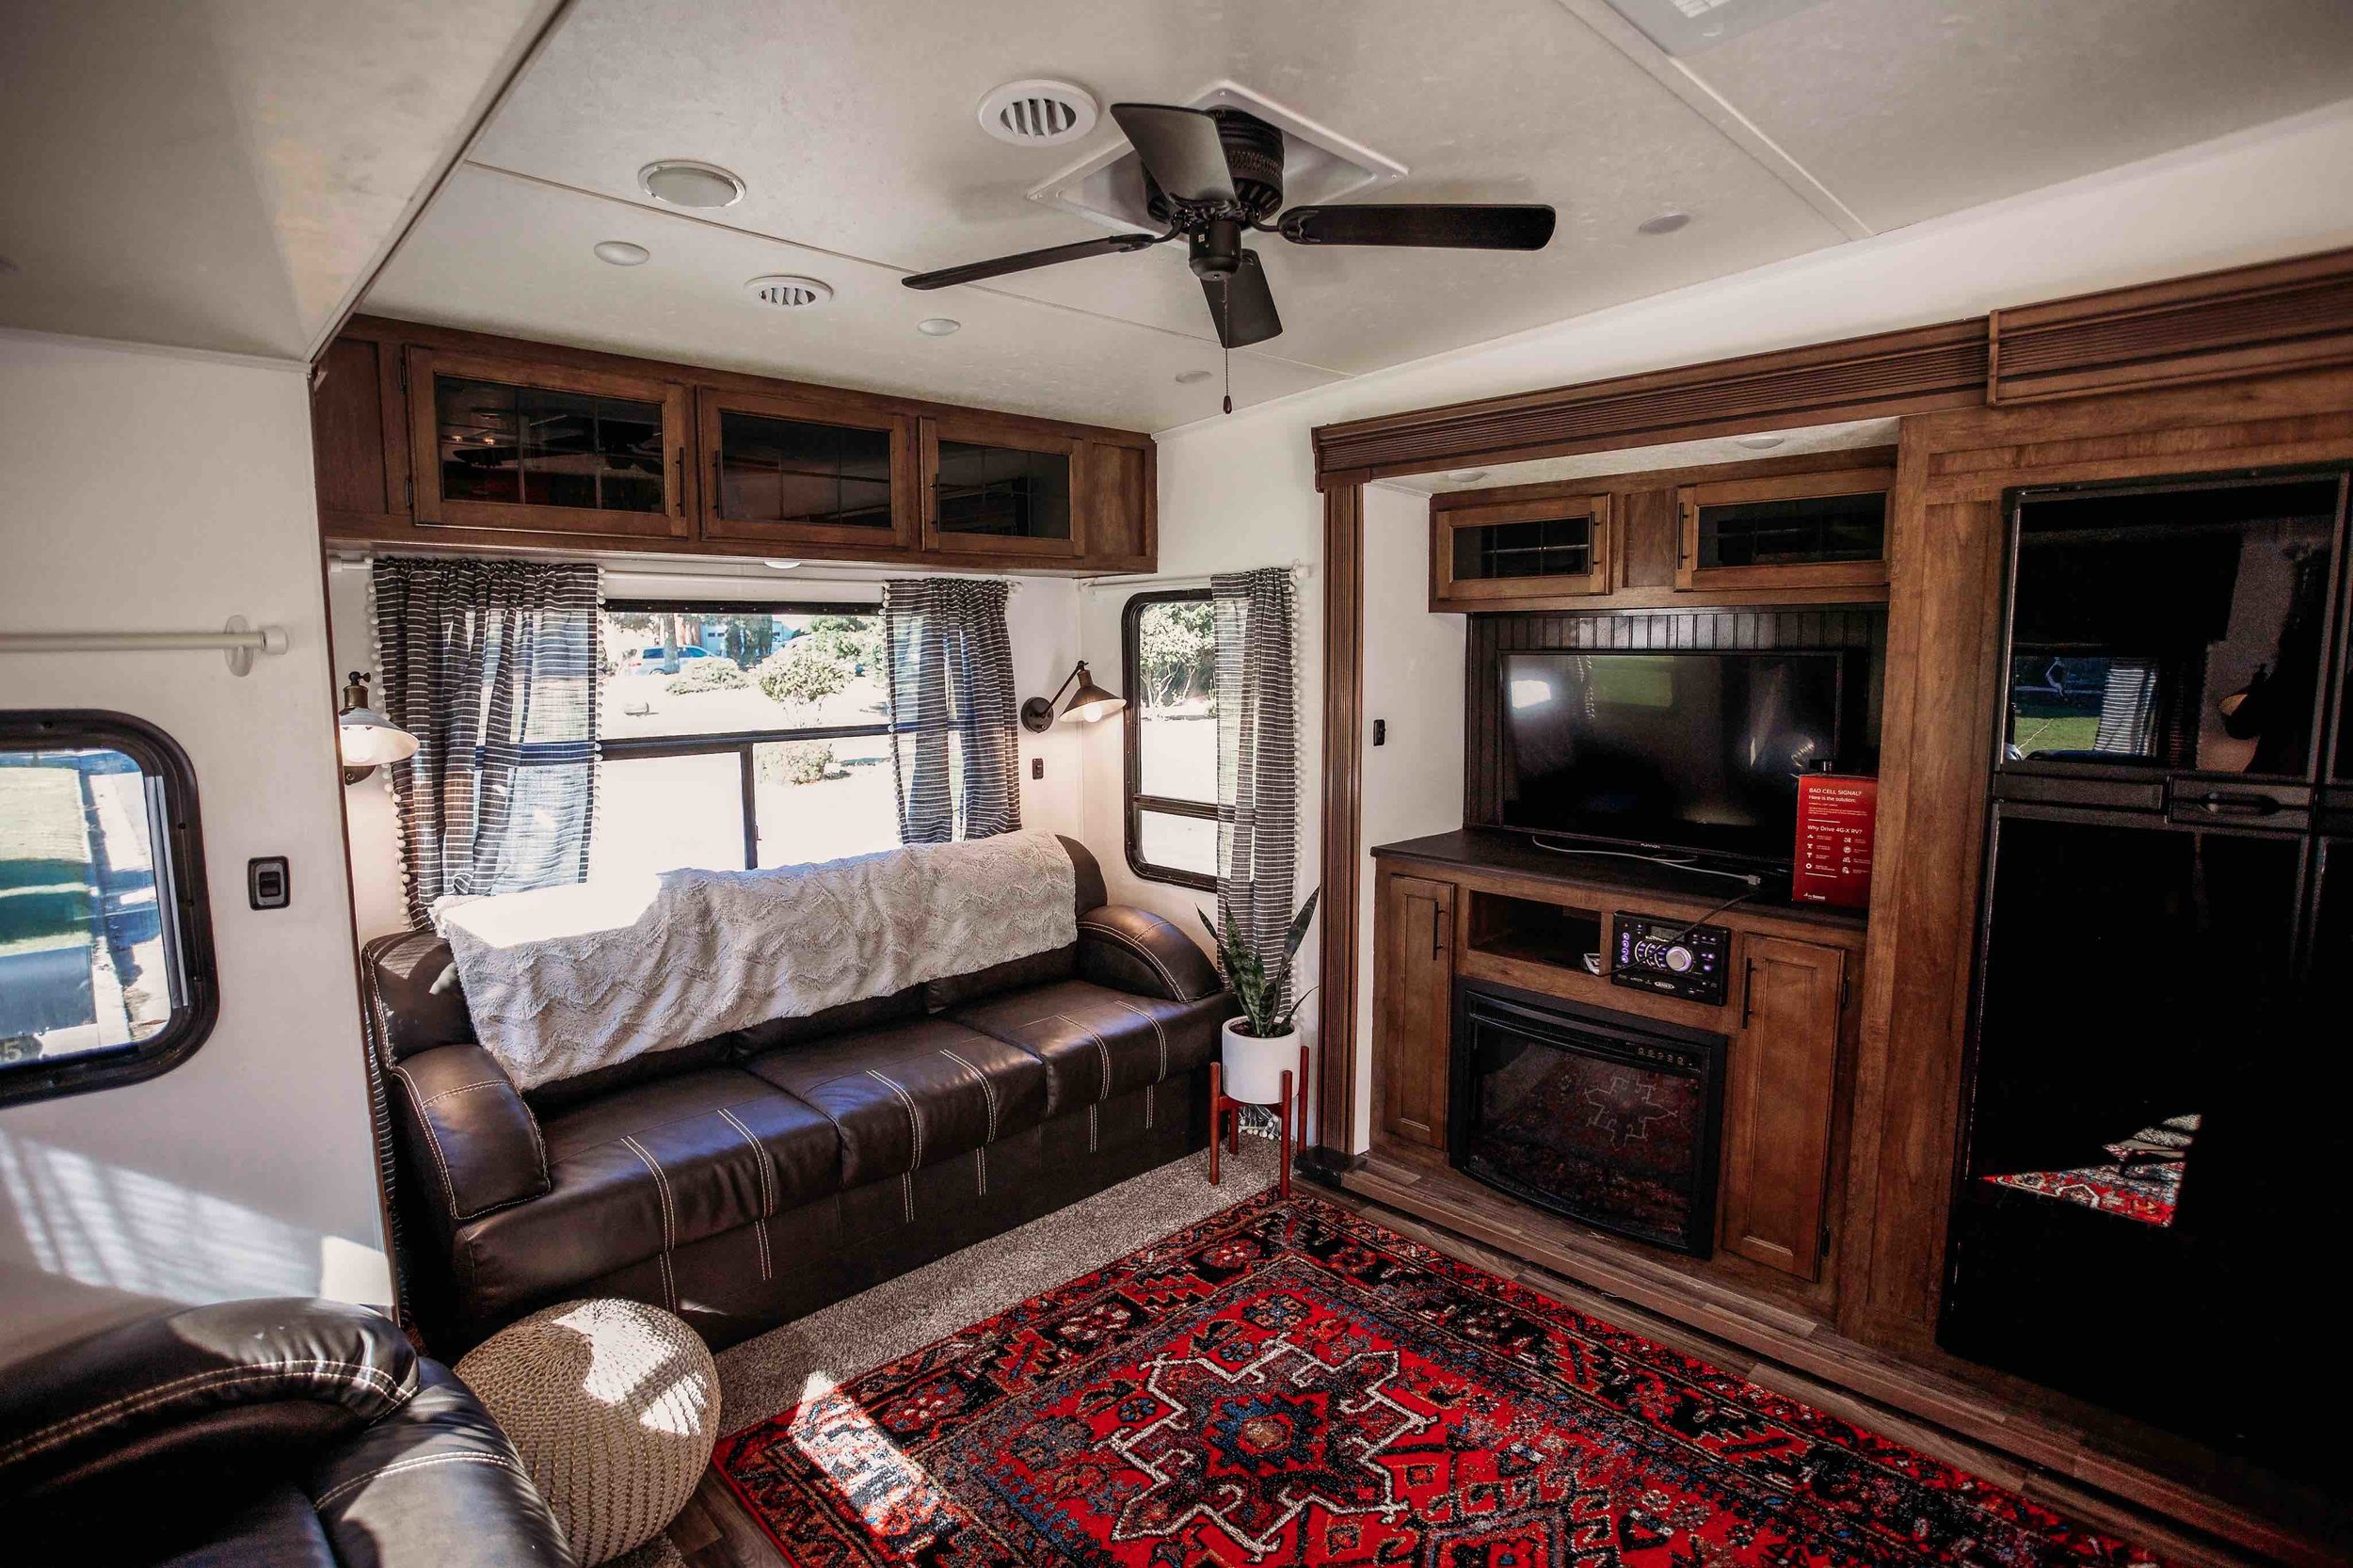
2. Curtains
We didn’t love the curtain valances that came with the RV. We decided to remove them all and start over. For the living/dining room windows, I found some panels at Target I liked a lot. For some of the smaller windows, I cut the panels in half, and ironed and hot glued the cut edges. I found other curtain panels at Hobby Lobby and was able to cut 2 panels down and cover all of the windows in our bedroom. The kids room curtains were made from fabric I got at Joanne.
Our original plan was to use regular curtain rods. Unfortunately, when we started drilling, we realized there must be metal plates in the wall where the old curtains were because we could not get screws in. We decided to just use command strip hooks and lightweight Ikea rods.
3.5 year update: We wanted to switch out the curtains and hardware in the main living area, so we drilled holes in the wall to get past the metal, then put screws in and were able to use real curtain hardware from Ikea! We also got curtains from Ikea we really like. We did cut and “hem” them (with hot glue) so they would fit thee RV windows.
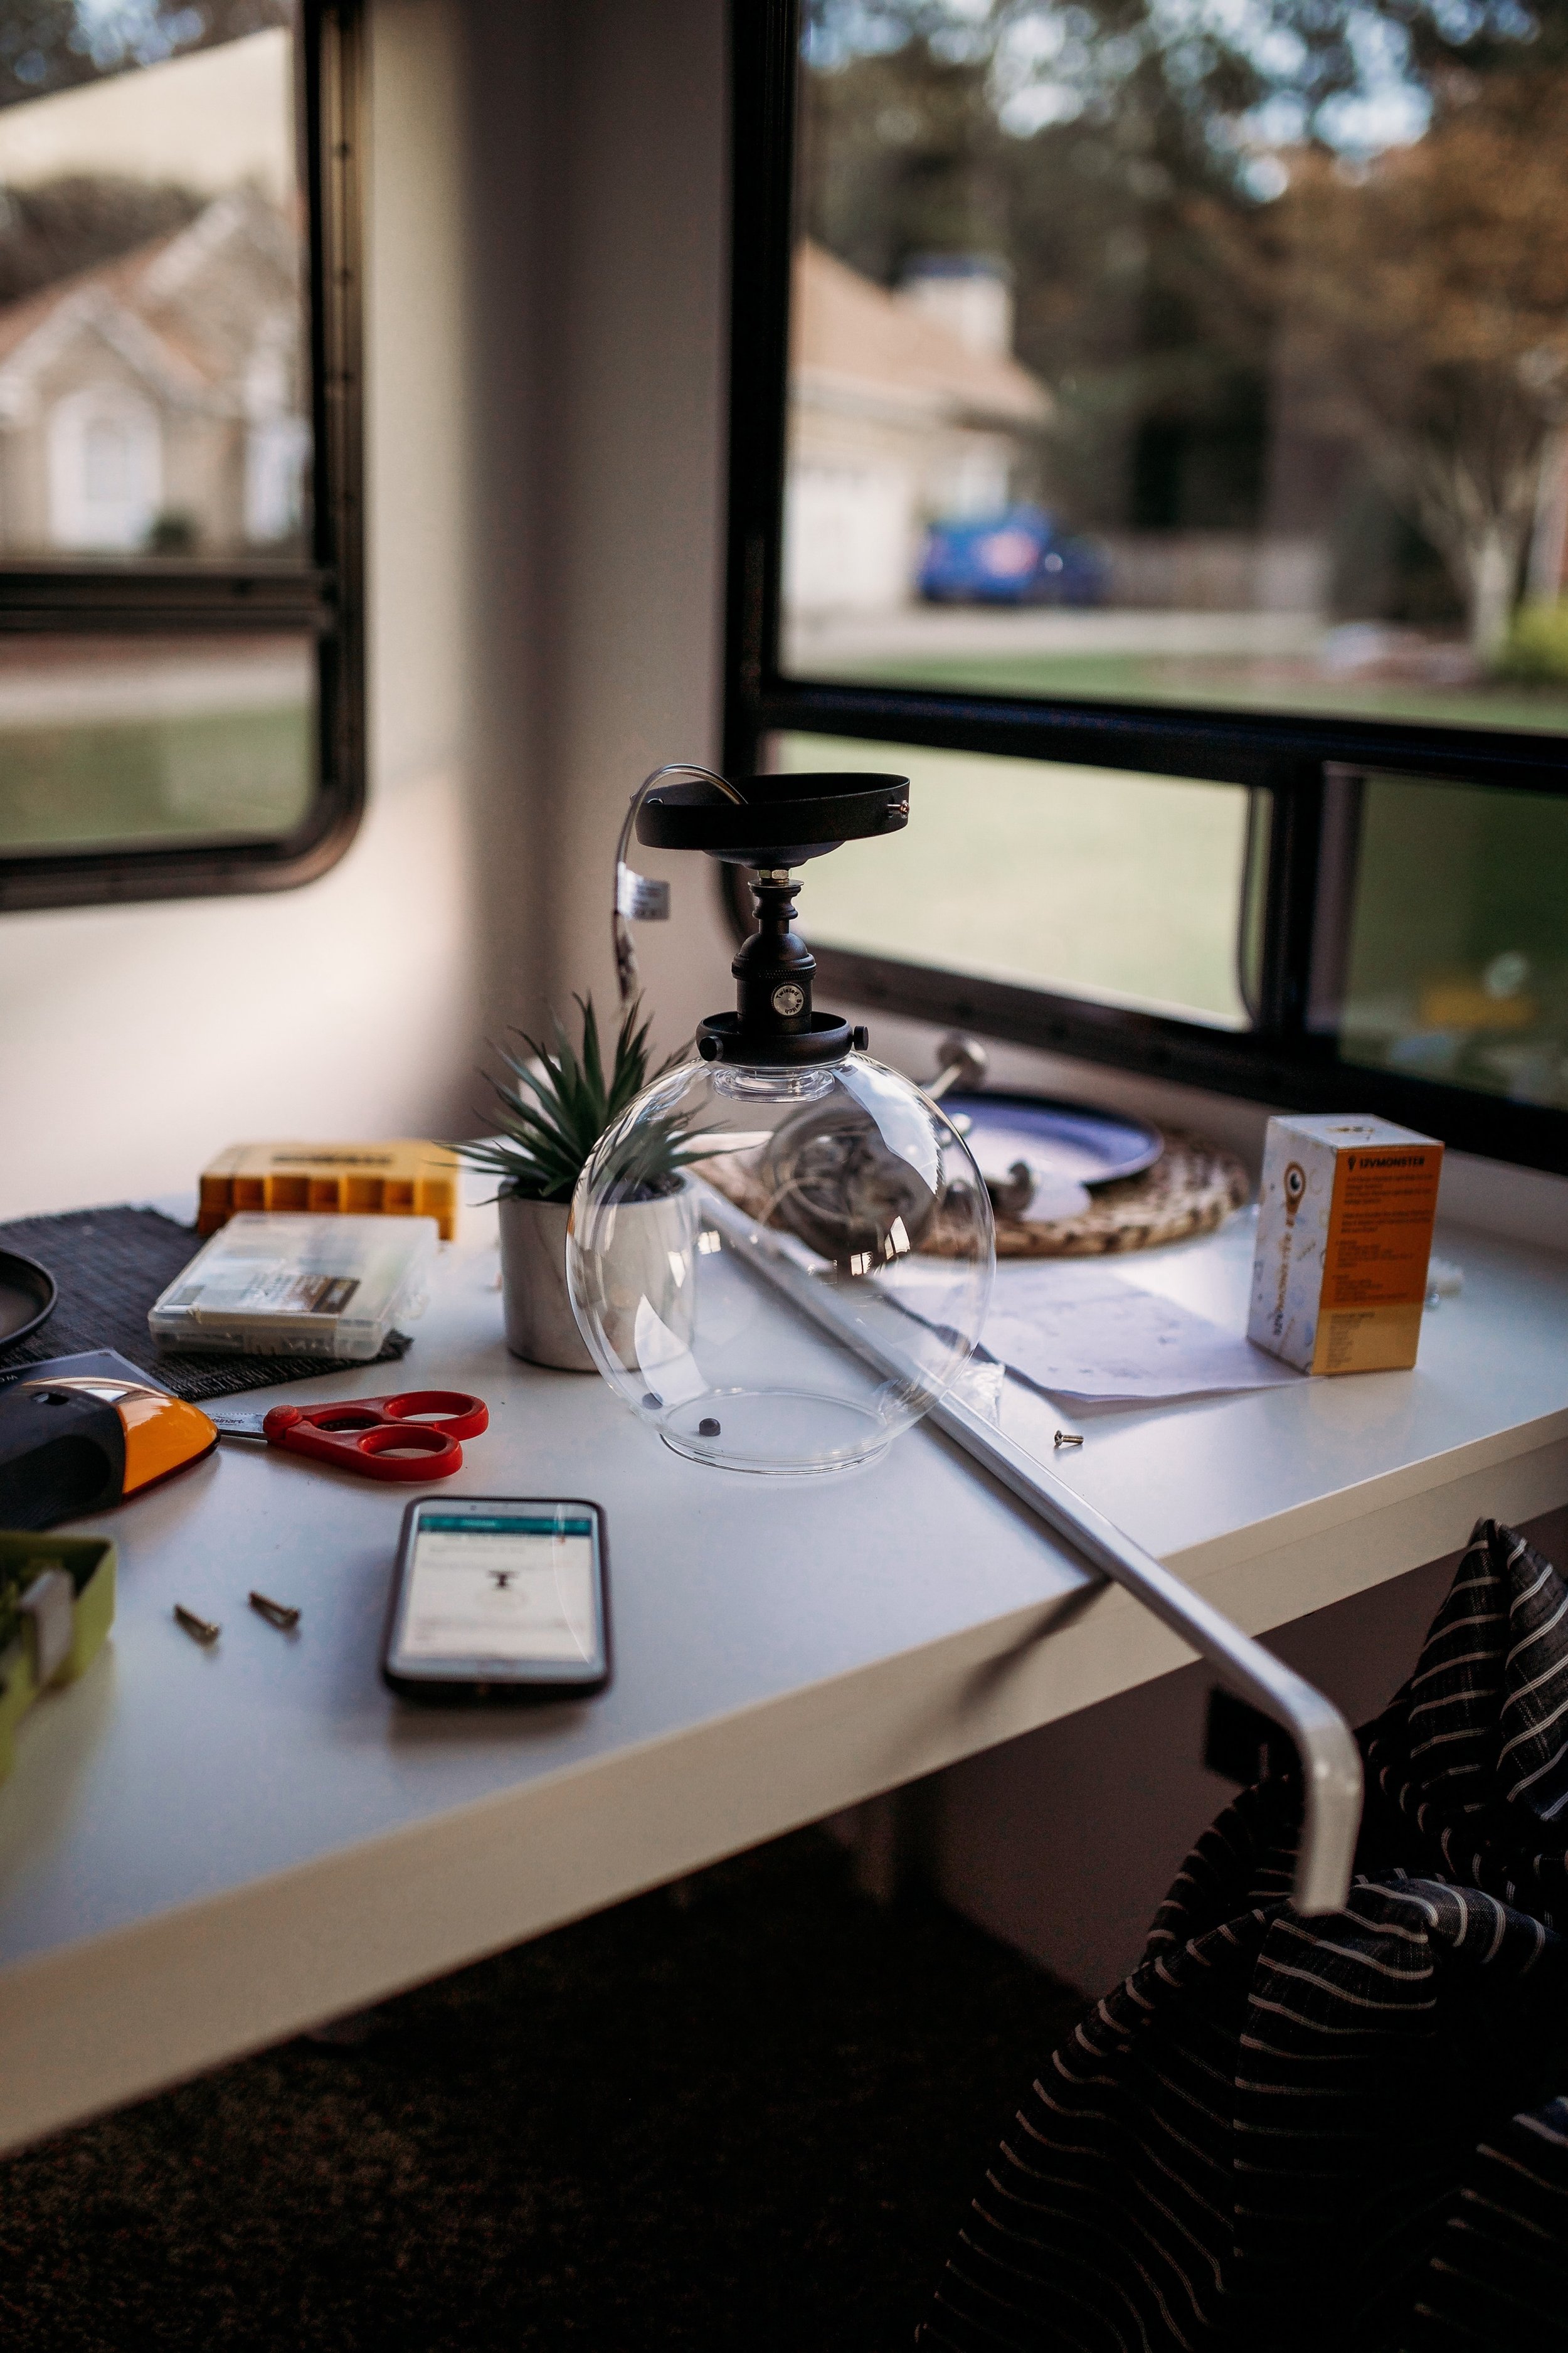
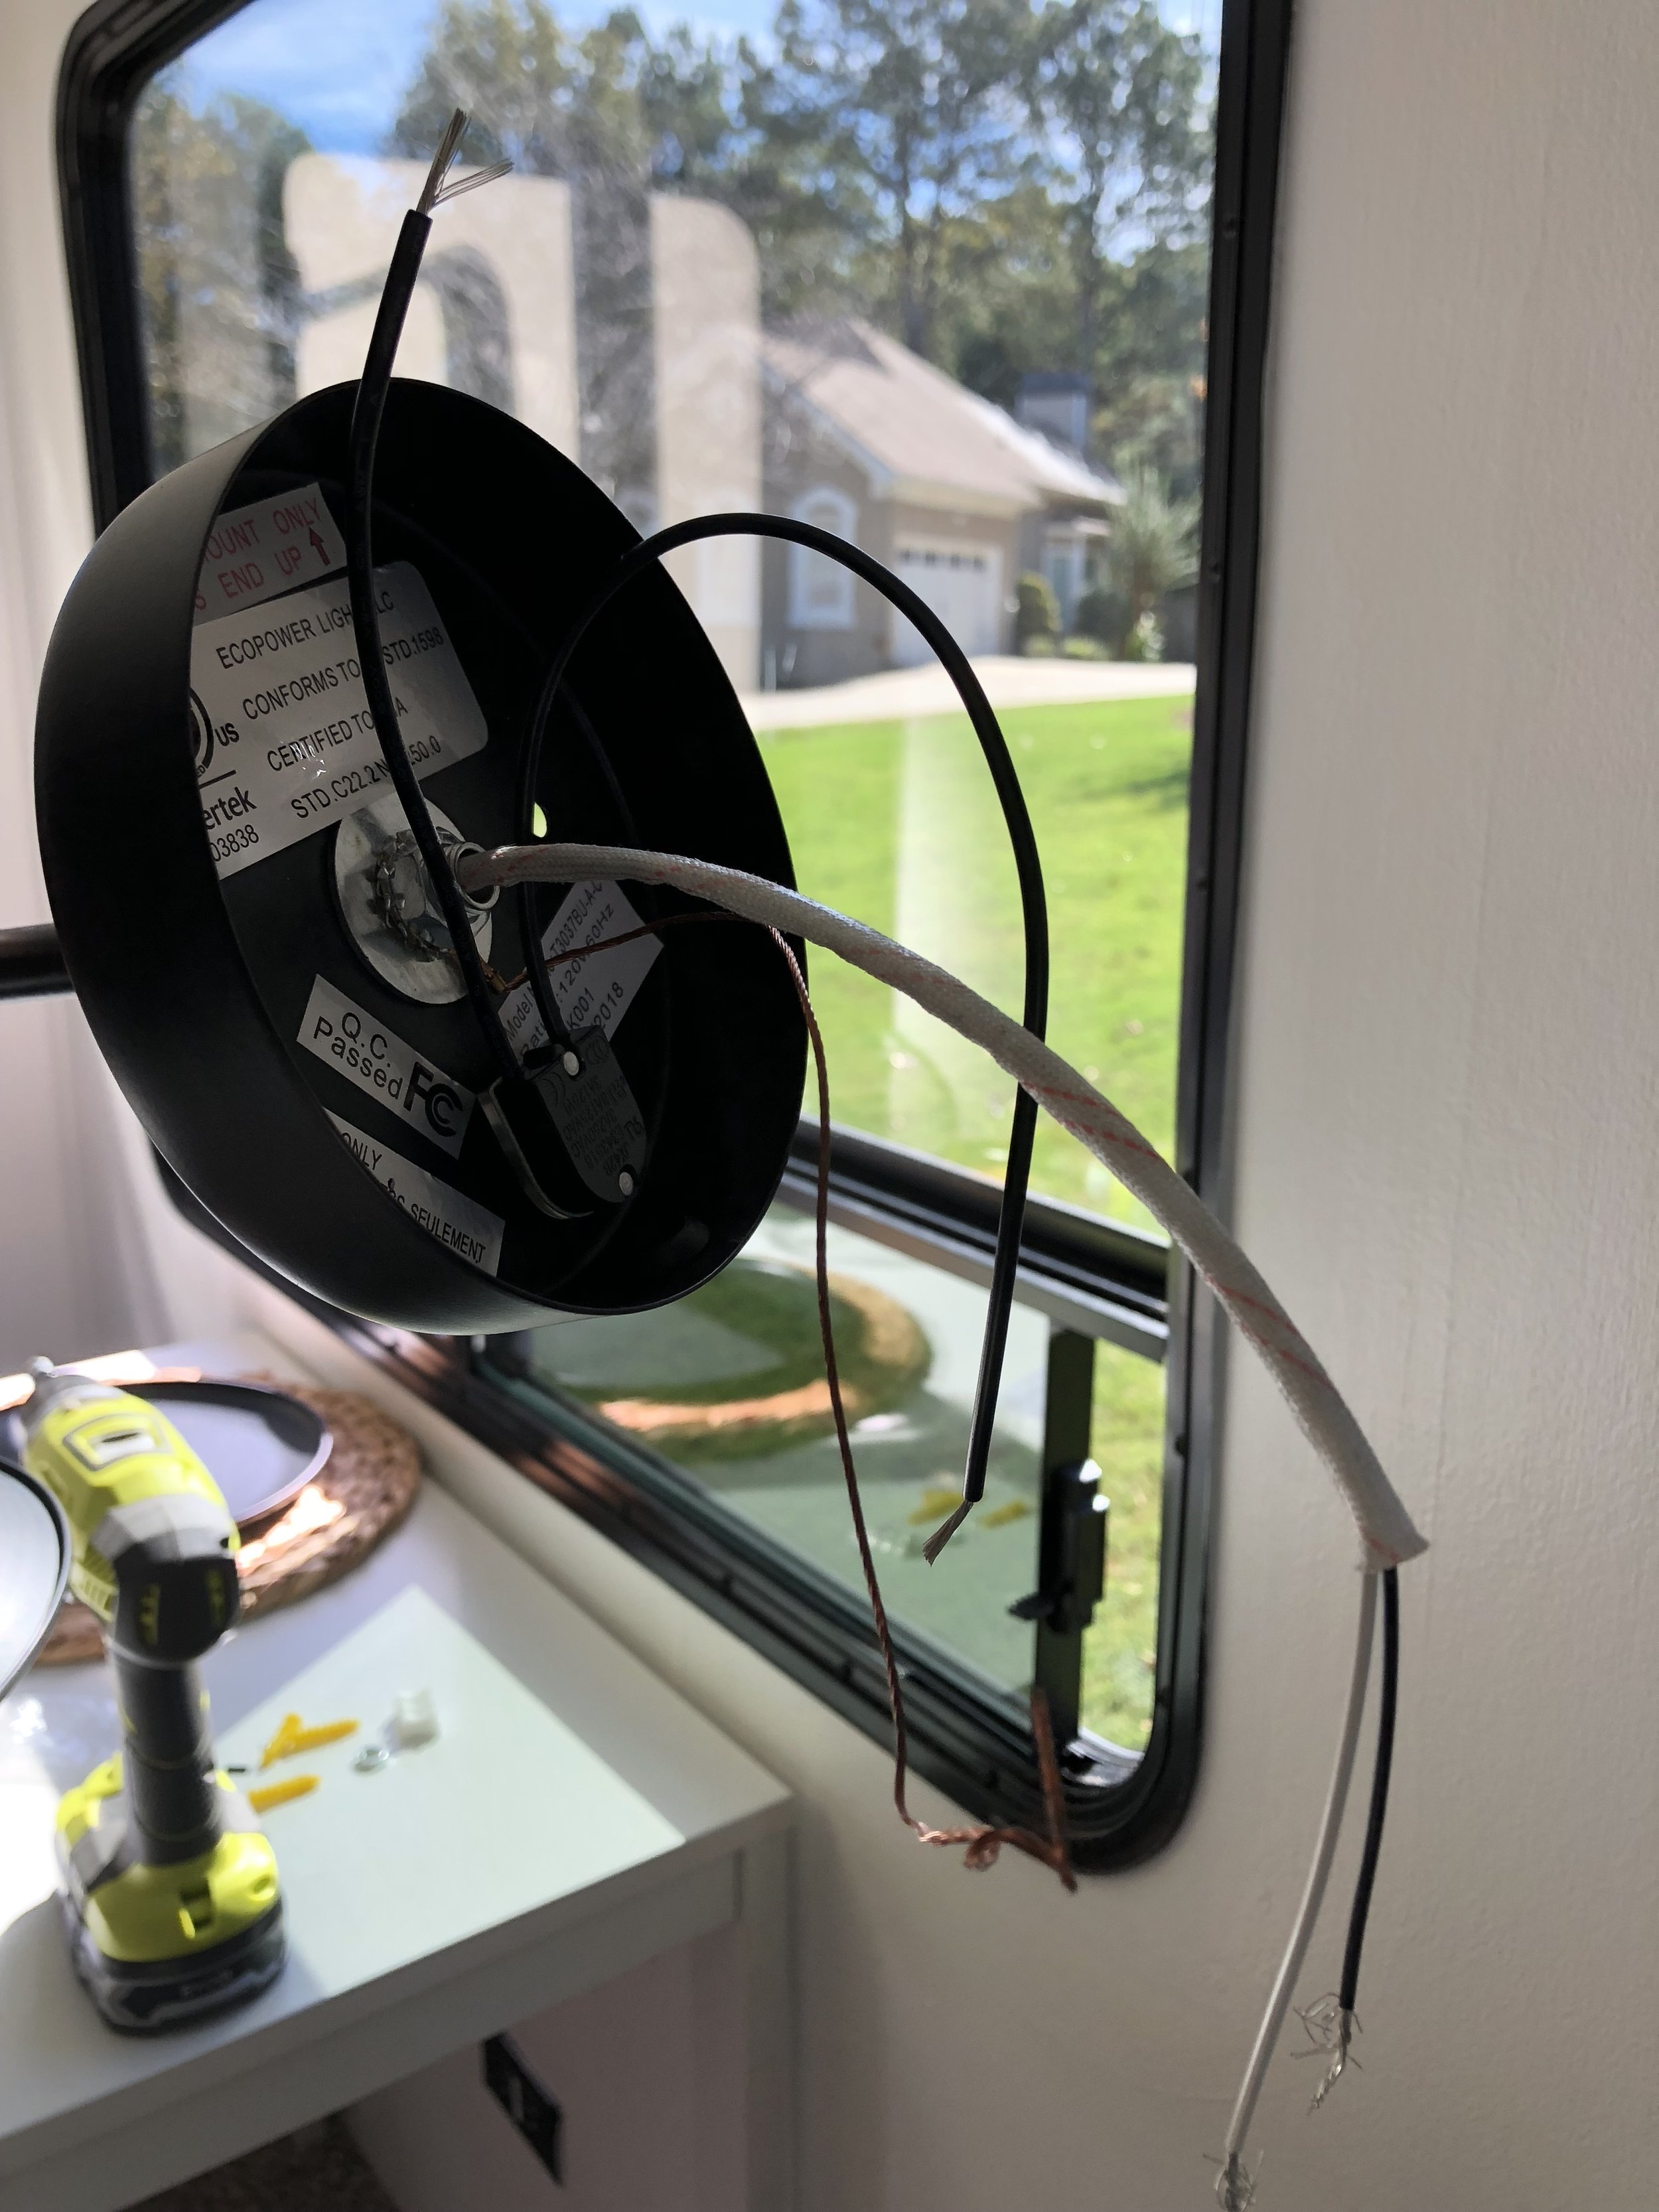
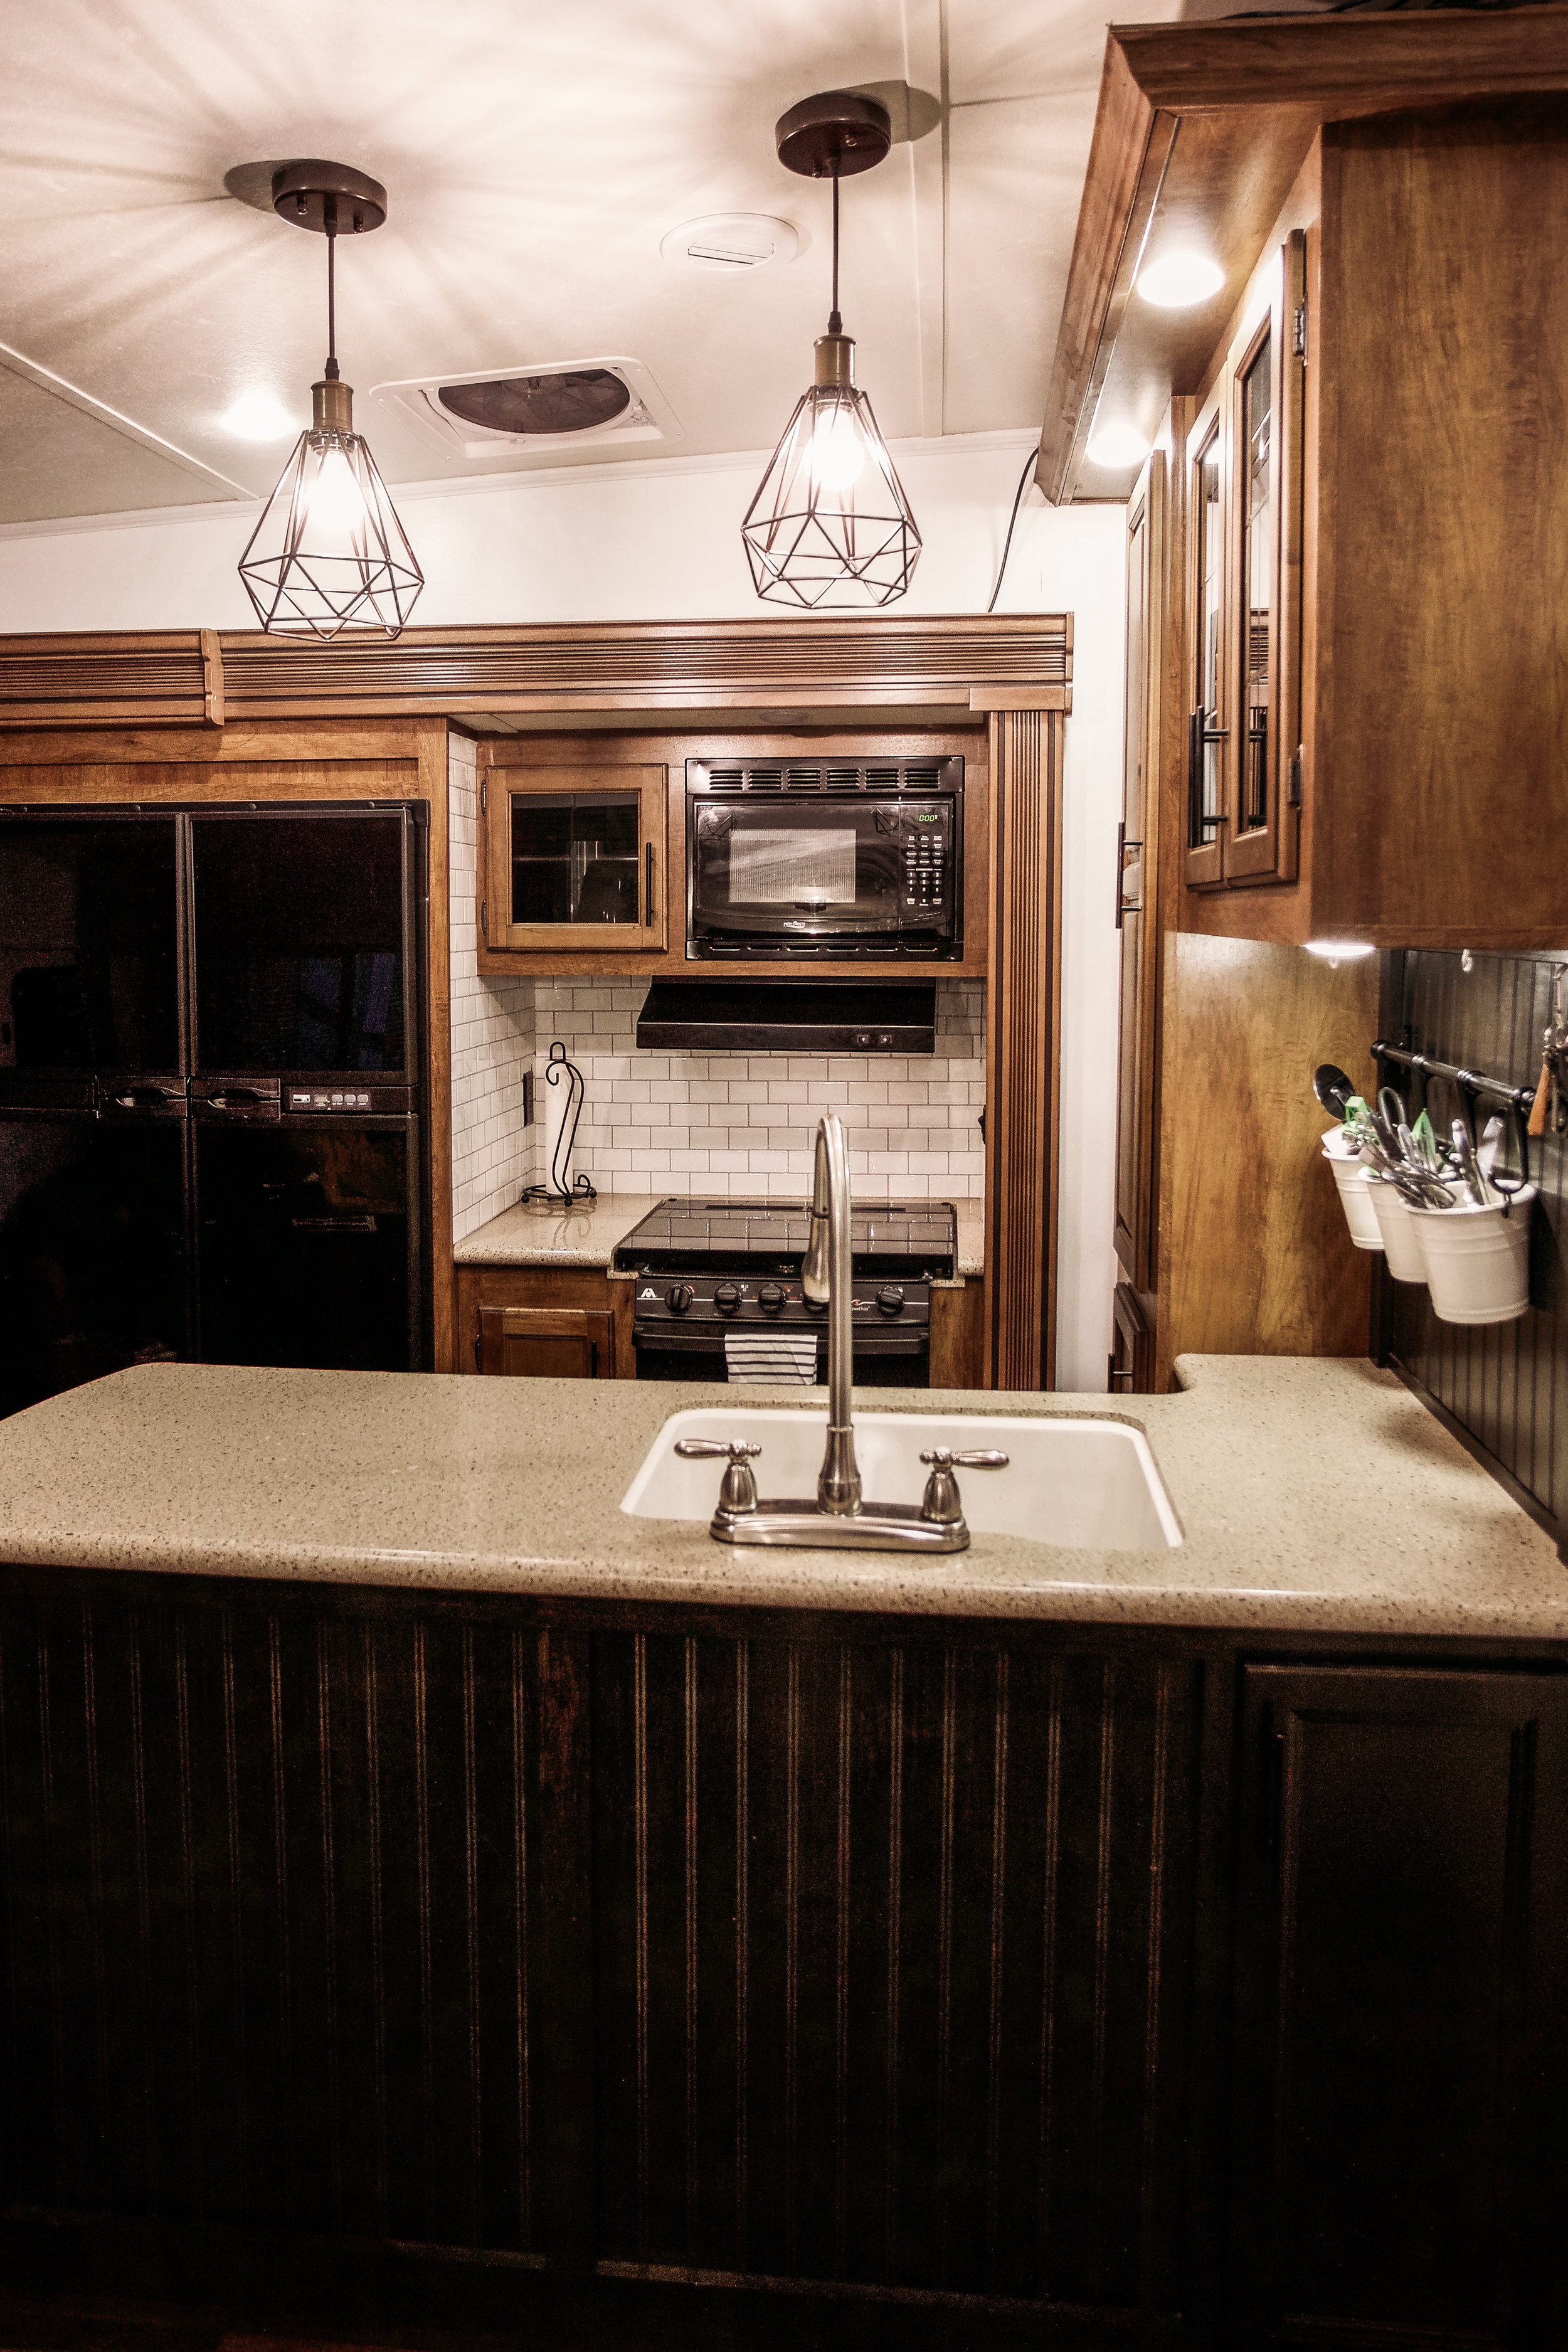
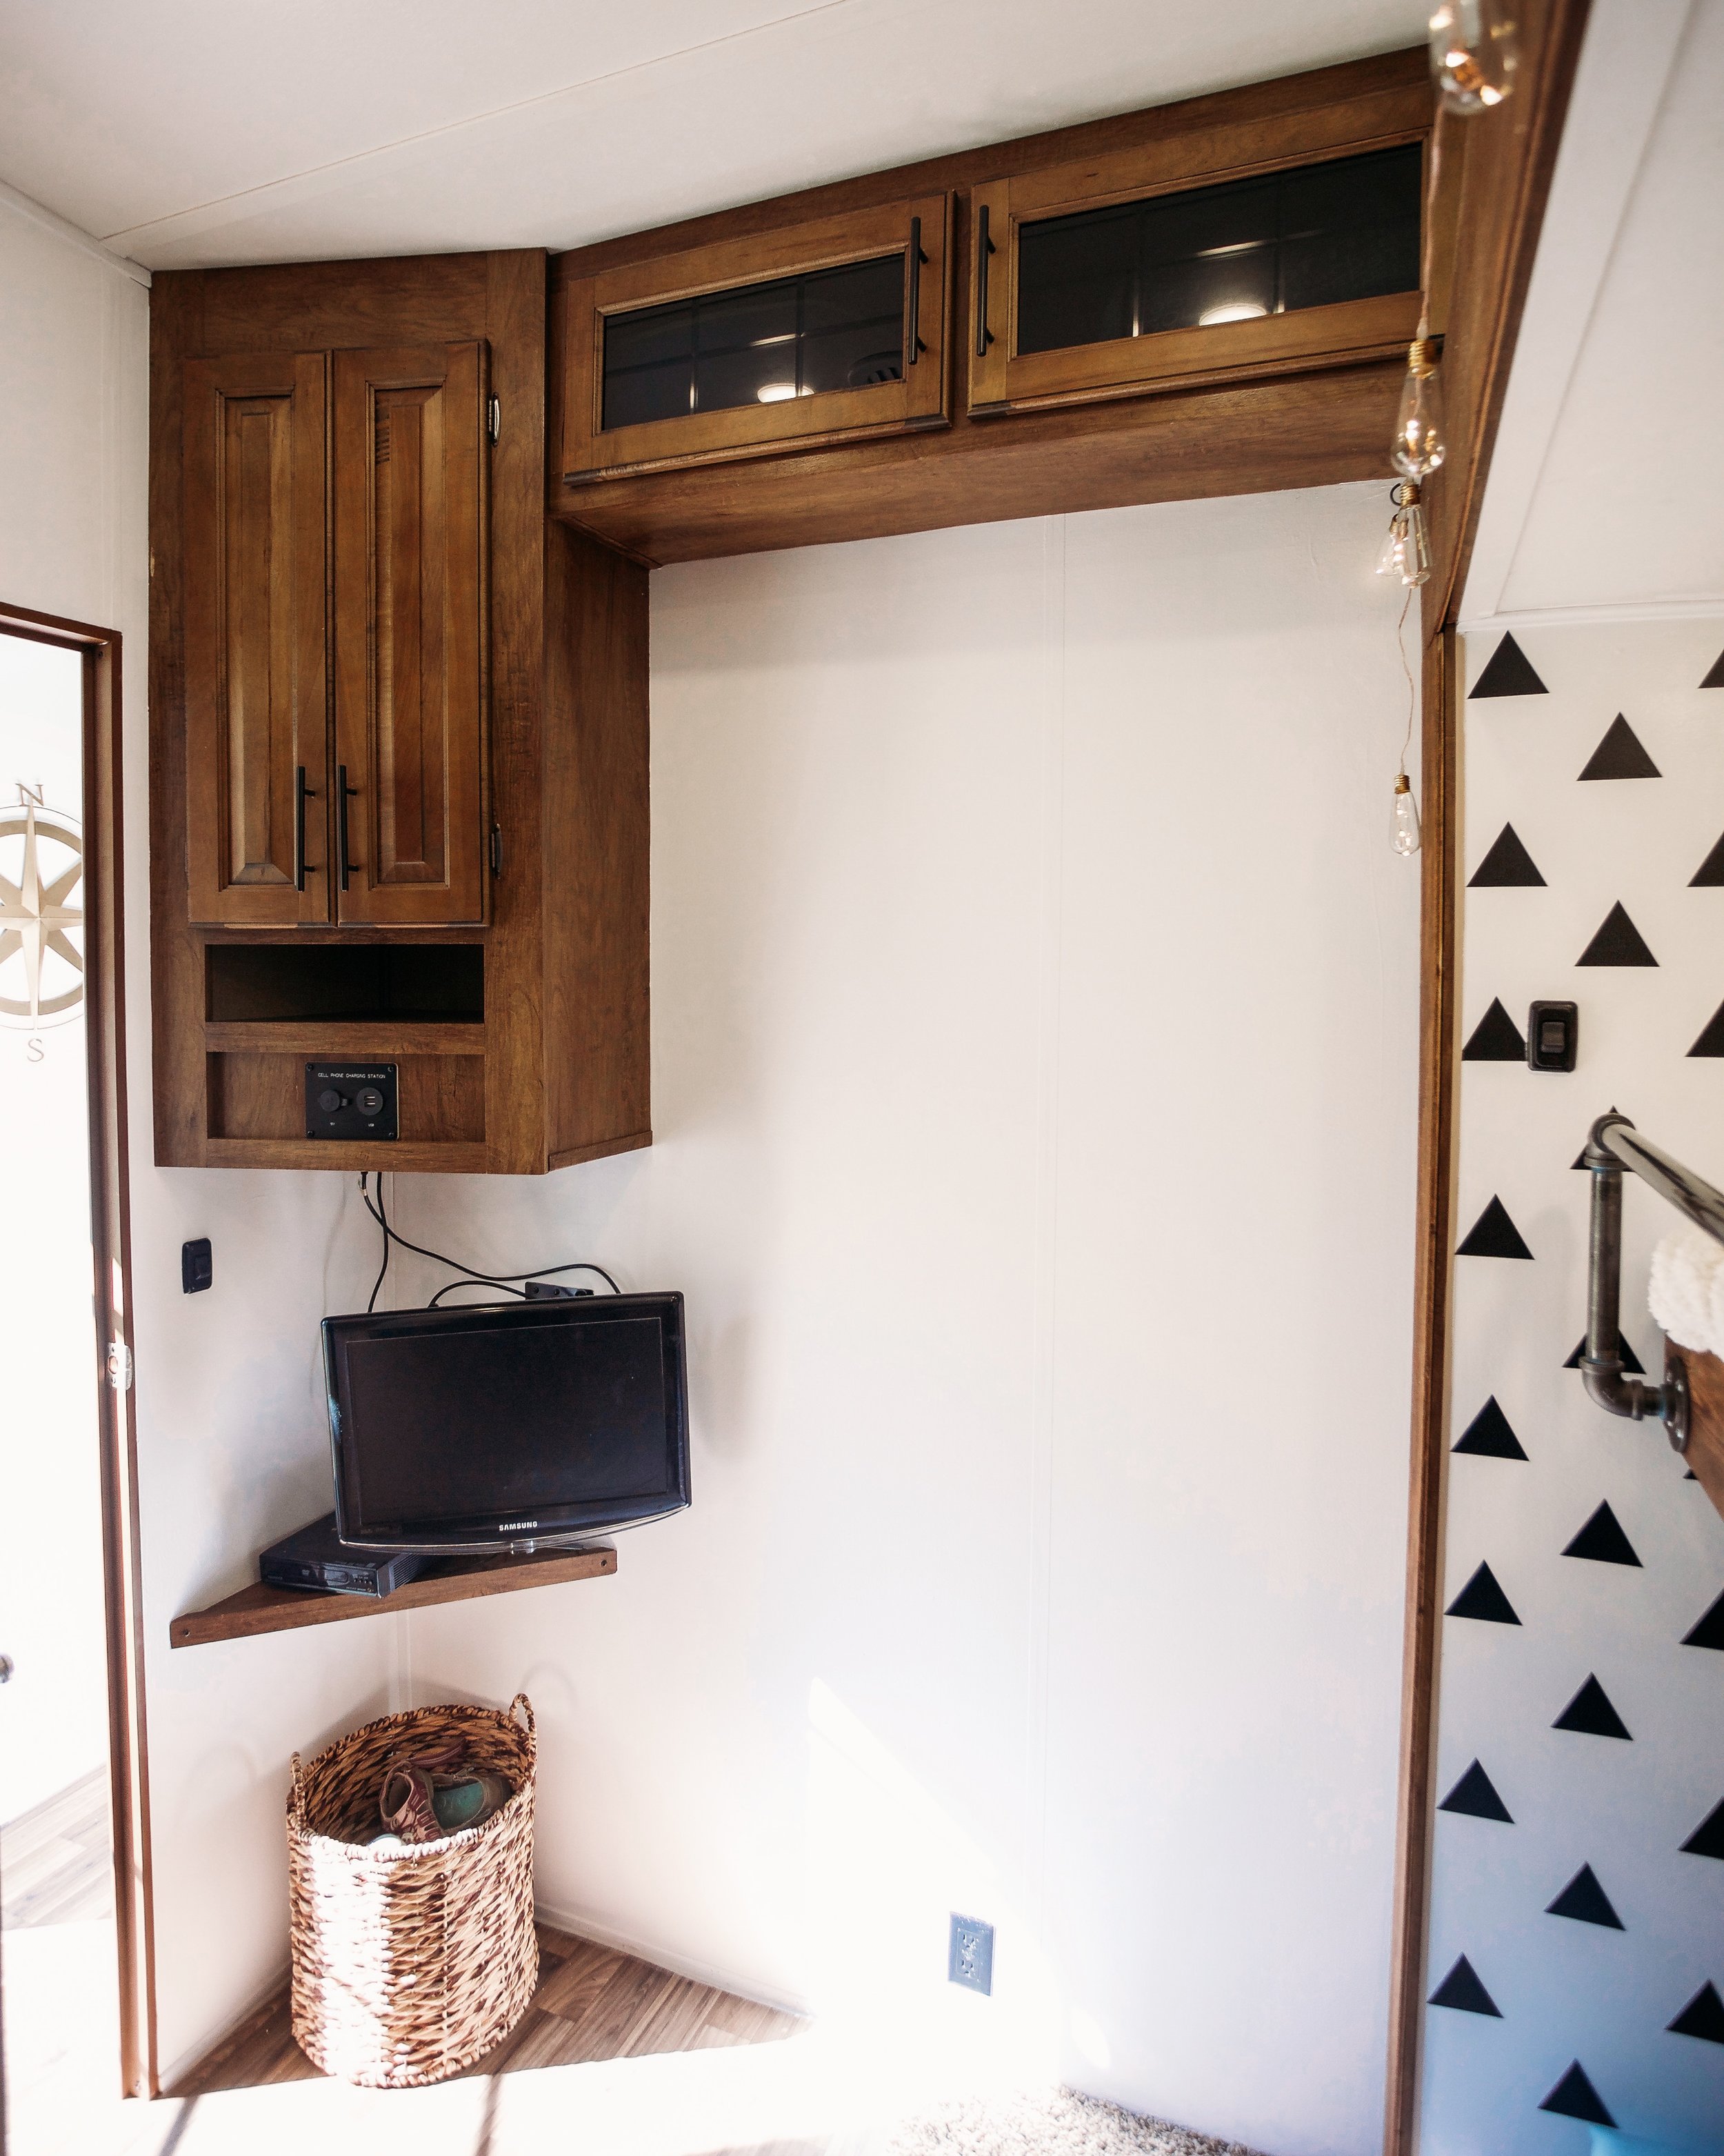
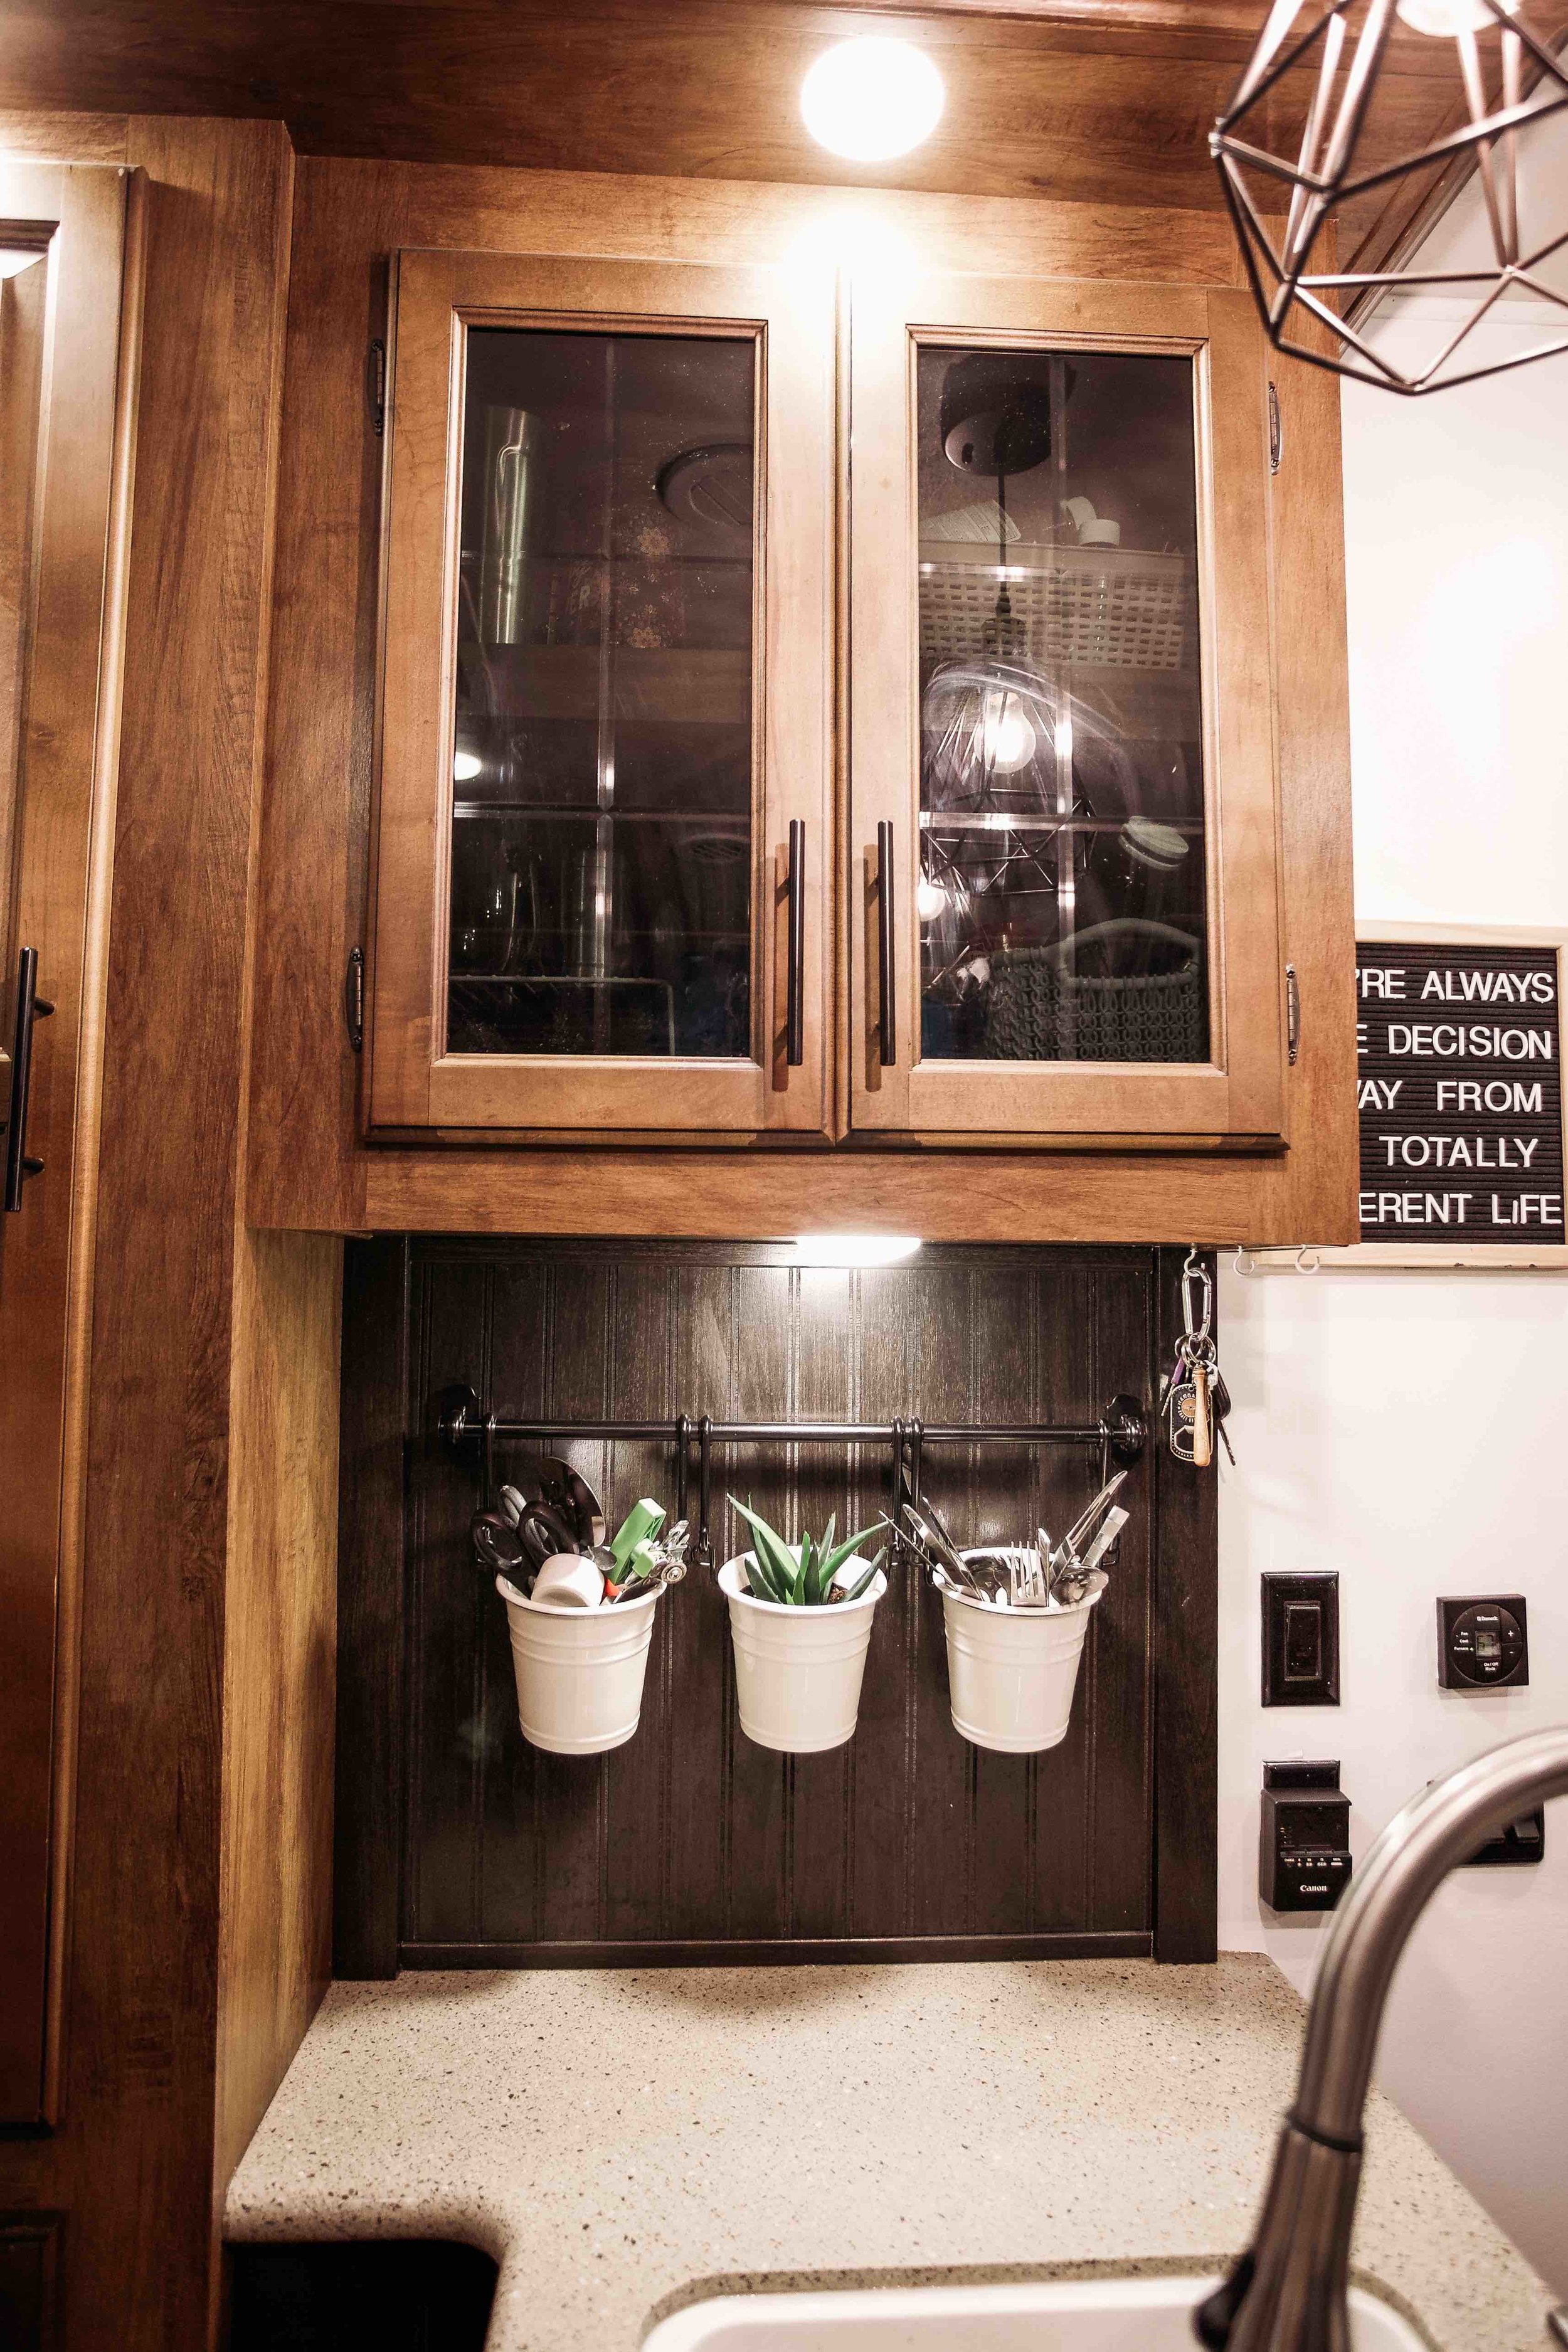
3. Lighting
The lighting in the RV wasn’t bad at all, but I have visions of exactly what I wanted and decided to do some switcheroos! This was more tricky than switching out light fixture in a house. Our rv needed 12 V light bulbs and compatible lights for those bulbs. Amazon is where I found what I needed. I was able to find all the light fixtures and light bulbs I needed there! Buy our pendant lights HERE. The light above the dining table is HERE.
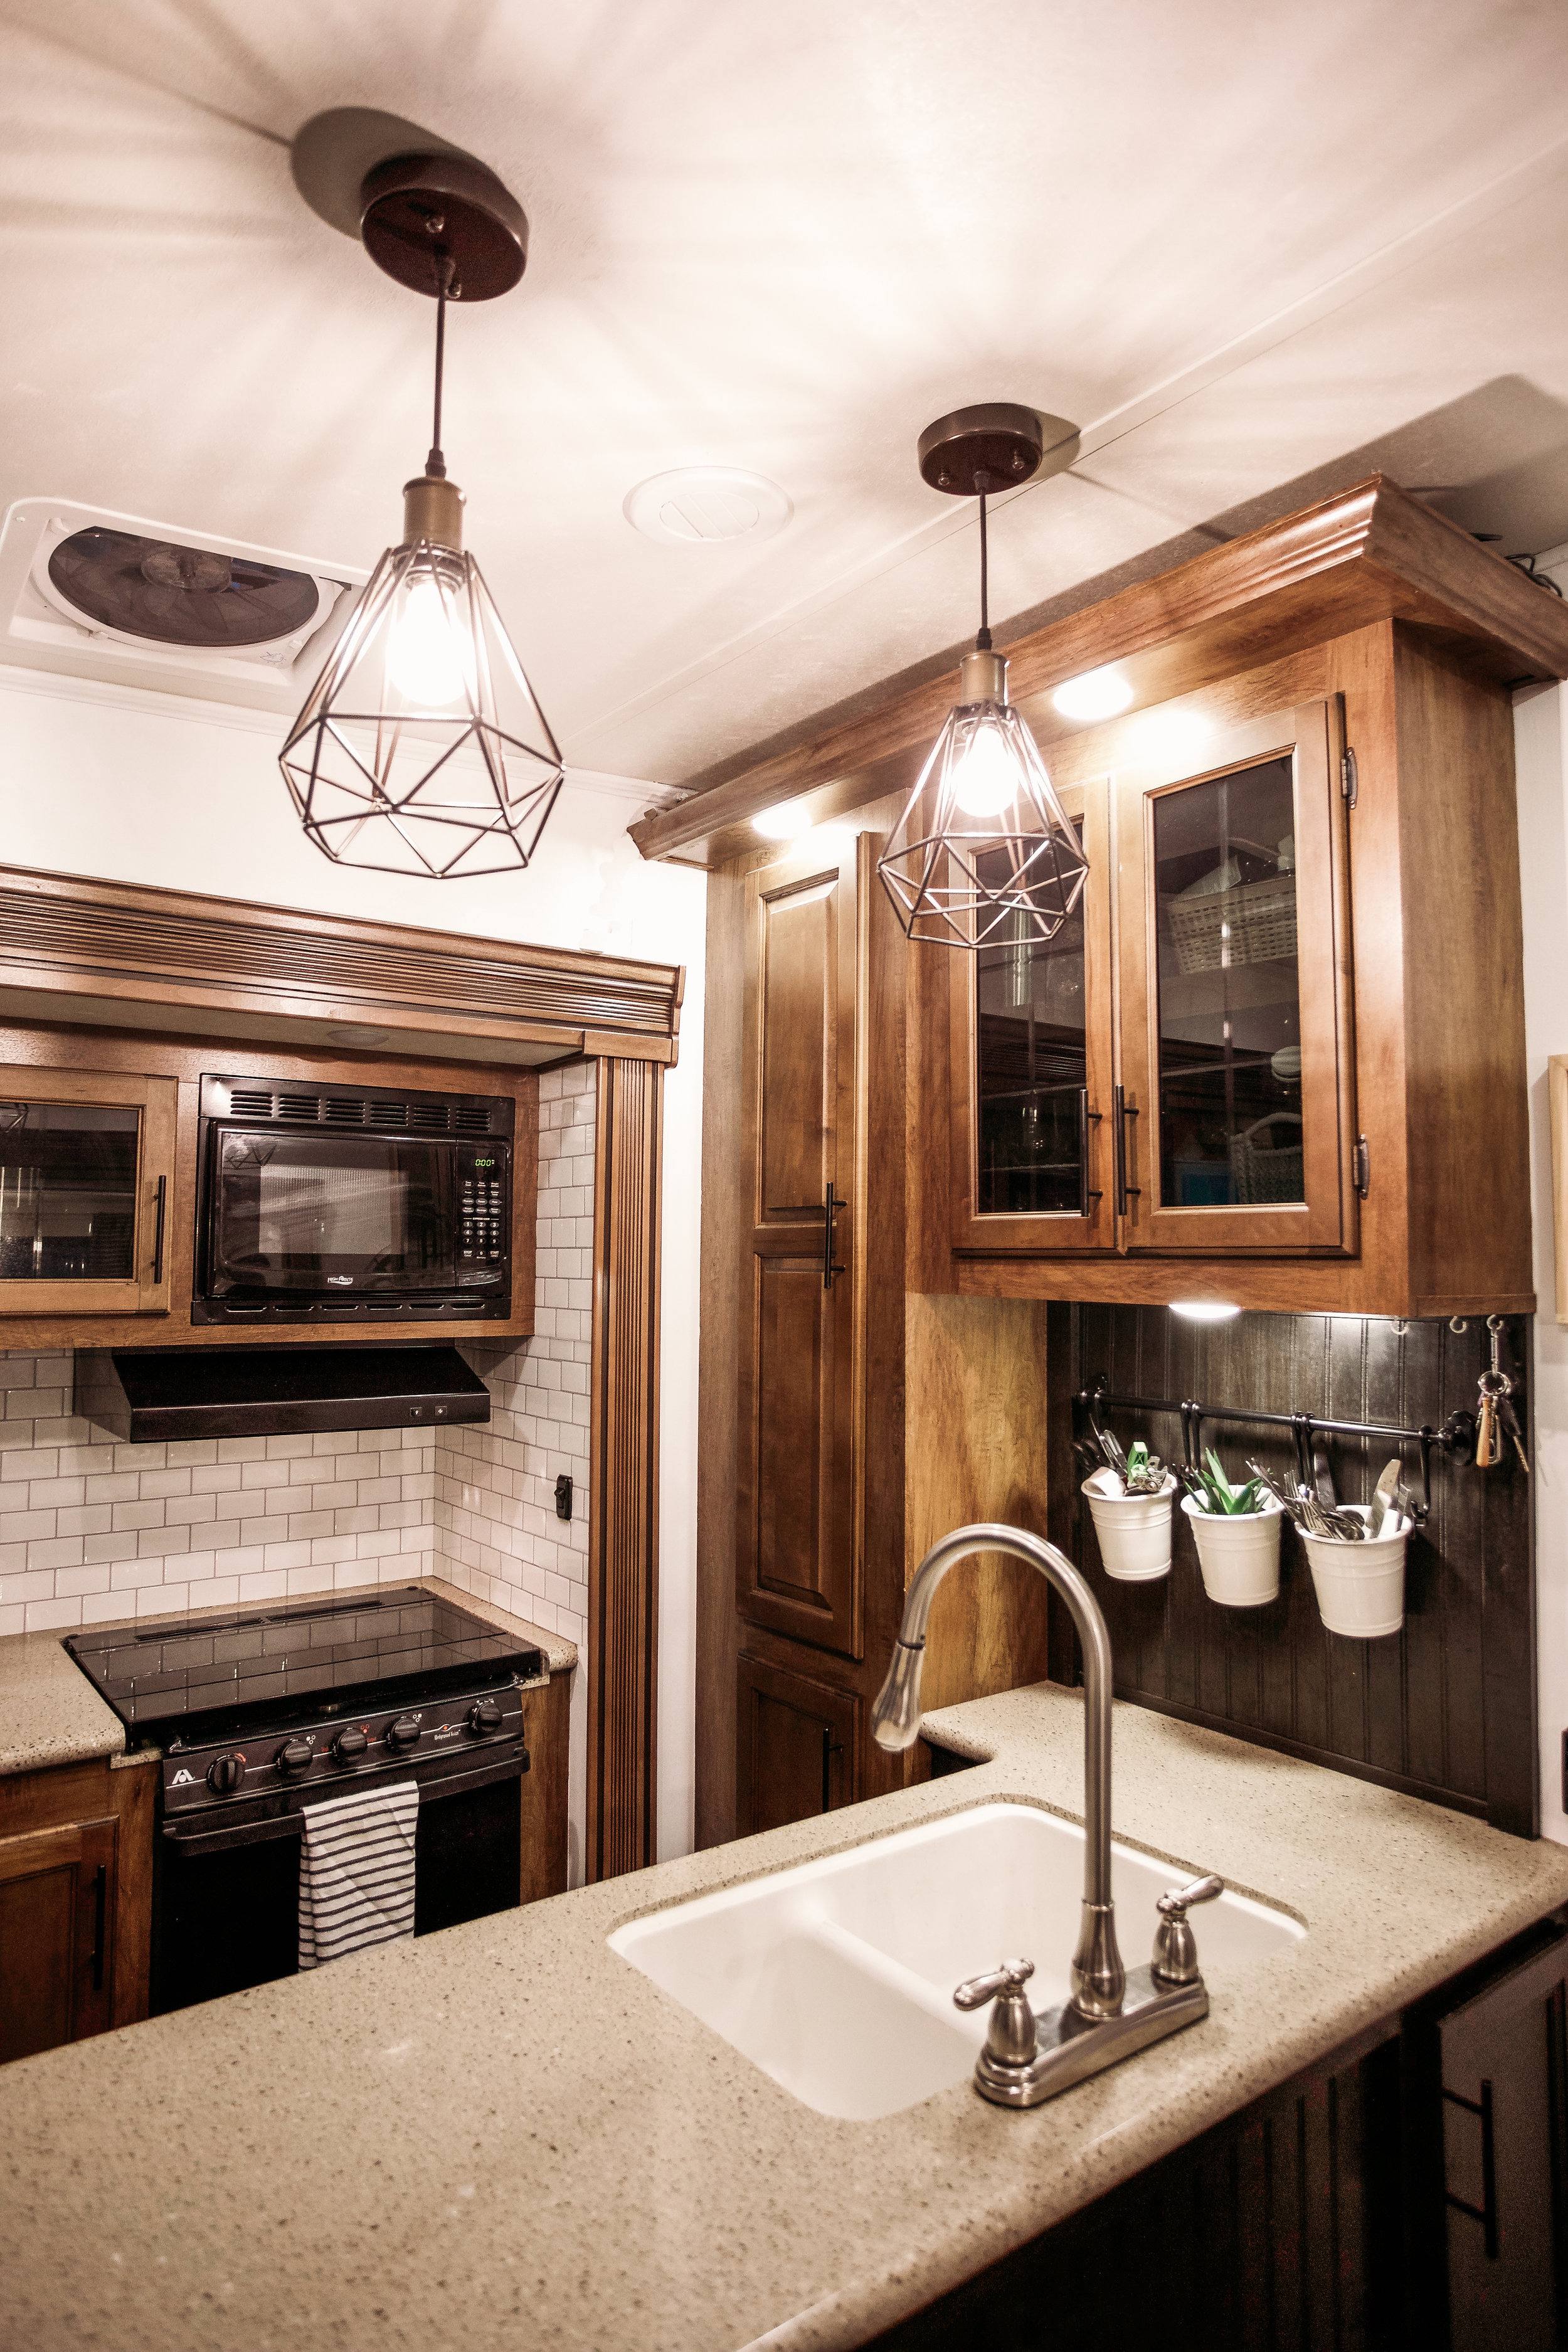


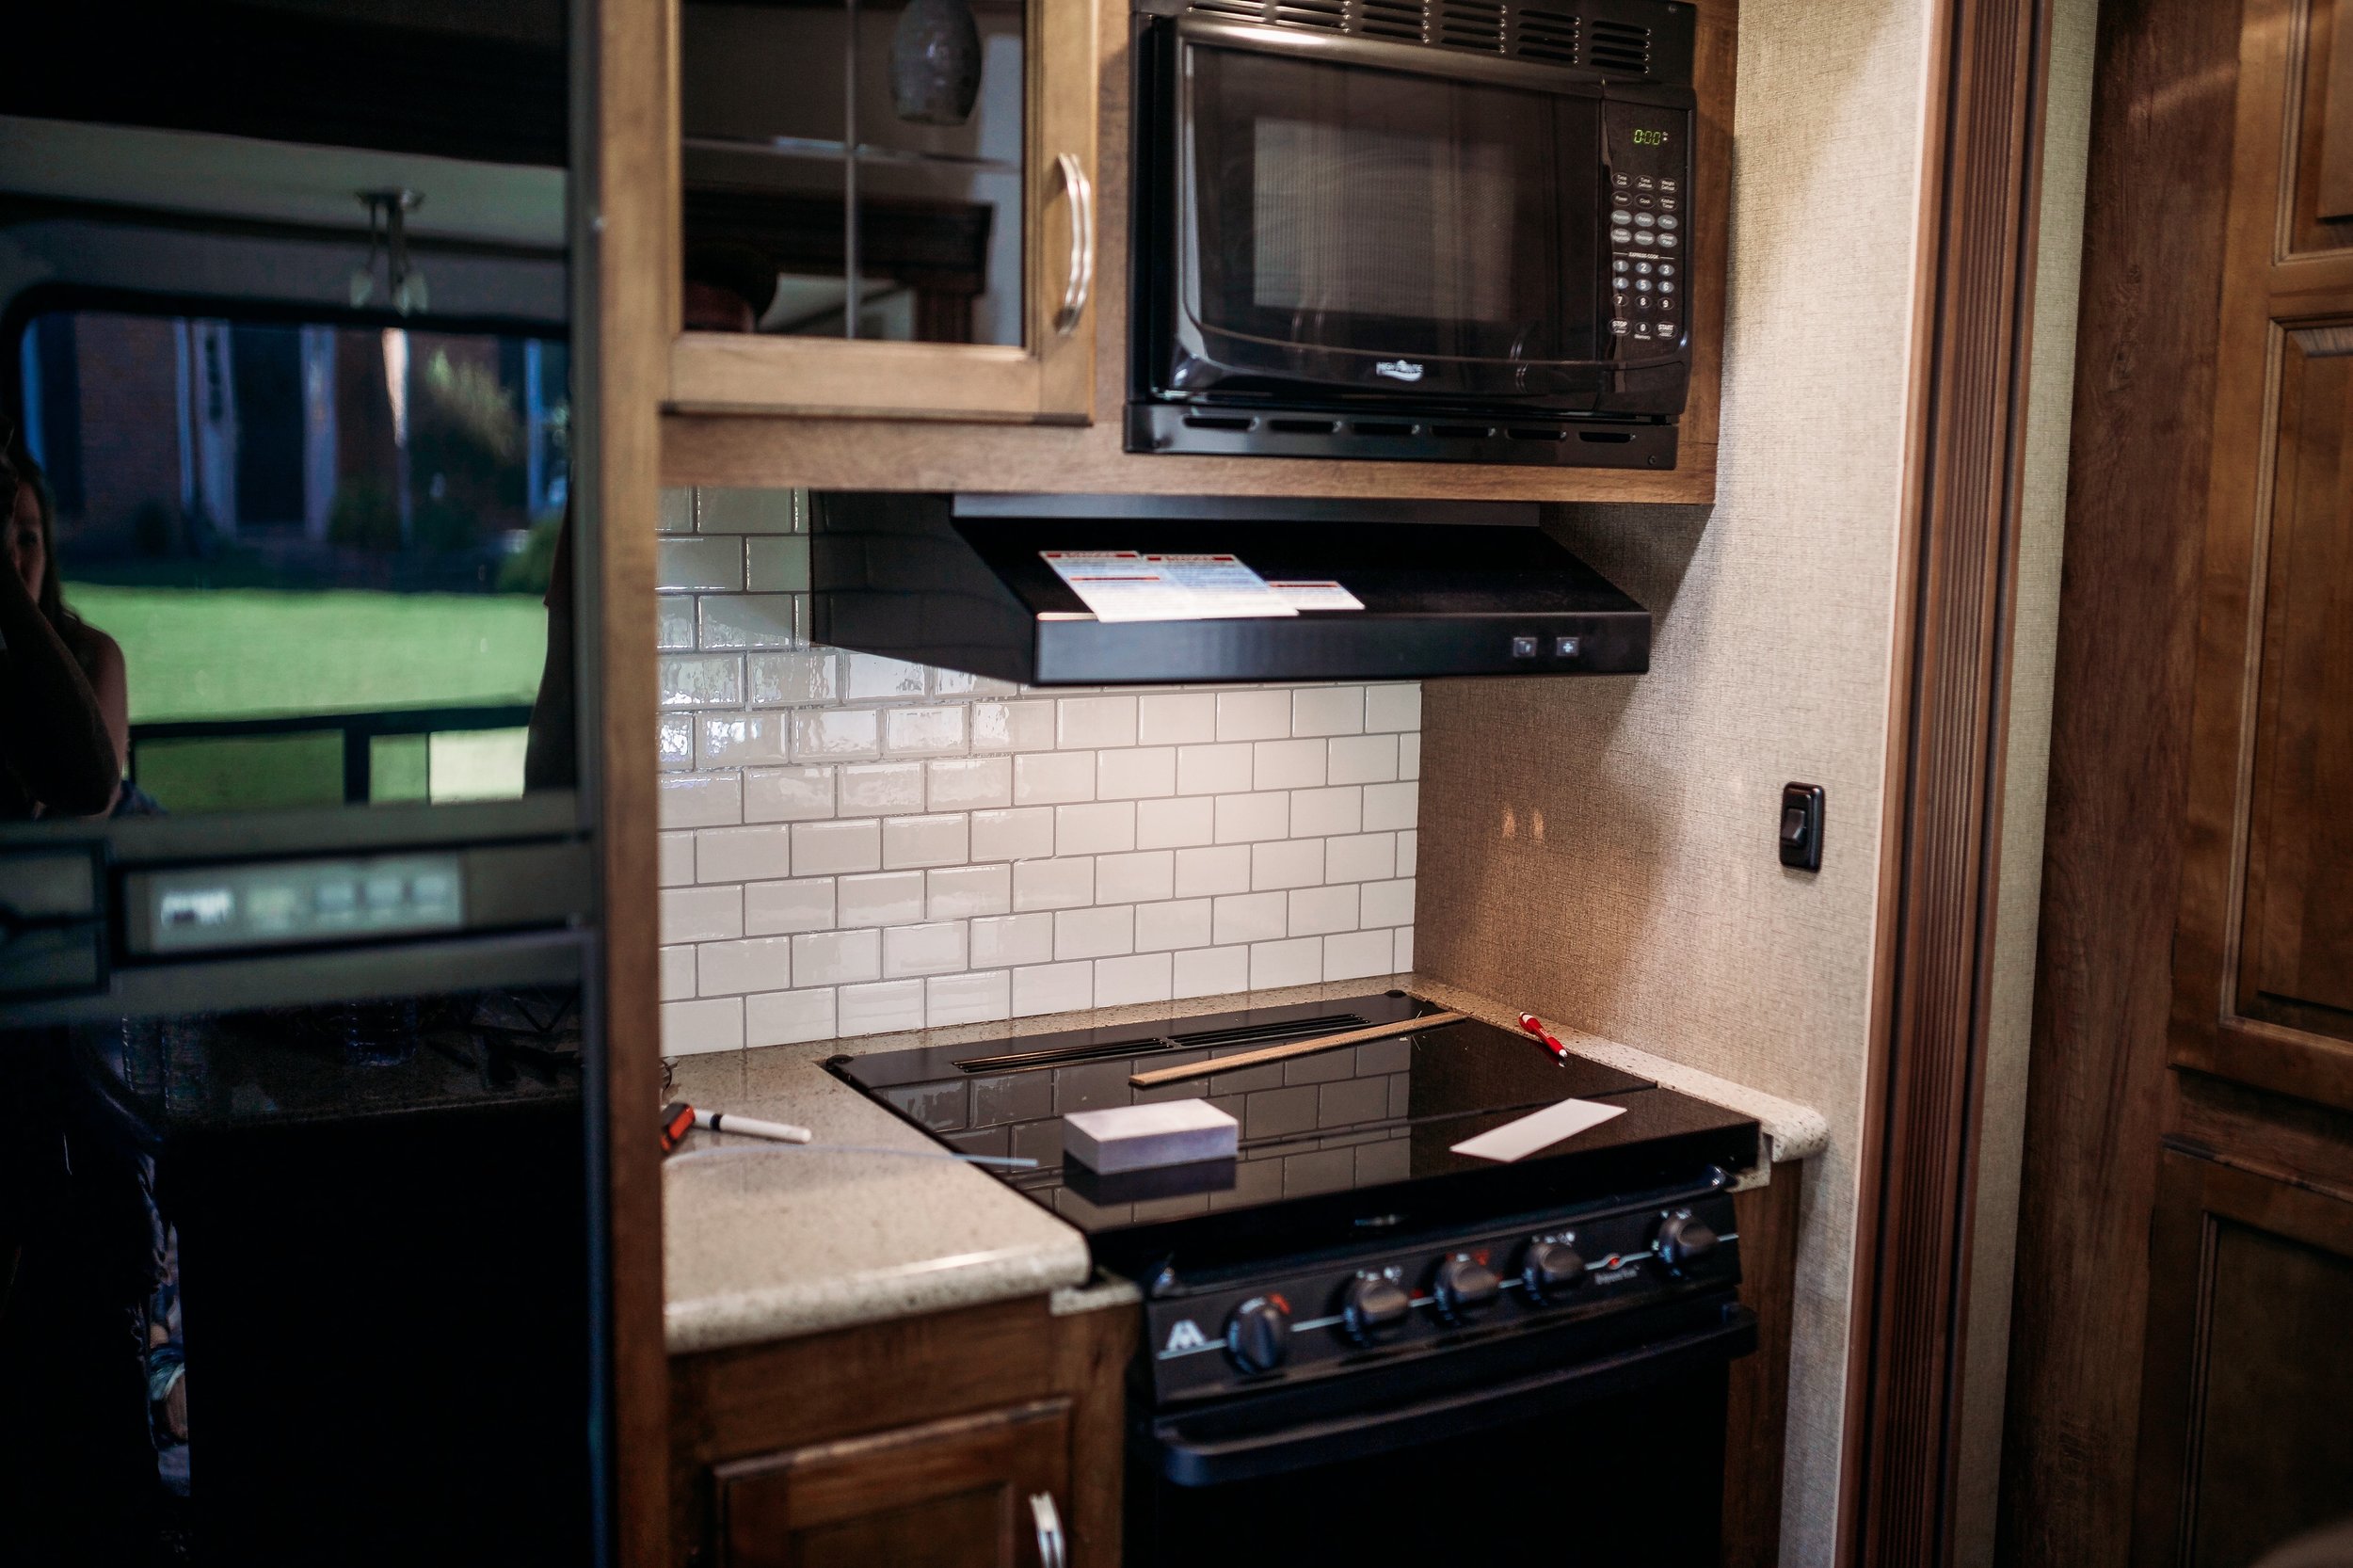
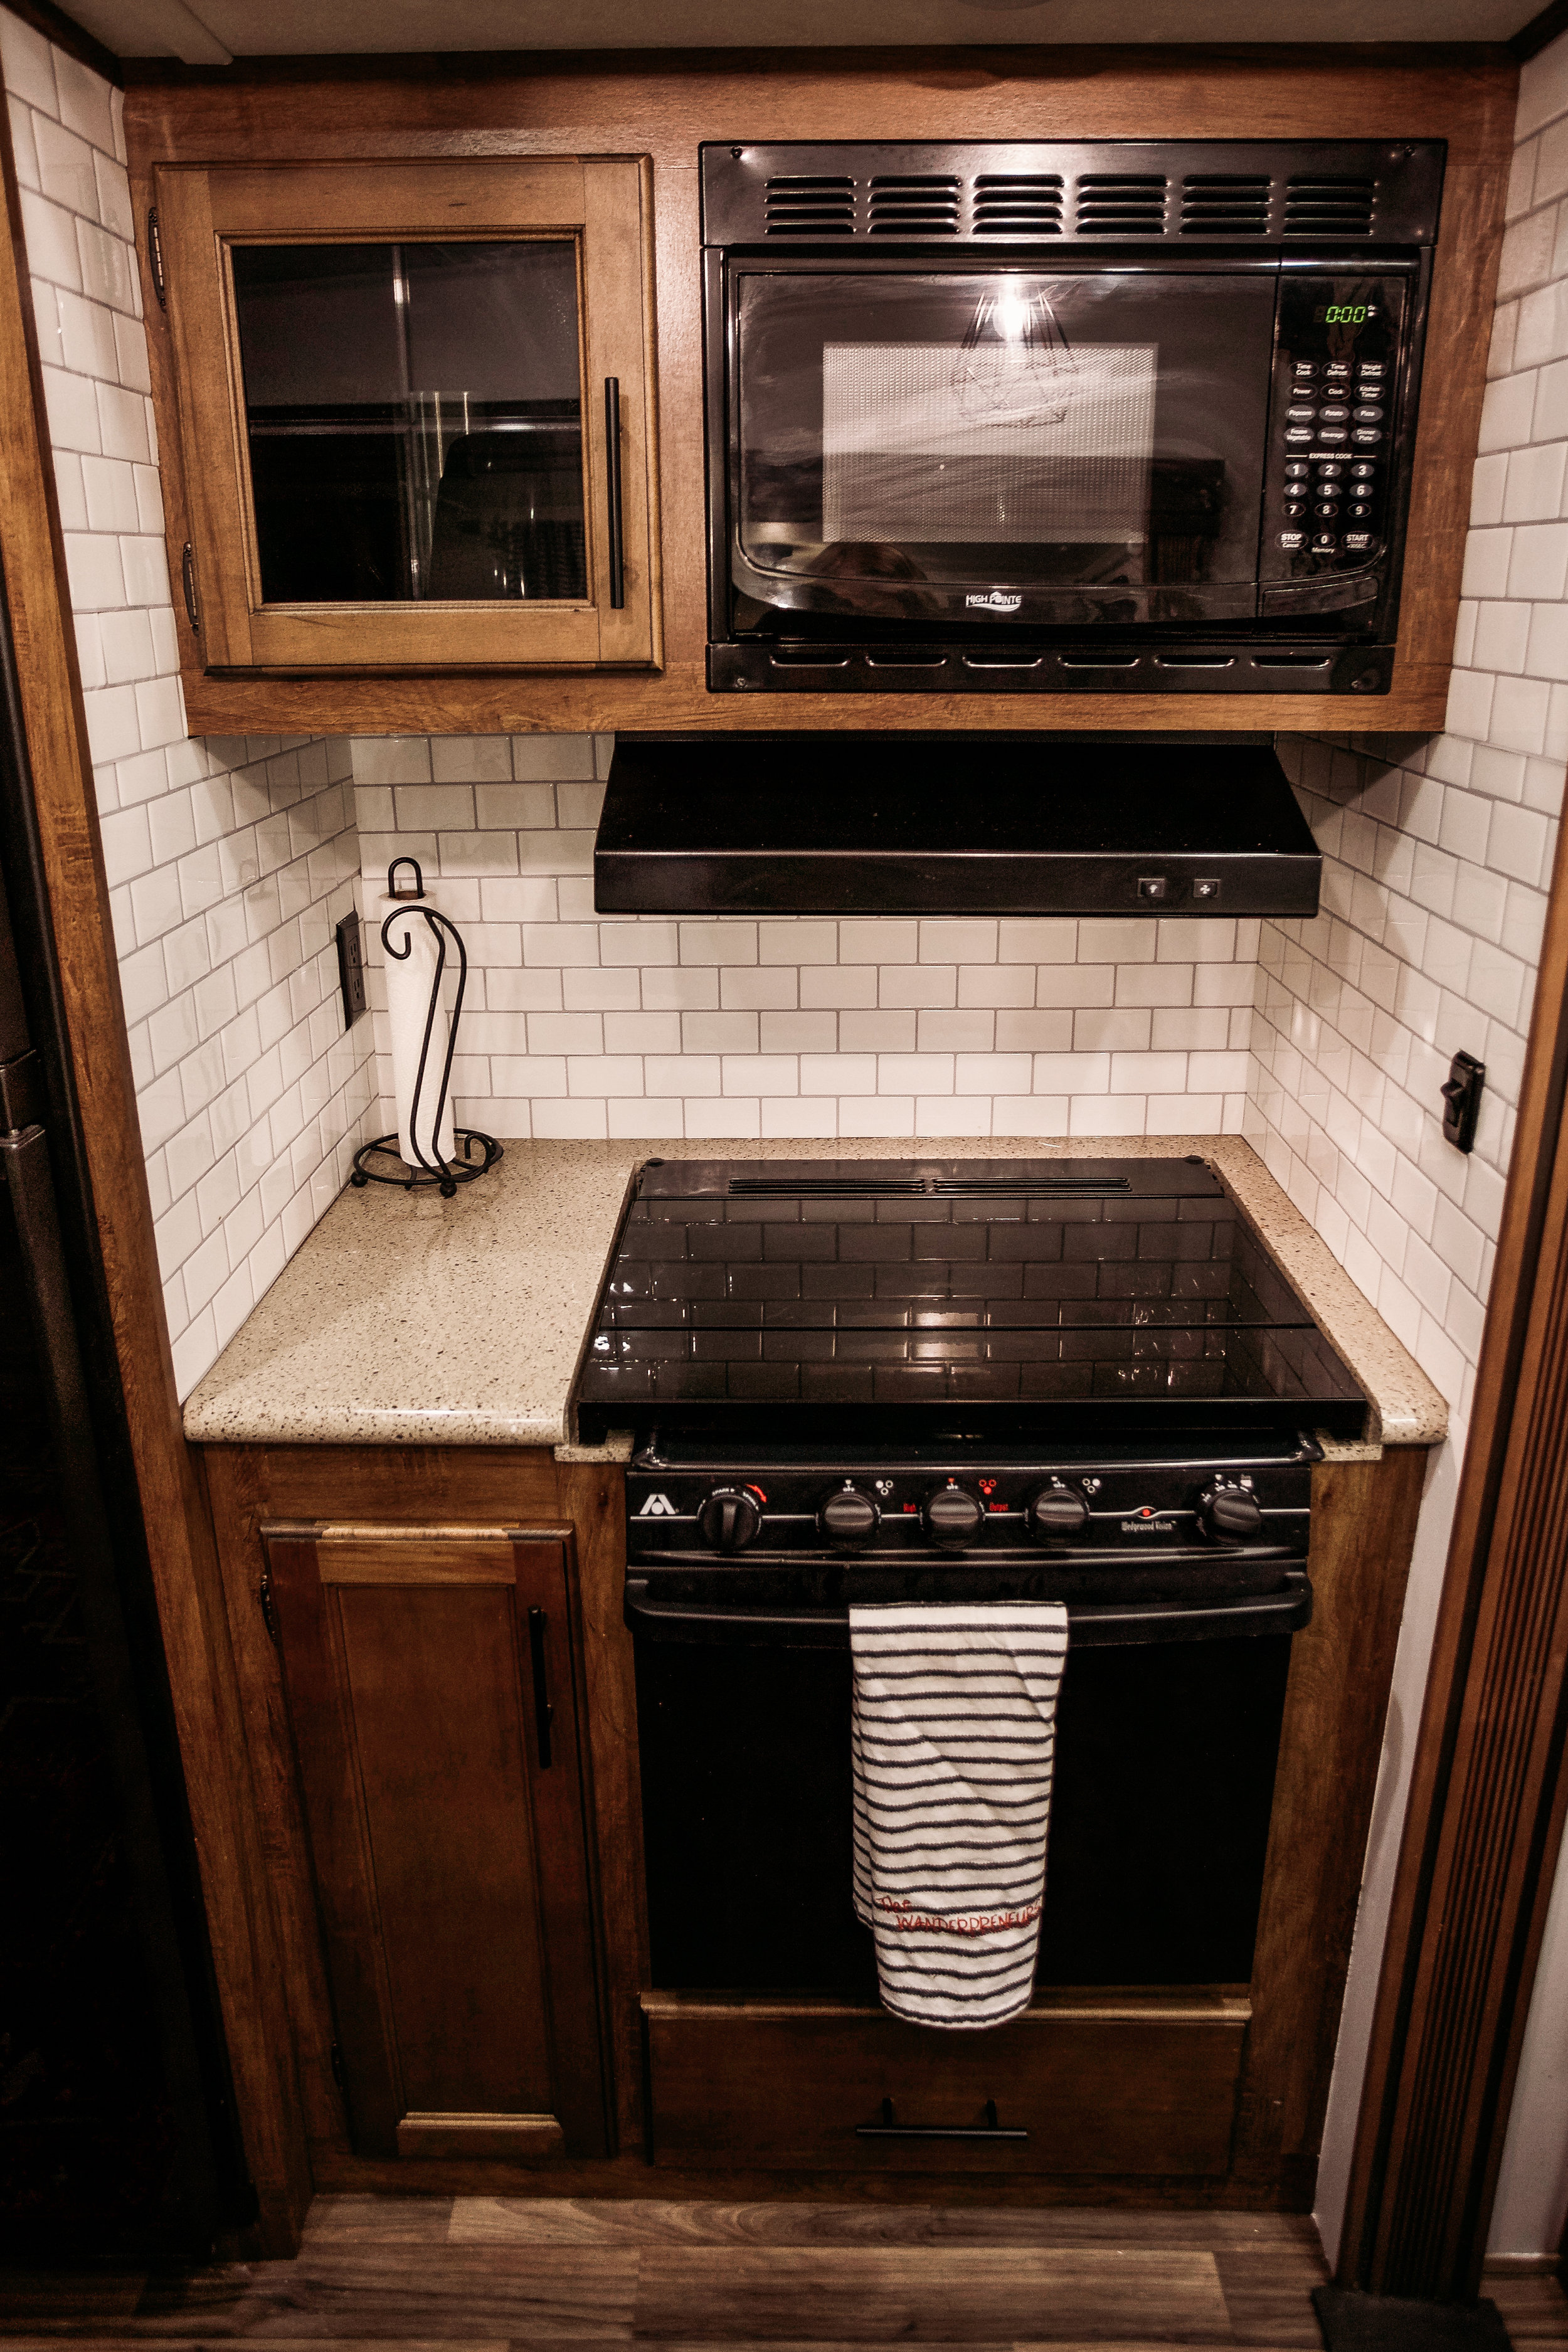
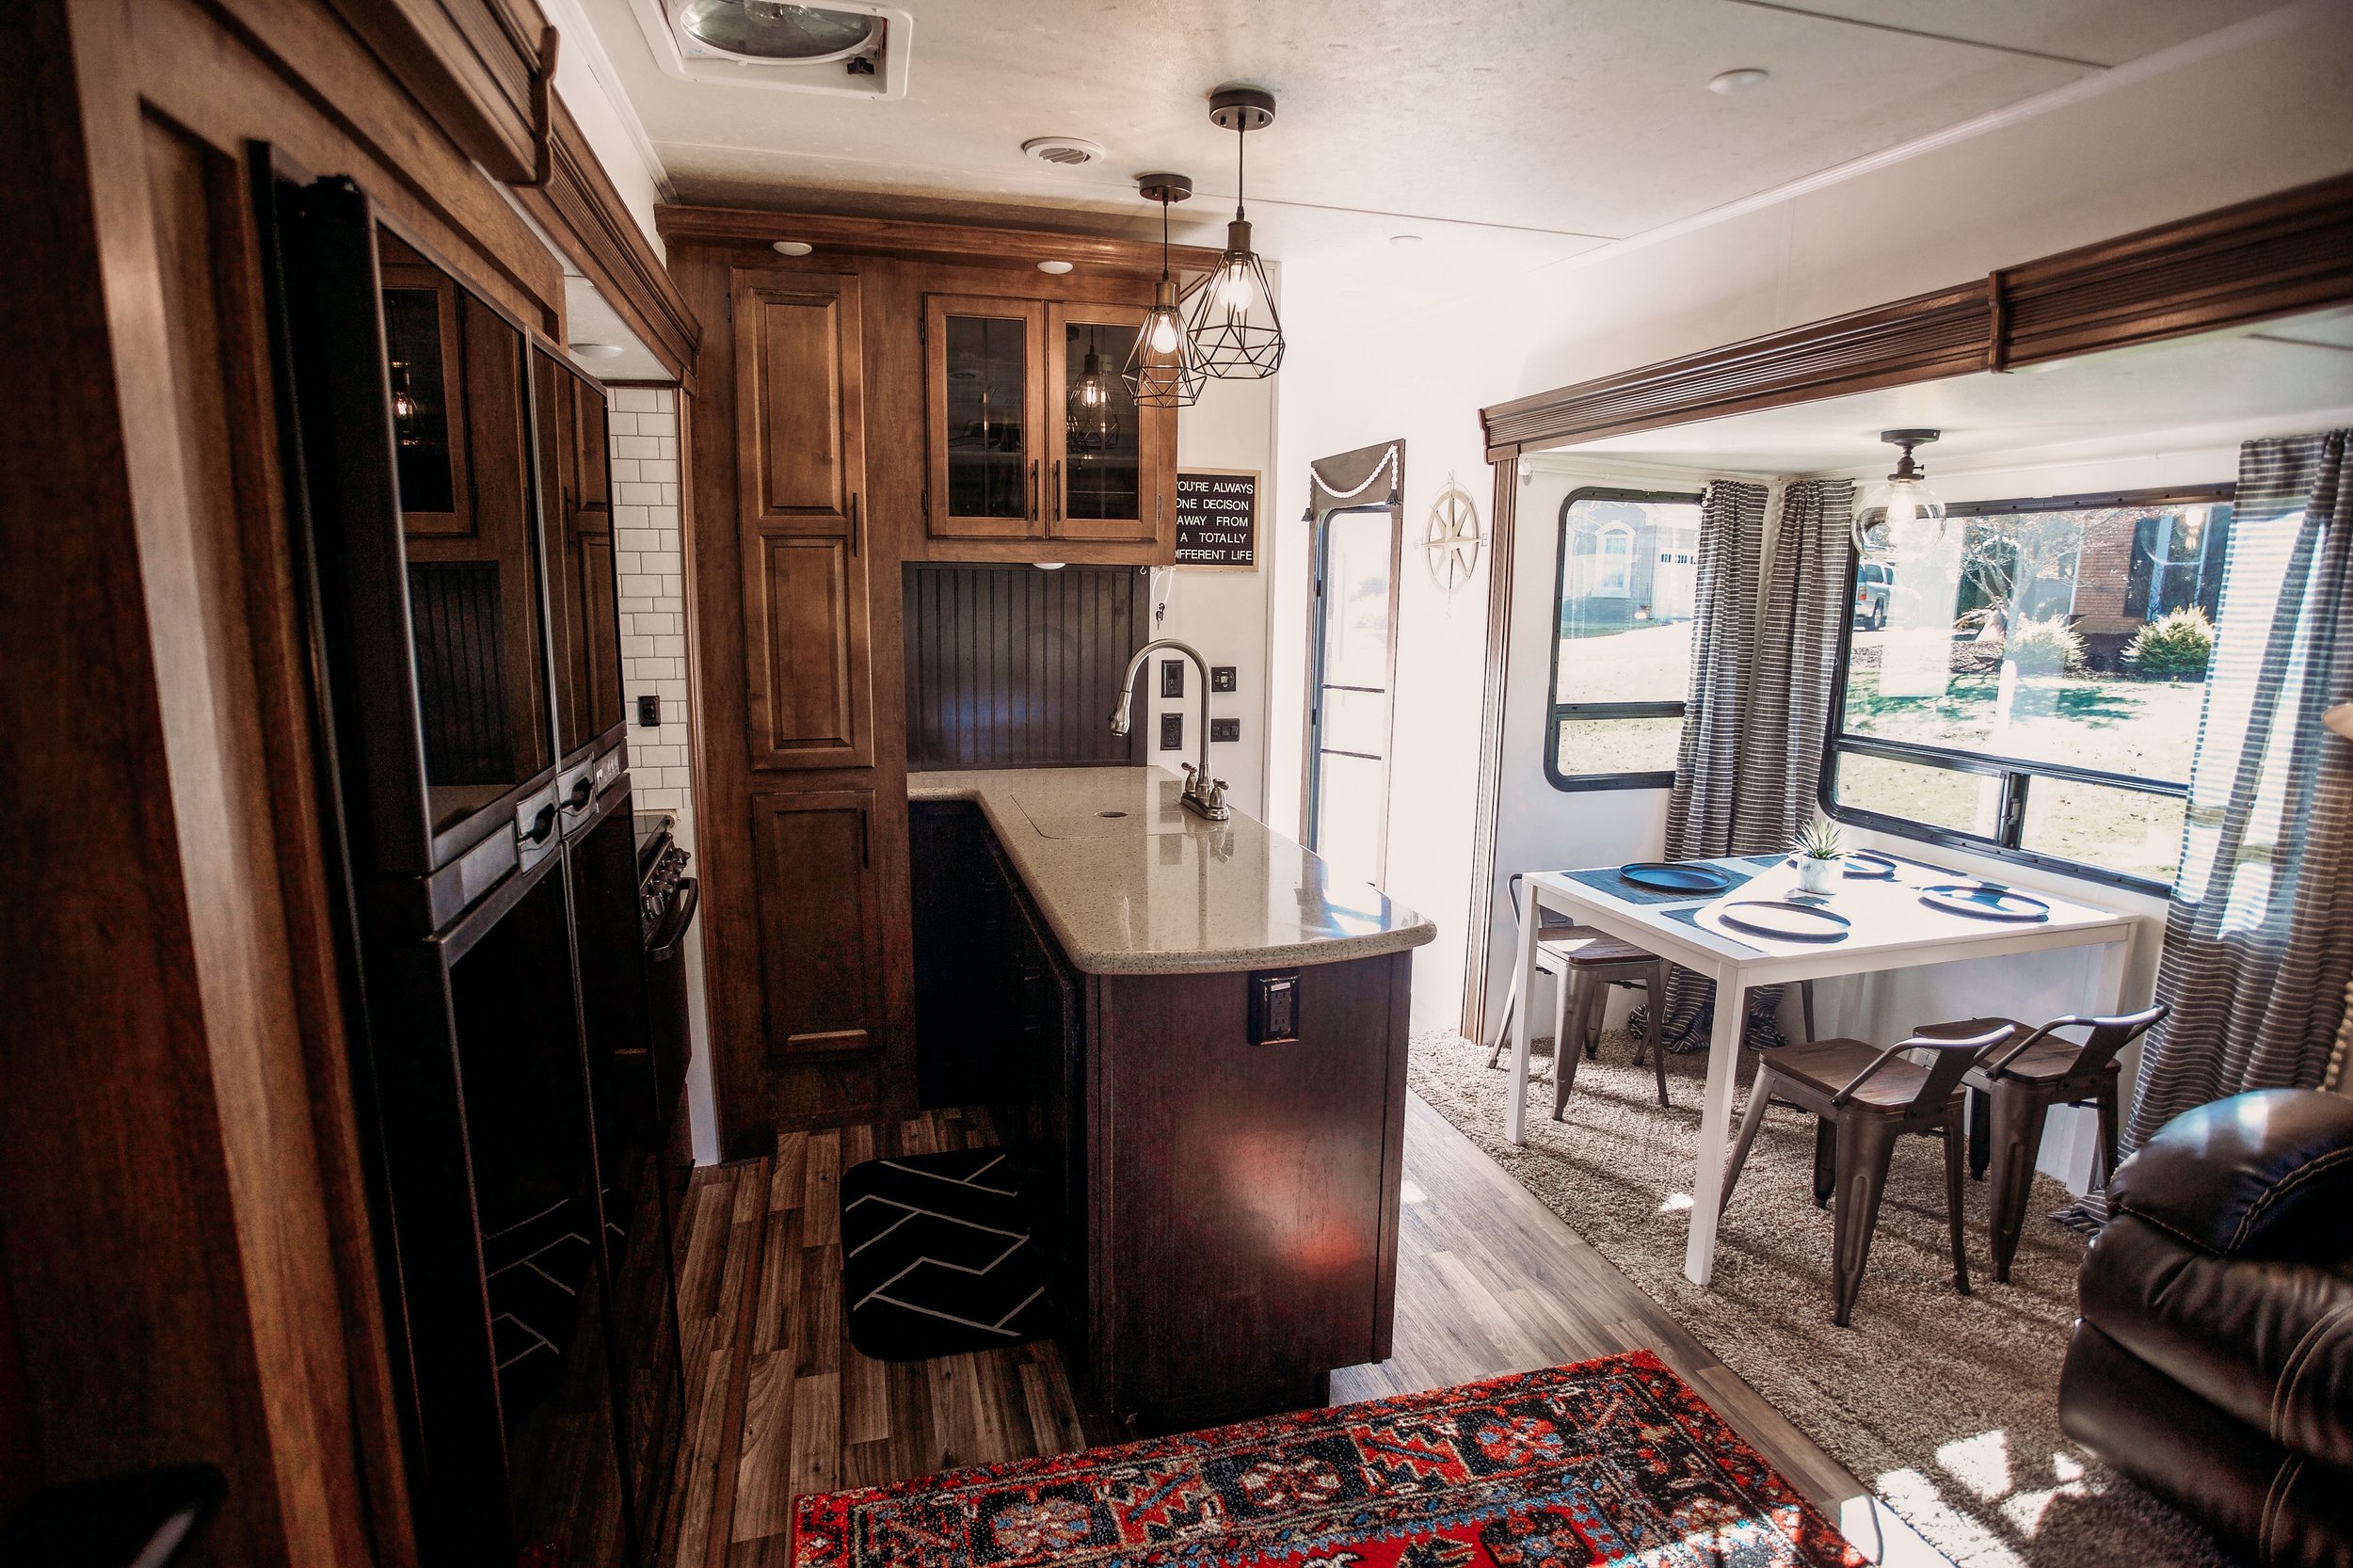
4. Backsplash
I decided to use sticker sheets that LOOKED like tile for the backsplash. It was lighter and cheaper than using tile. I love how it turned out. We used this in the kitchen as well as in the bathroom. You can find them HERE.
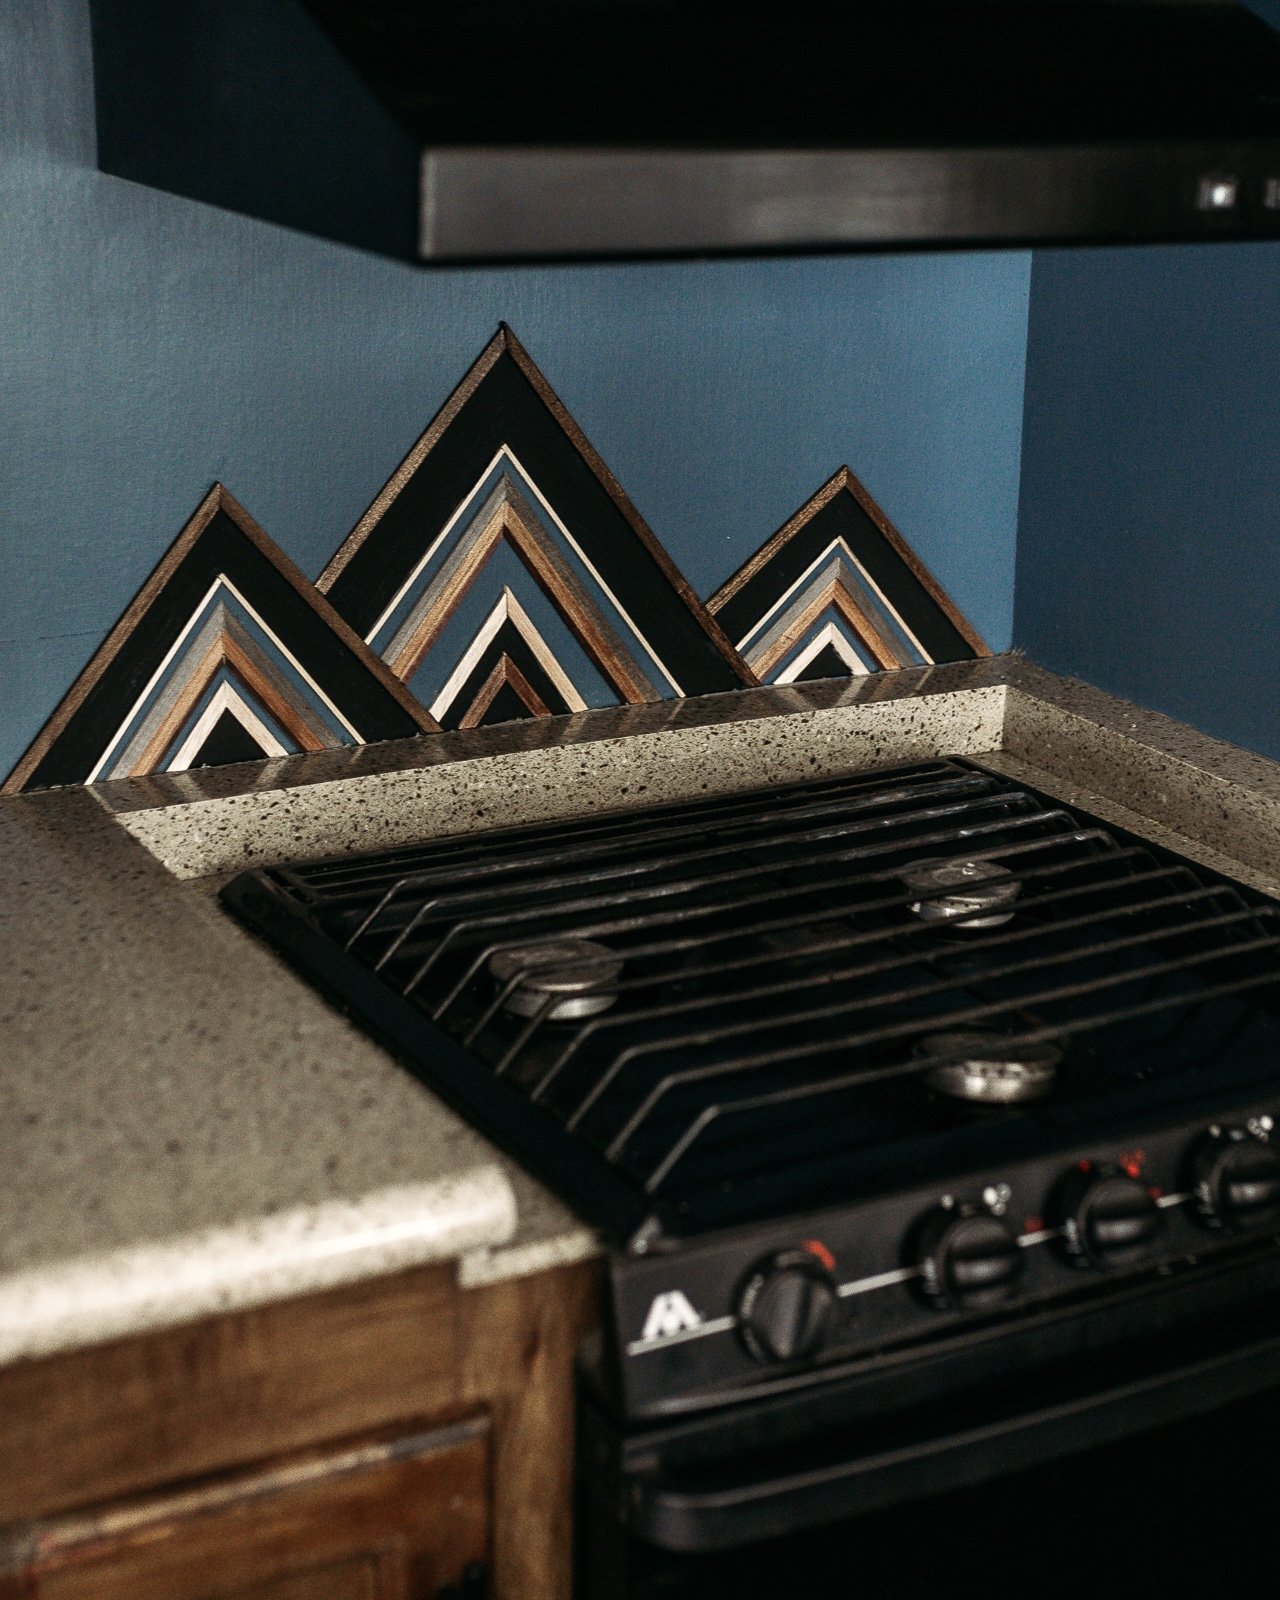
3.5 year update: After three and a half years, the sticker tiles were a bit discolored and didn’t look as good as they once did. They were great for a while, juat not a permanent solution. I removed them, painted the area and created a mountain scene!


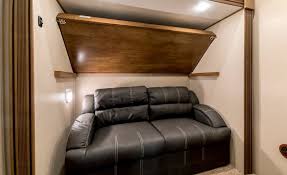
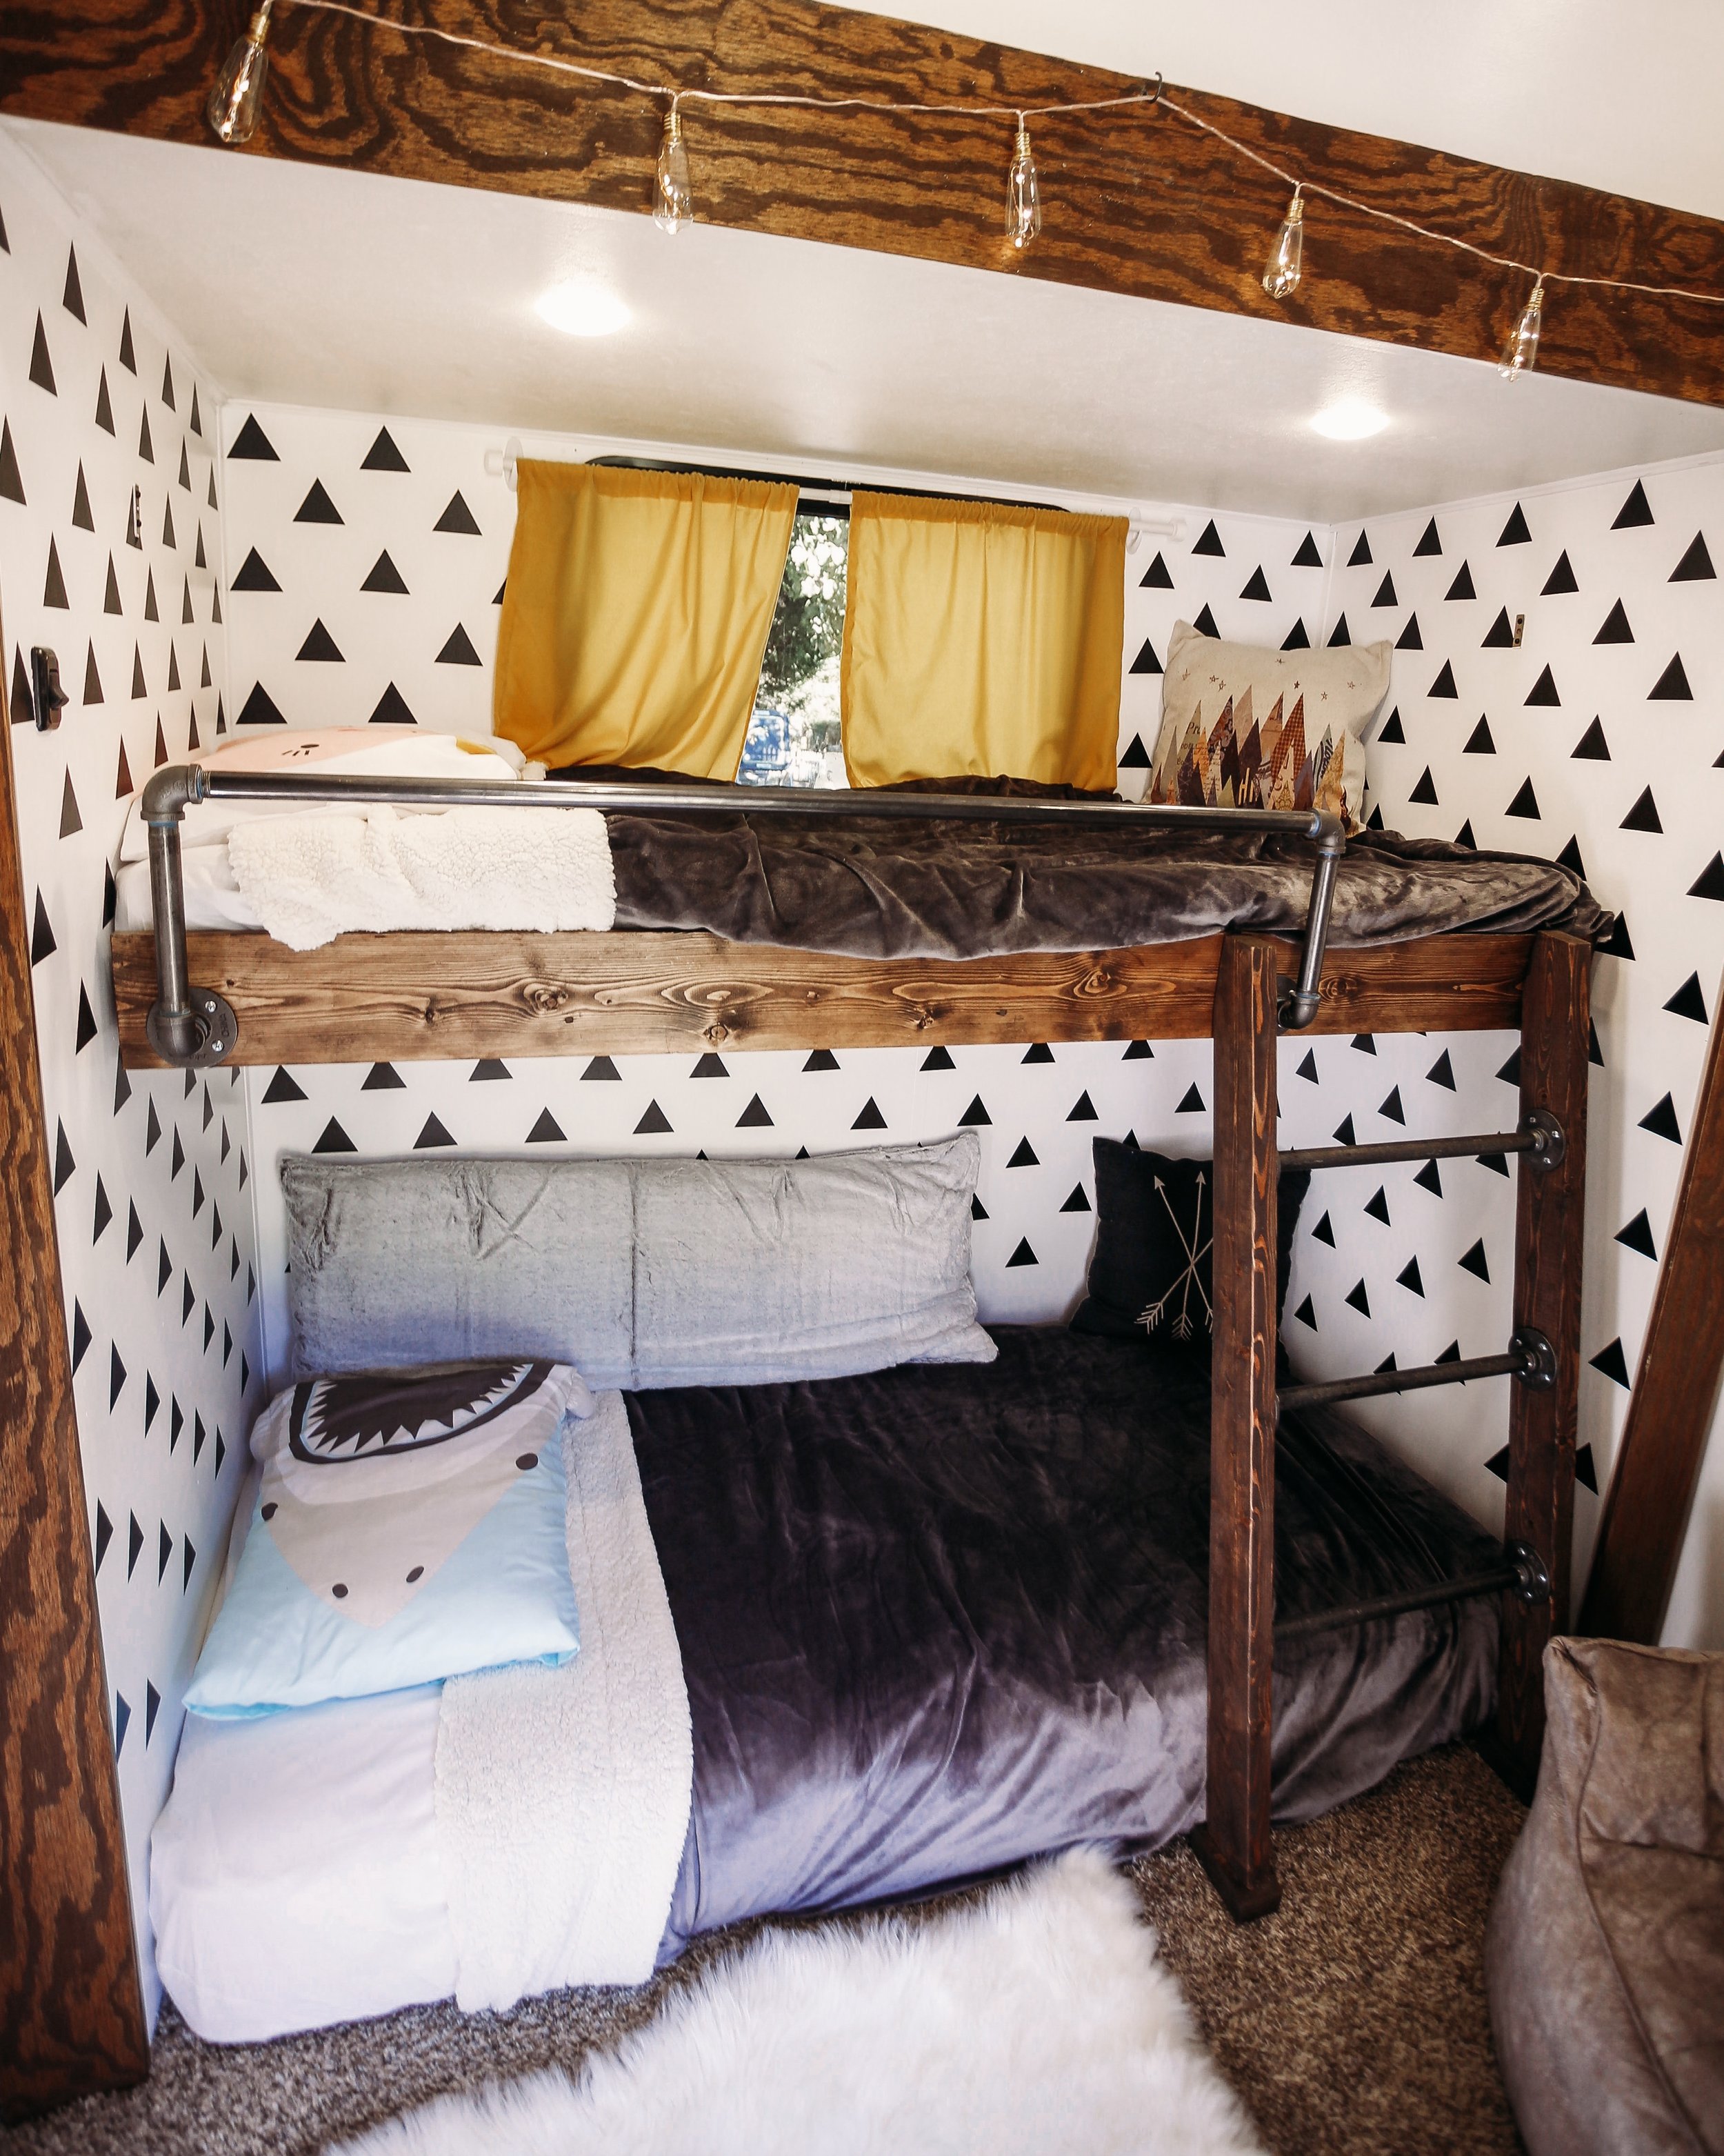
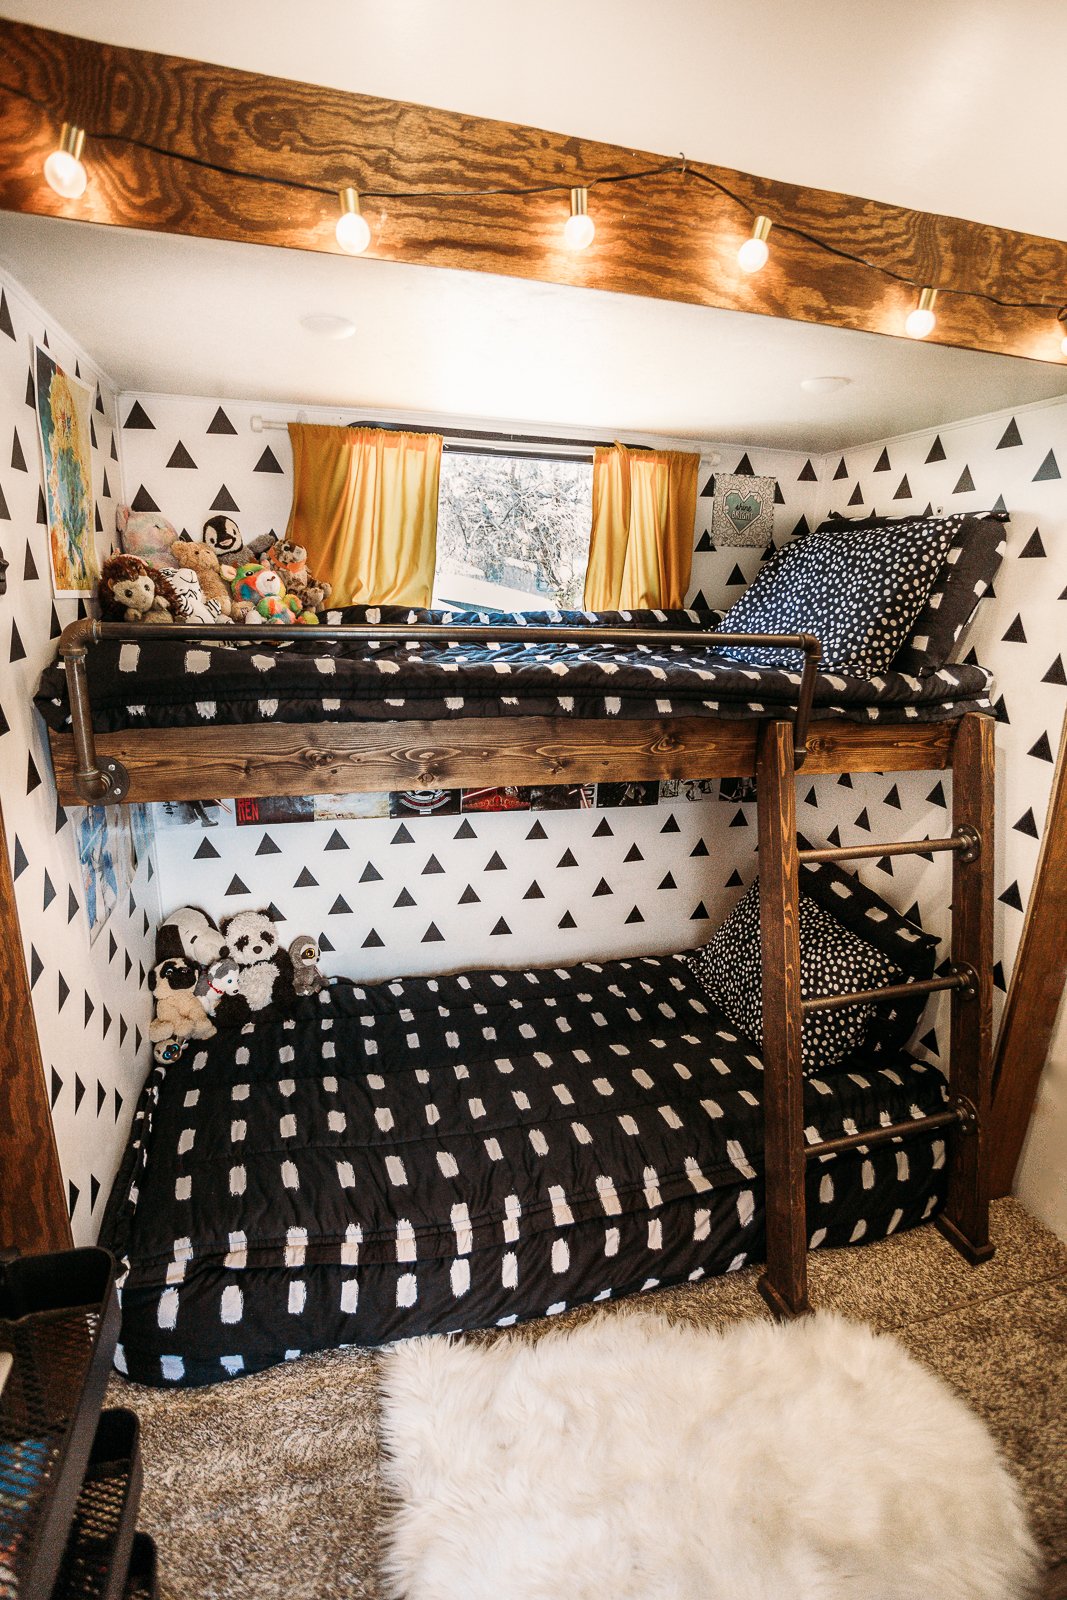
5. Bunkroom
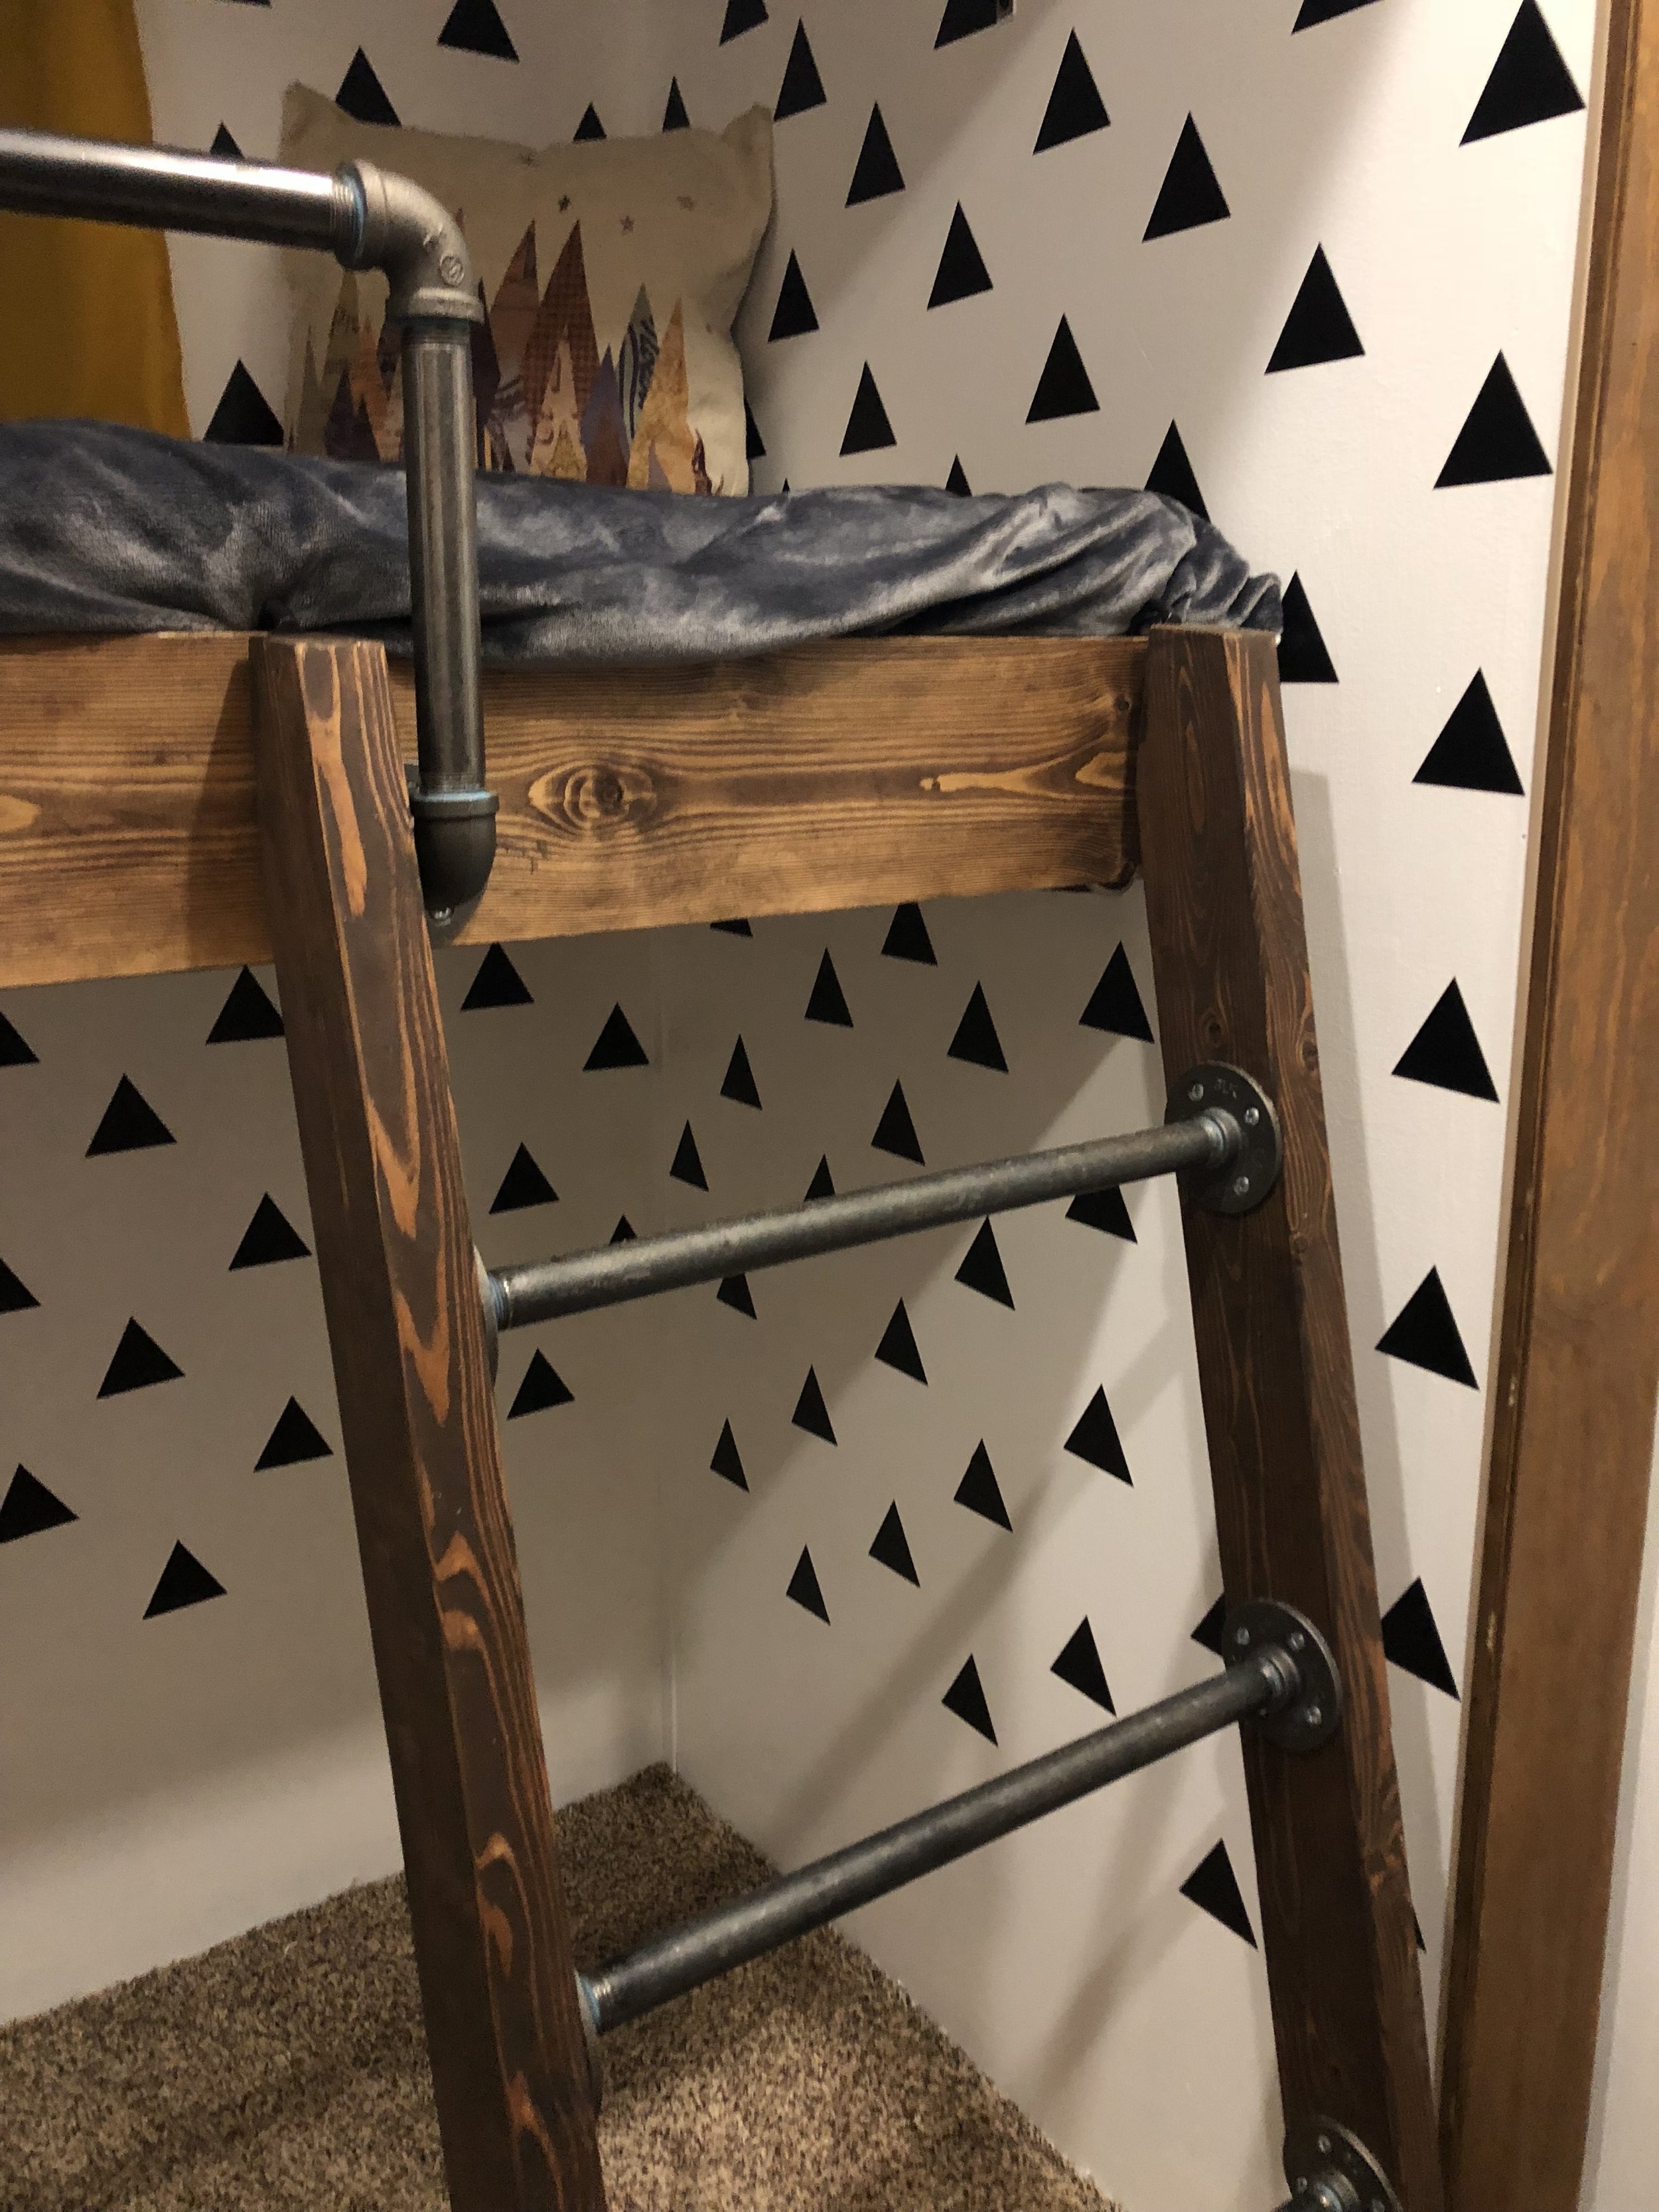
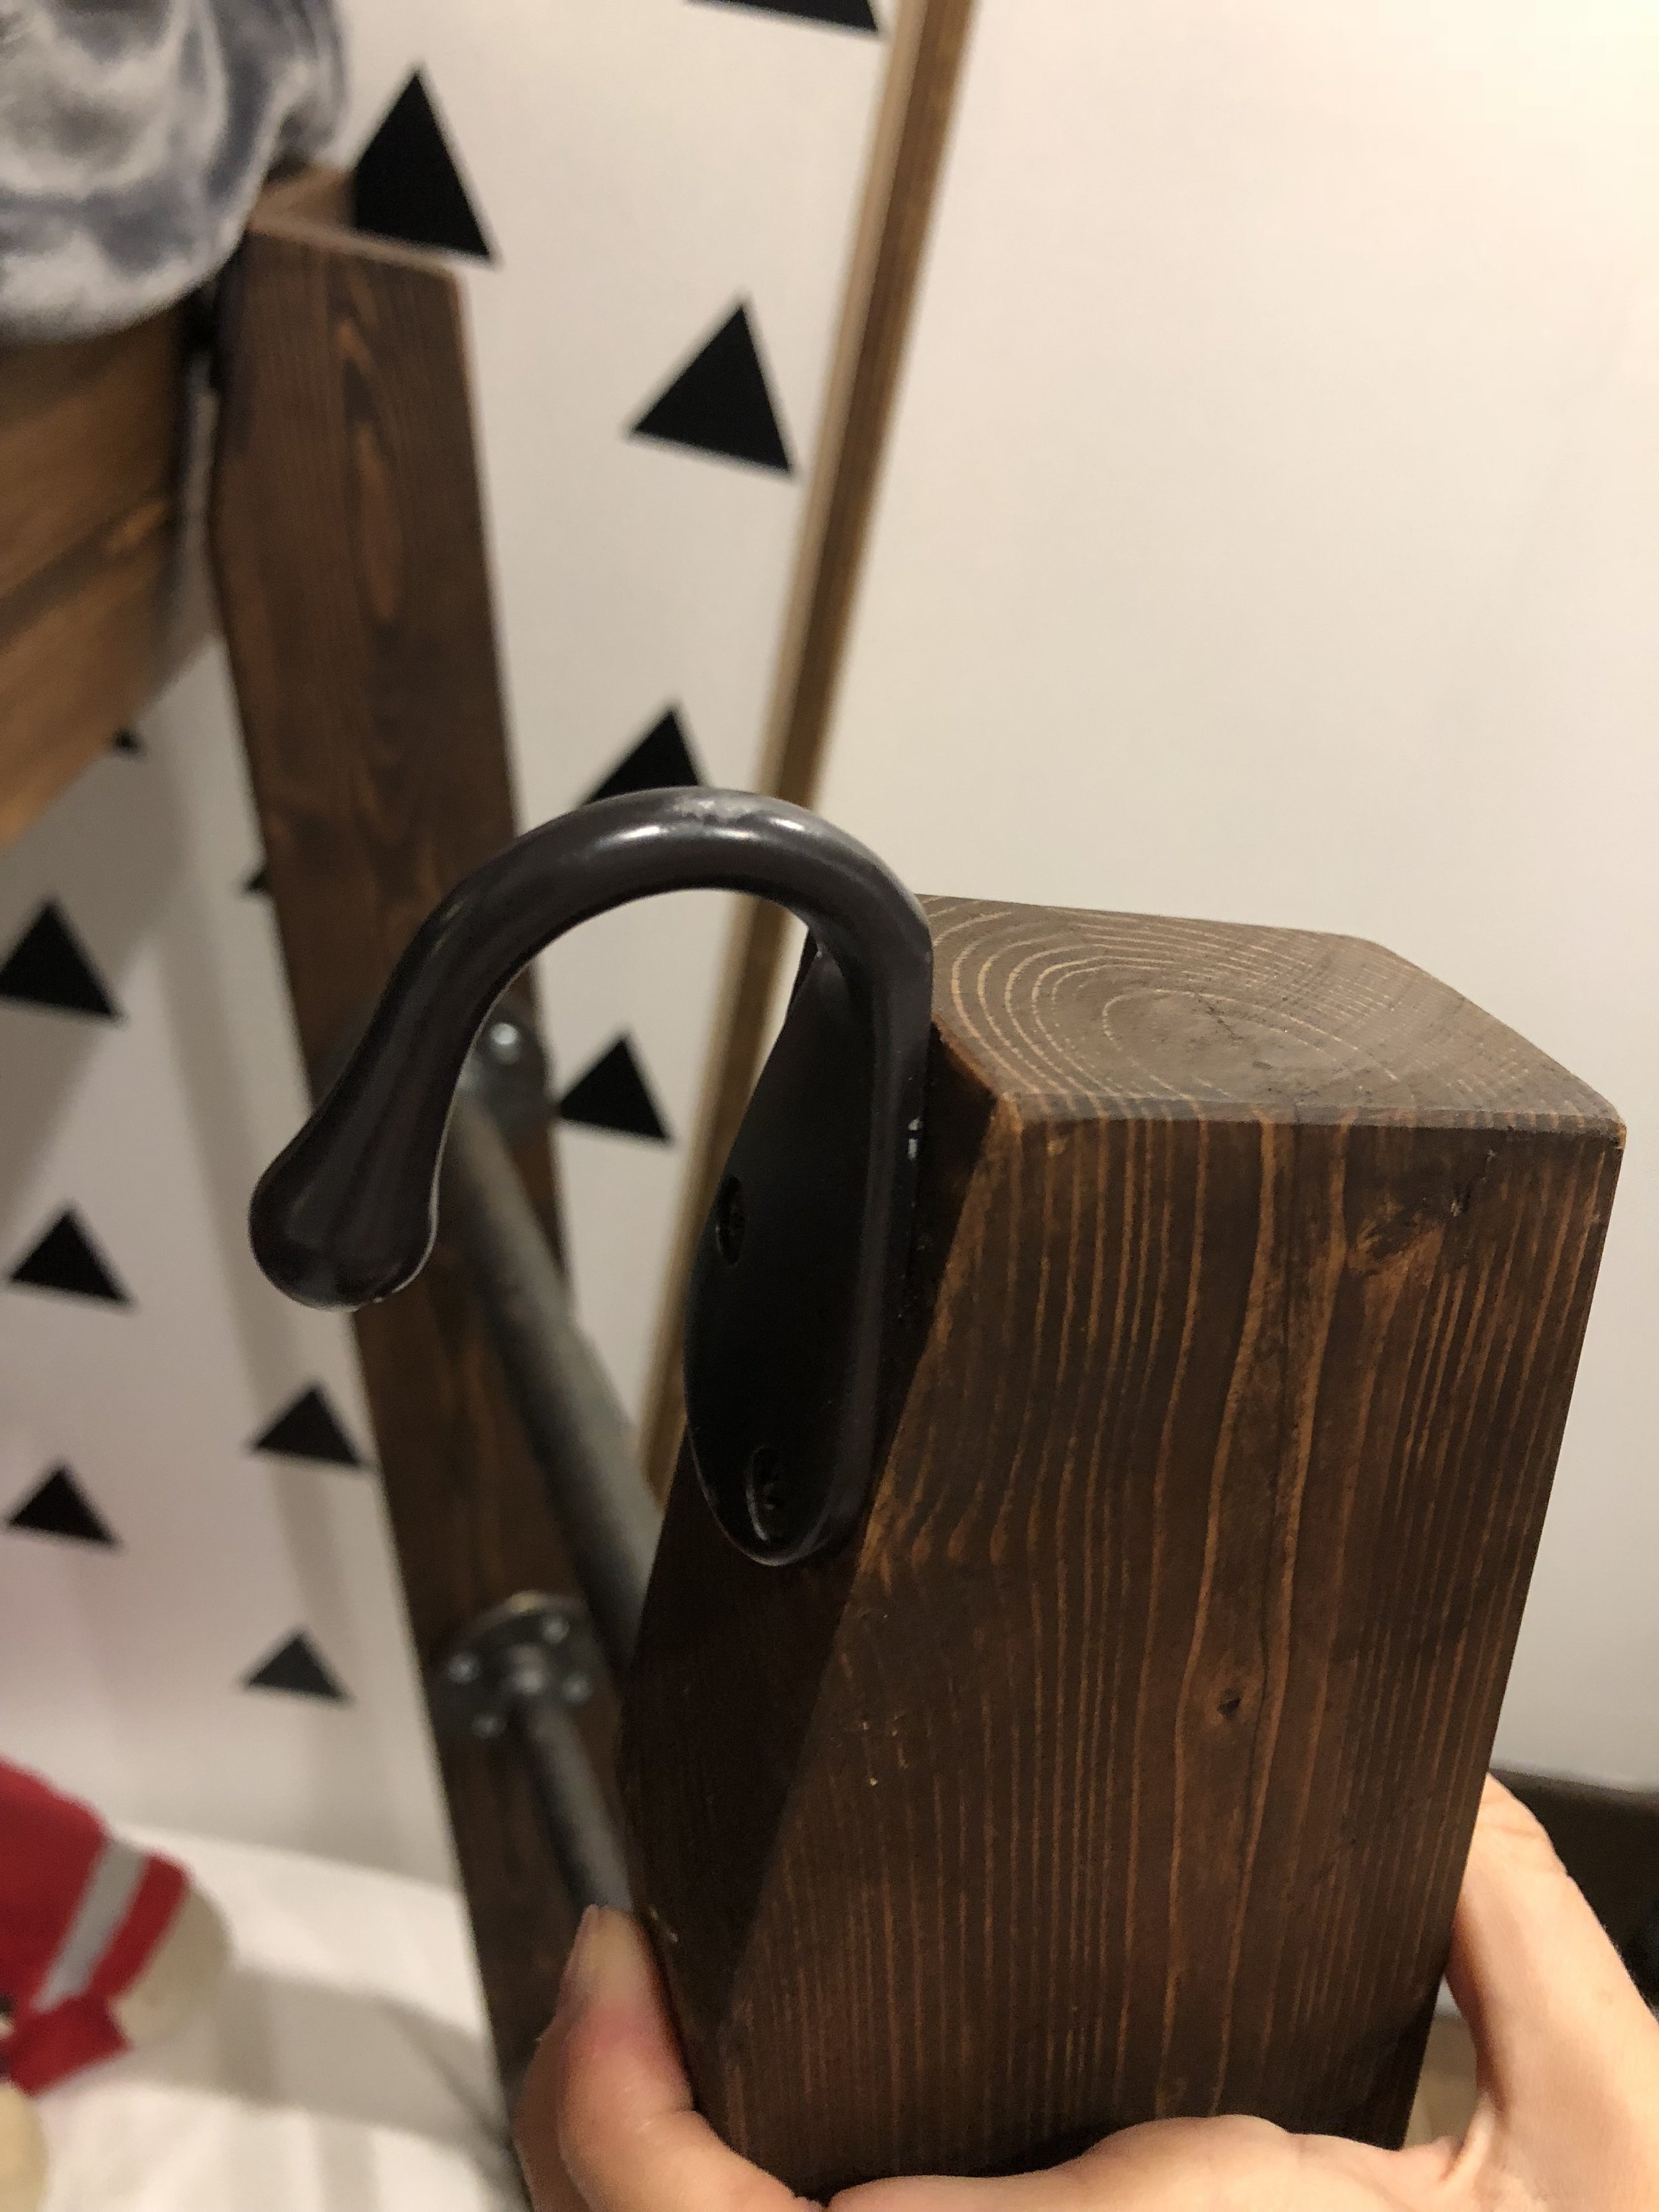
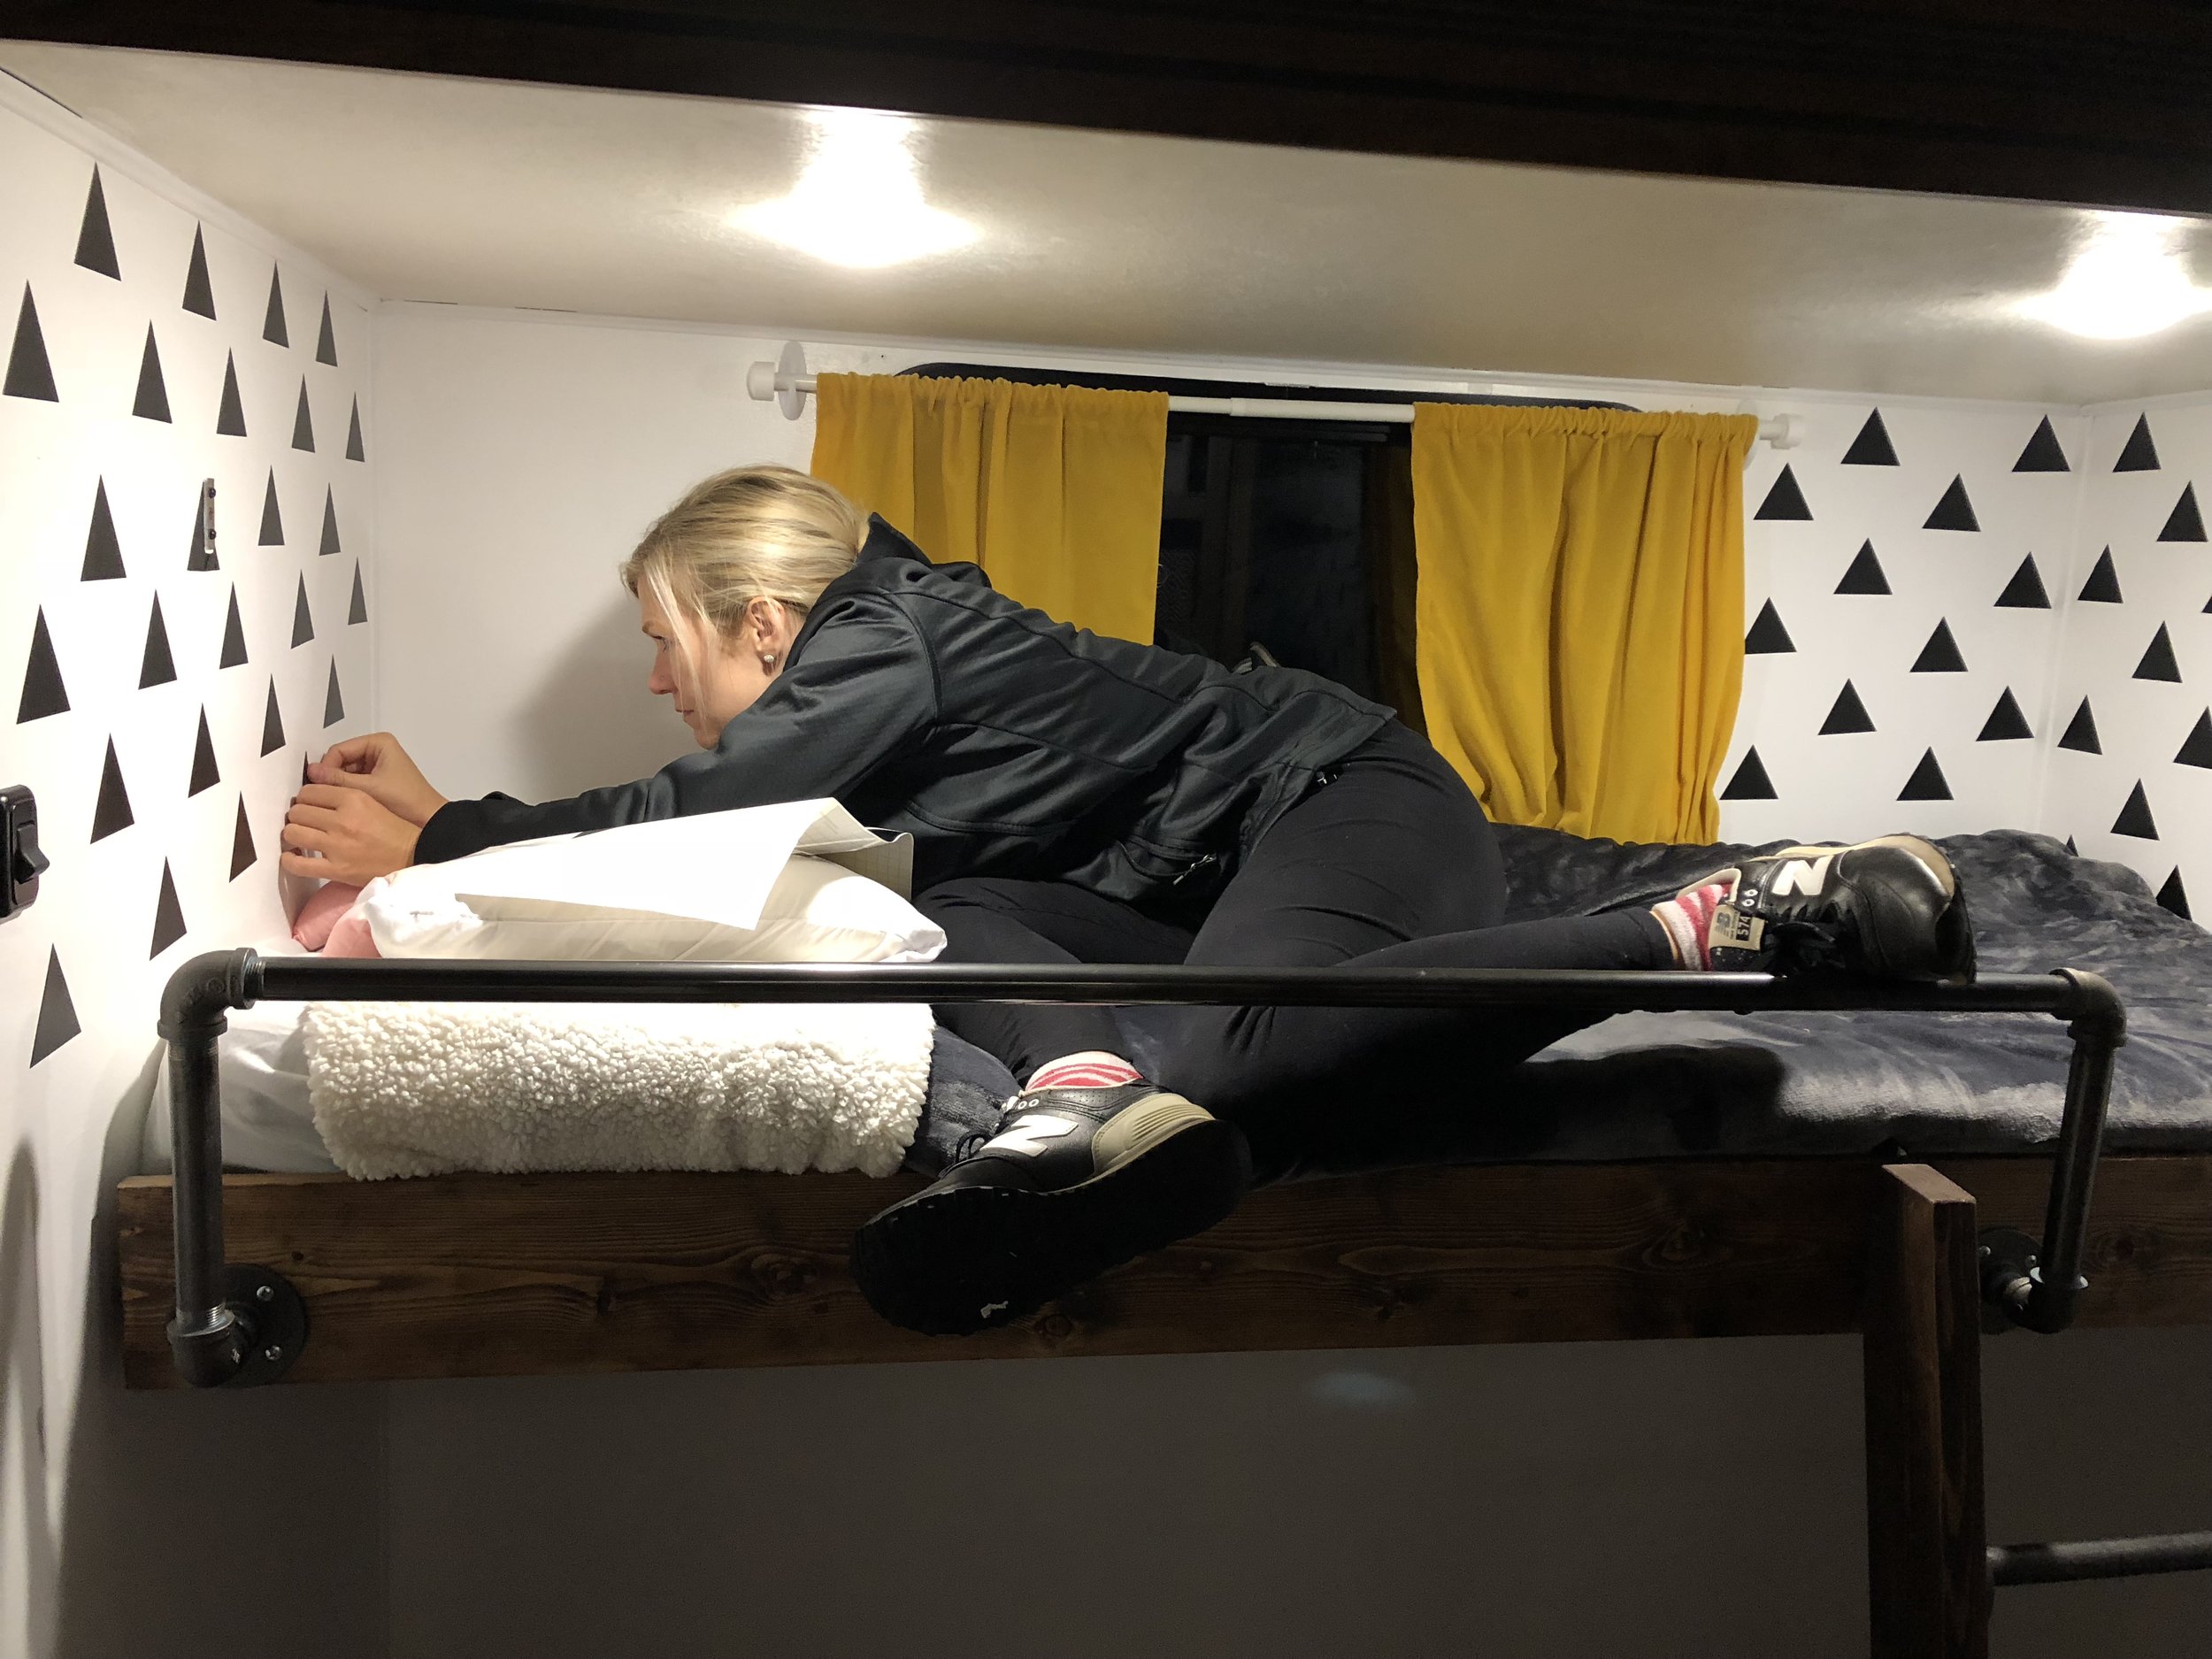
The bunk room came with a bunk bed on top and sofa sleeper on bottom. We didn’t want to have to transform a sofa each night, so we took that out and put a twin mattress in its place. I wanted to make sure the kid sleeping on top was safe, so our friend built a rail and a ladder out of pipes for the bunks!
I thought about putting wallpaper on the bunk room slide, but decided to go with removable stickers that LOOK like wallpaper instead. They were more cost effective and WAY easier to work with! We started off with blankets that fell off the beds all the time and quickly upgraded to Beddy’s bedding which is soo nice for RV life. The bedding is all in one and zips up so easily! Check out all their current styles HERE and use code: WANDER for 20% off.

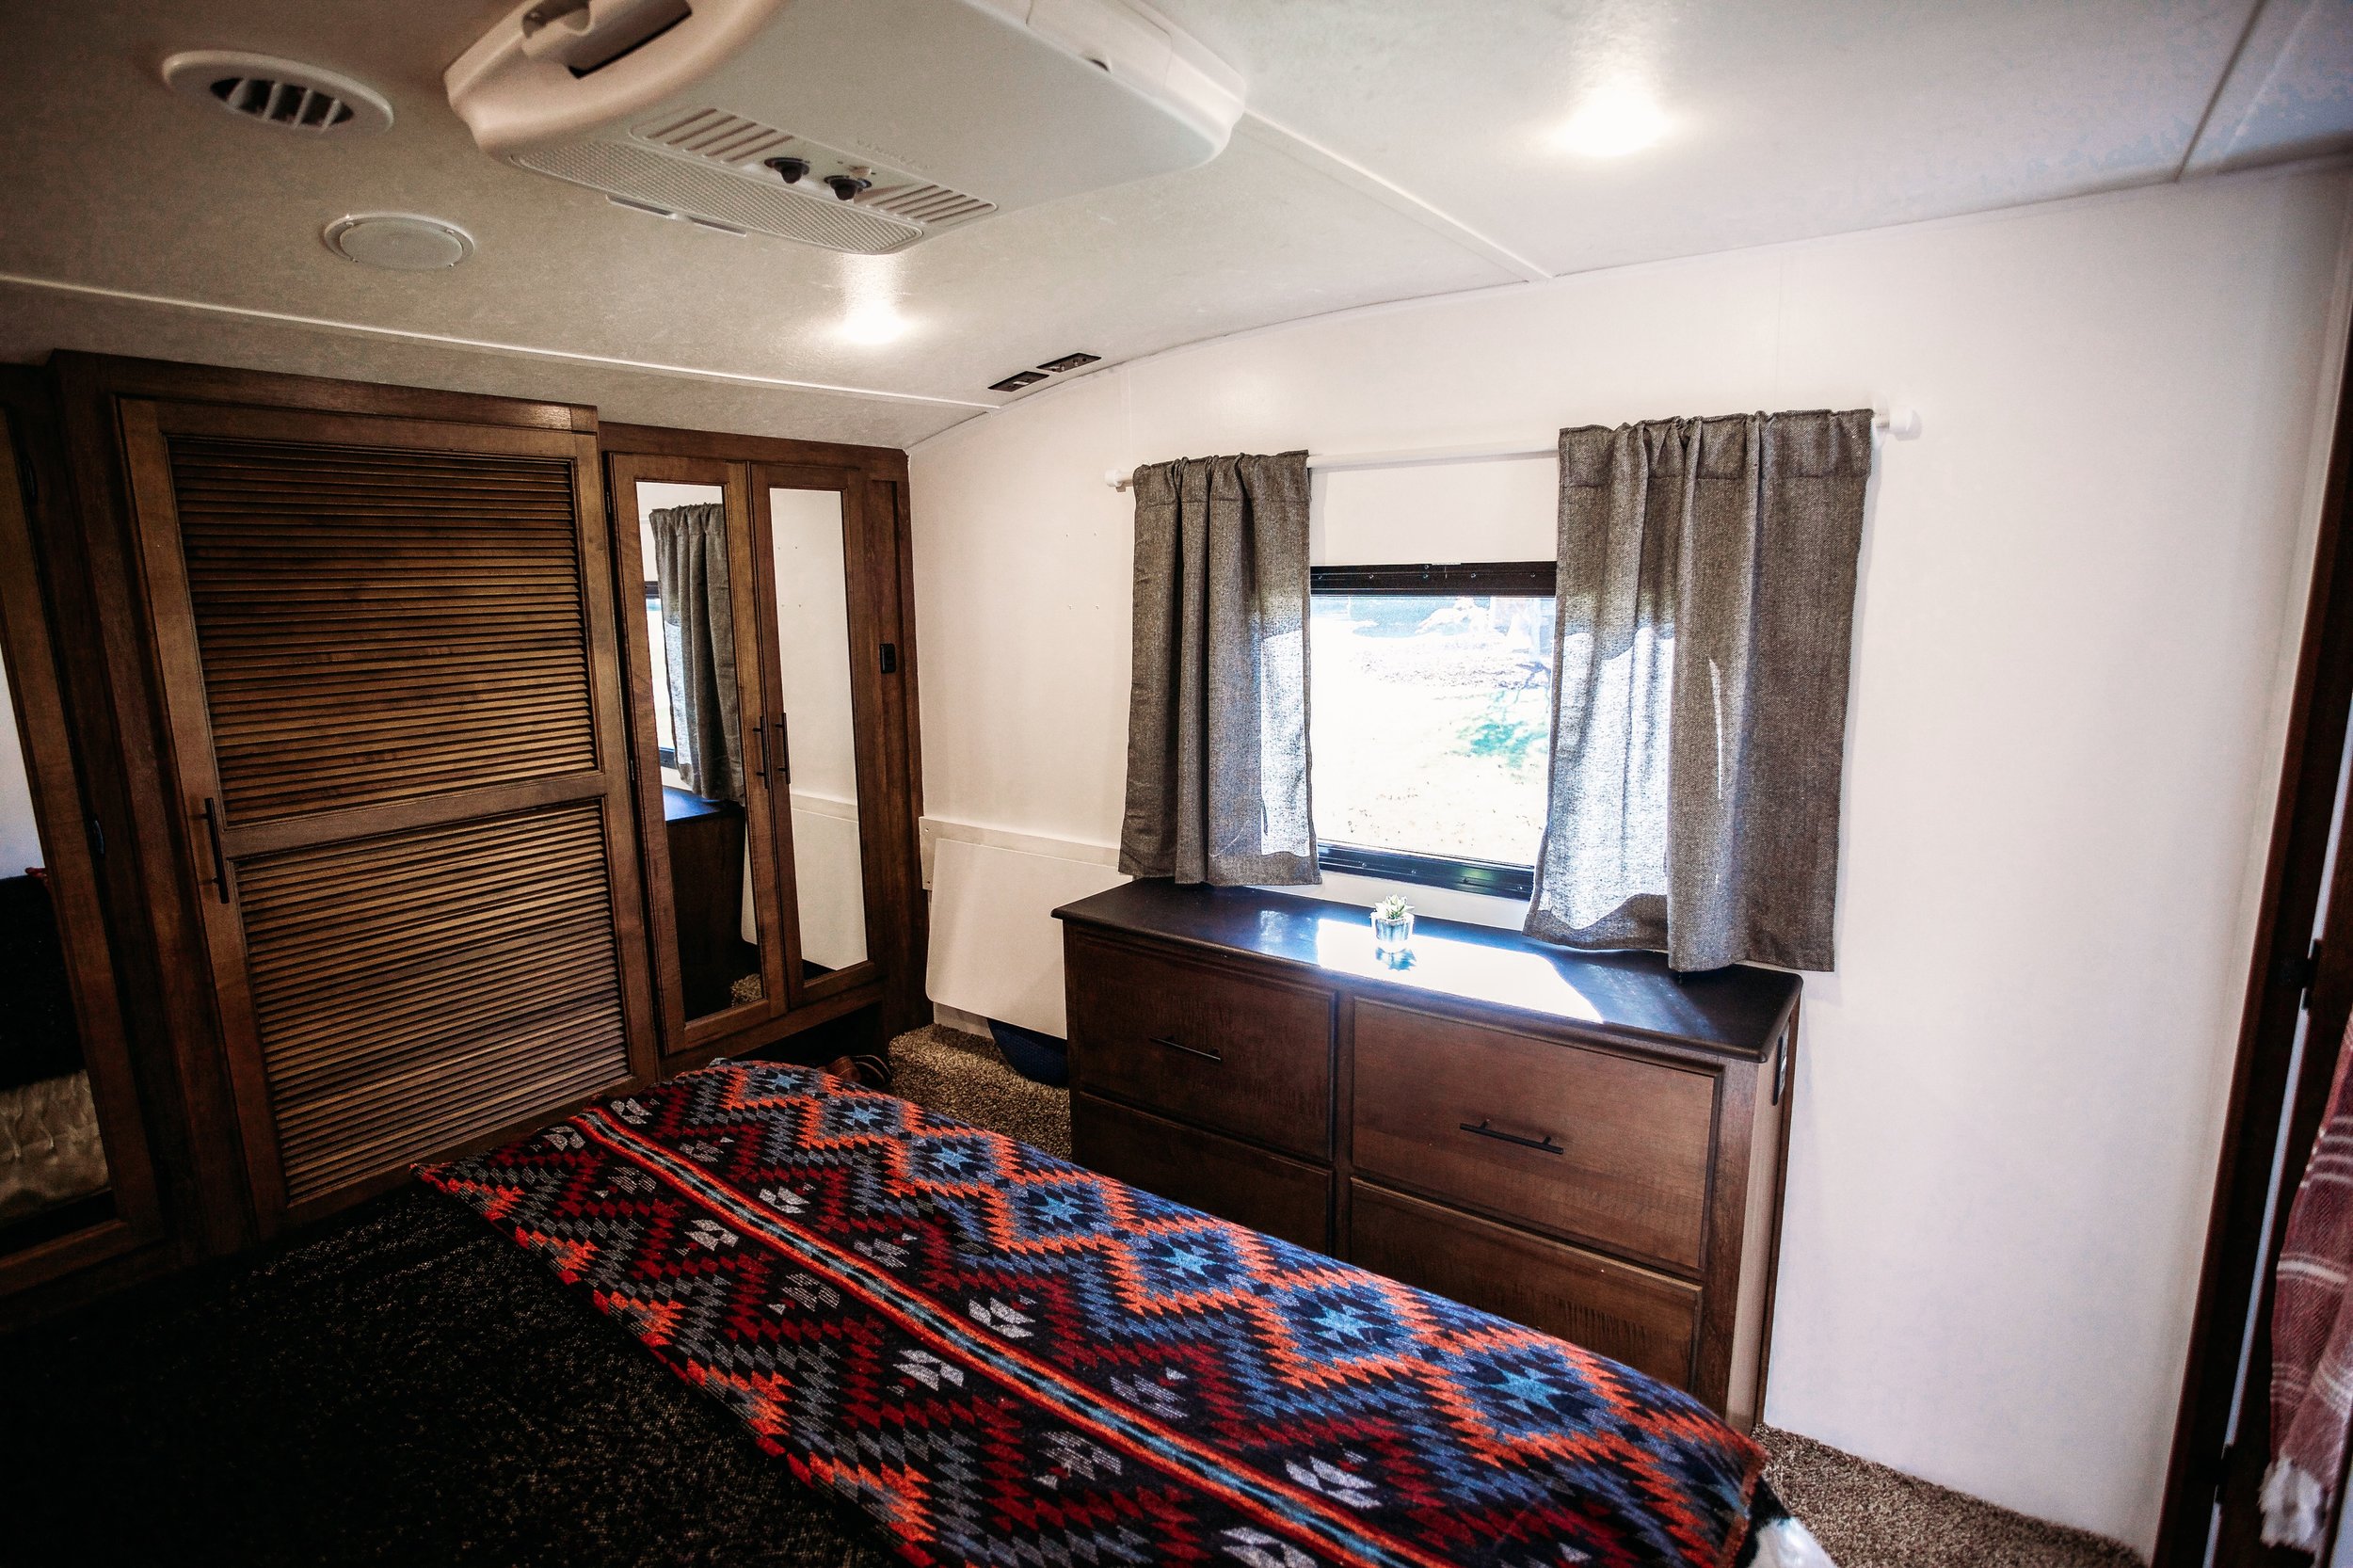
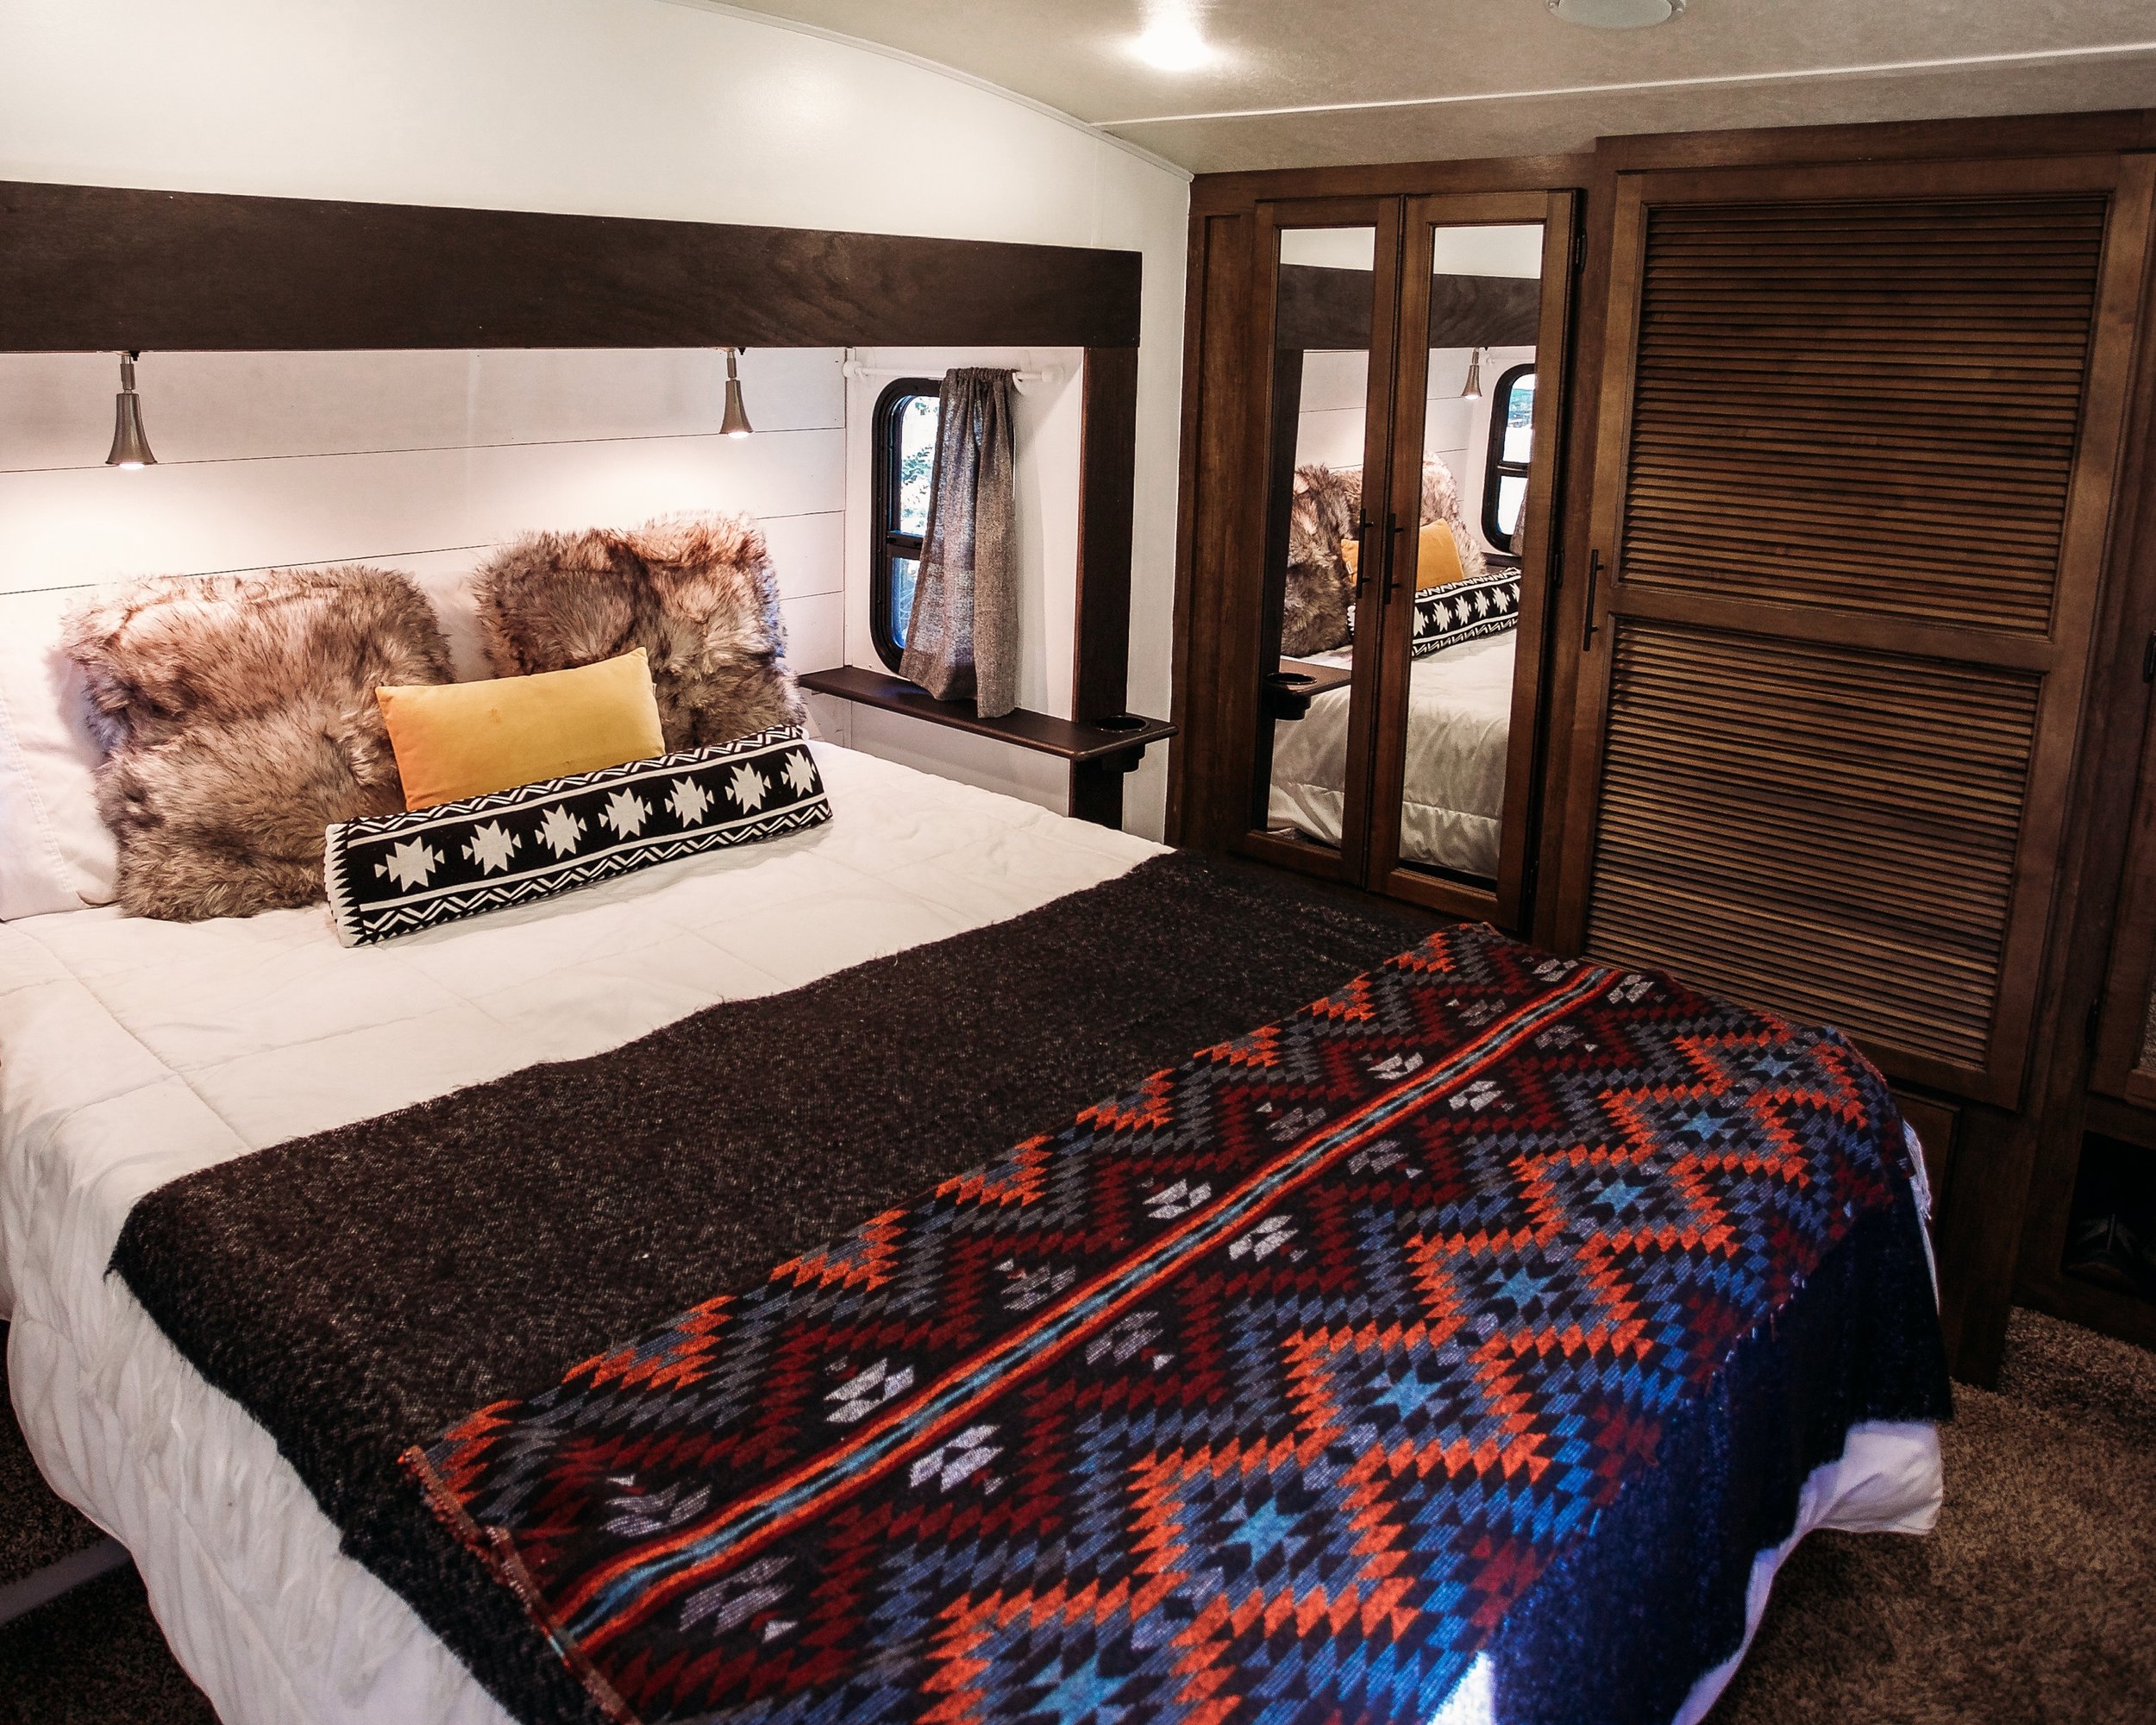
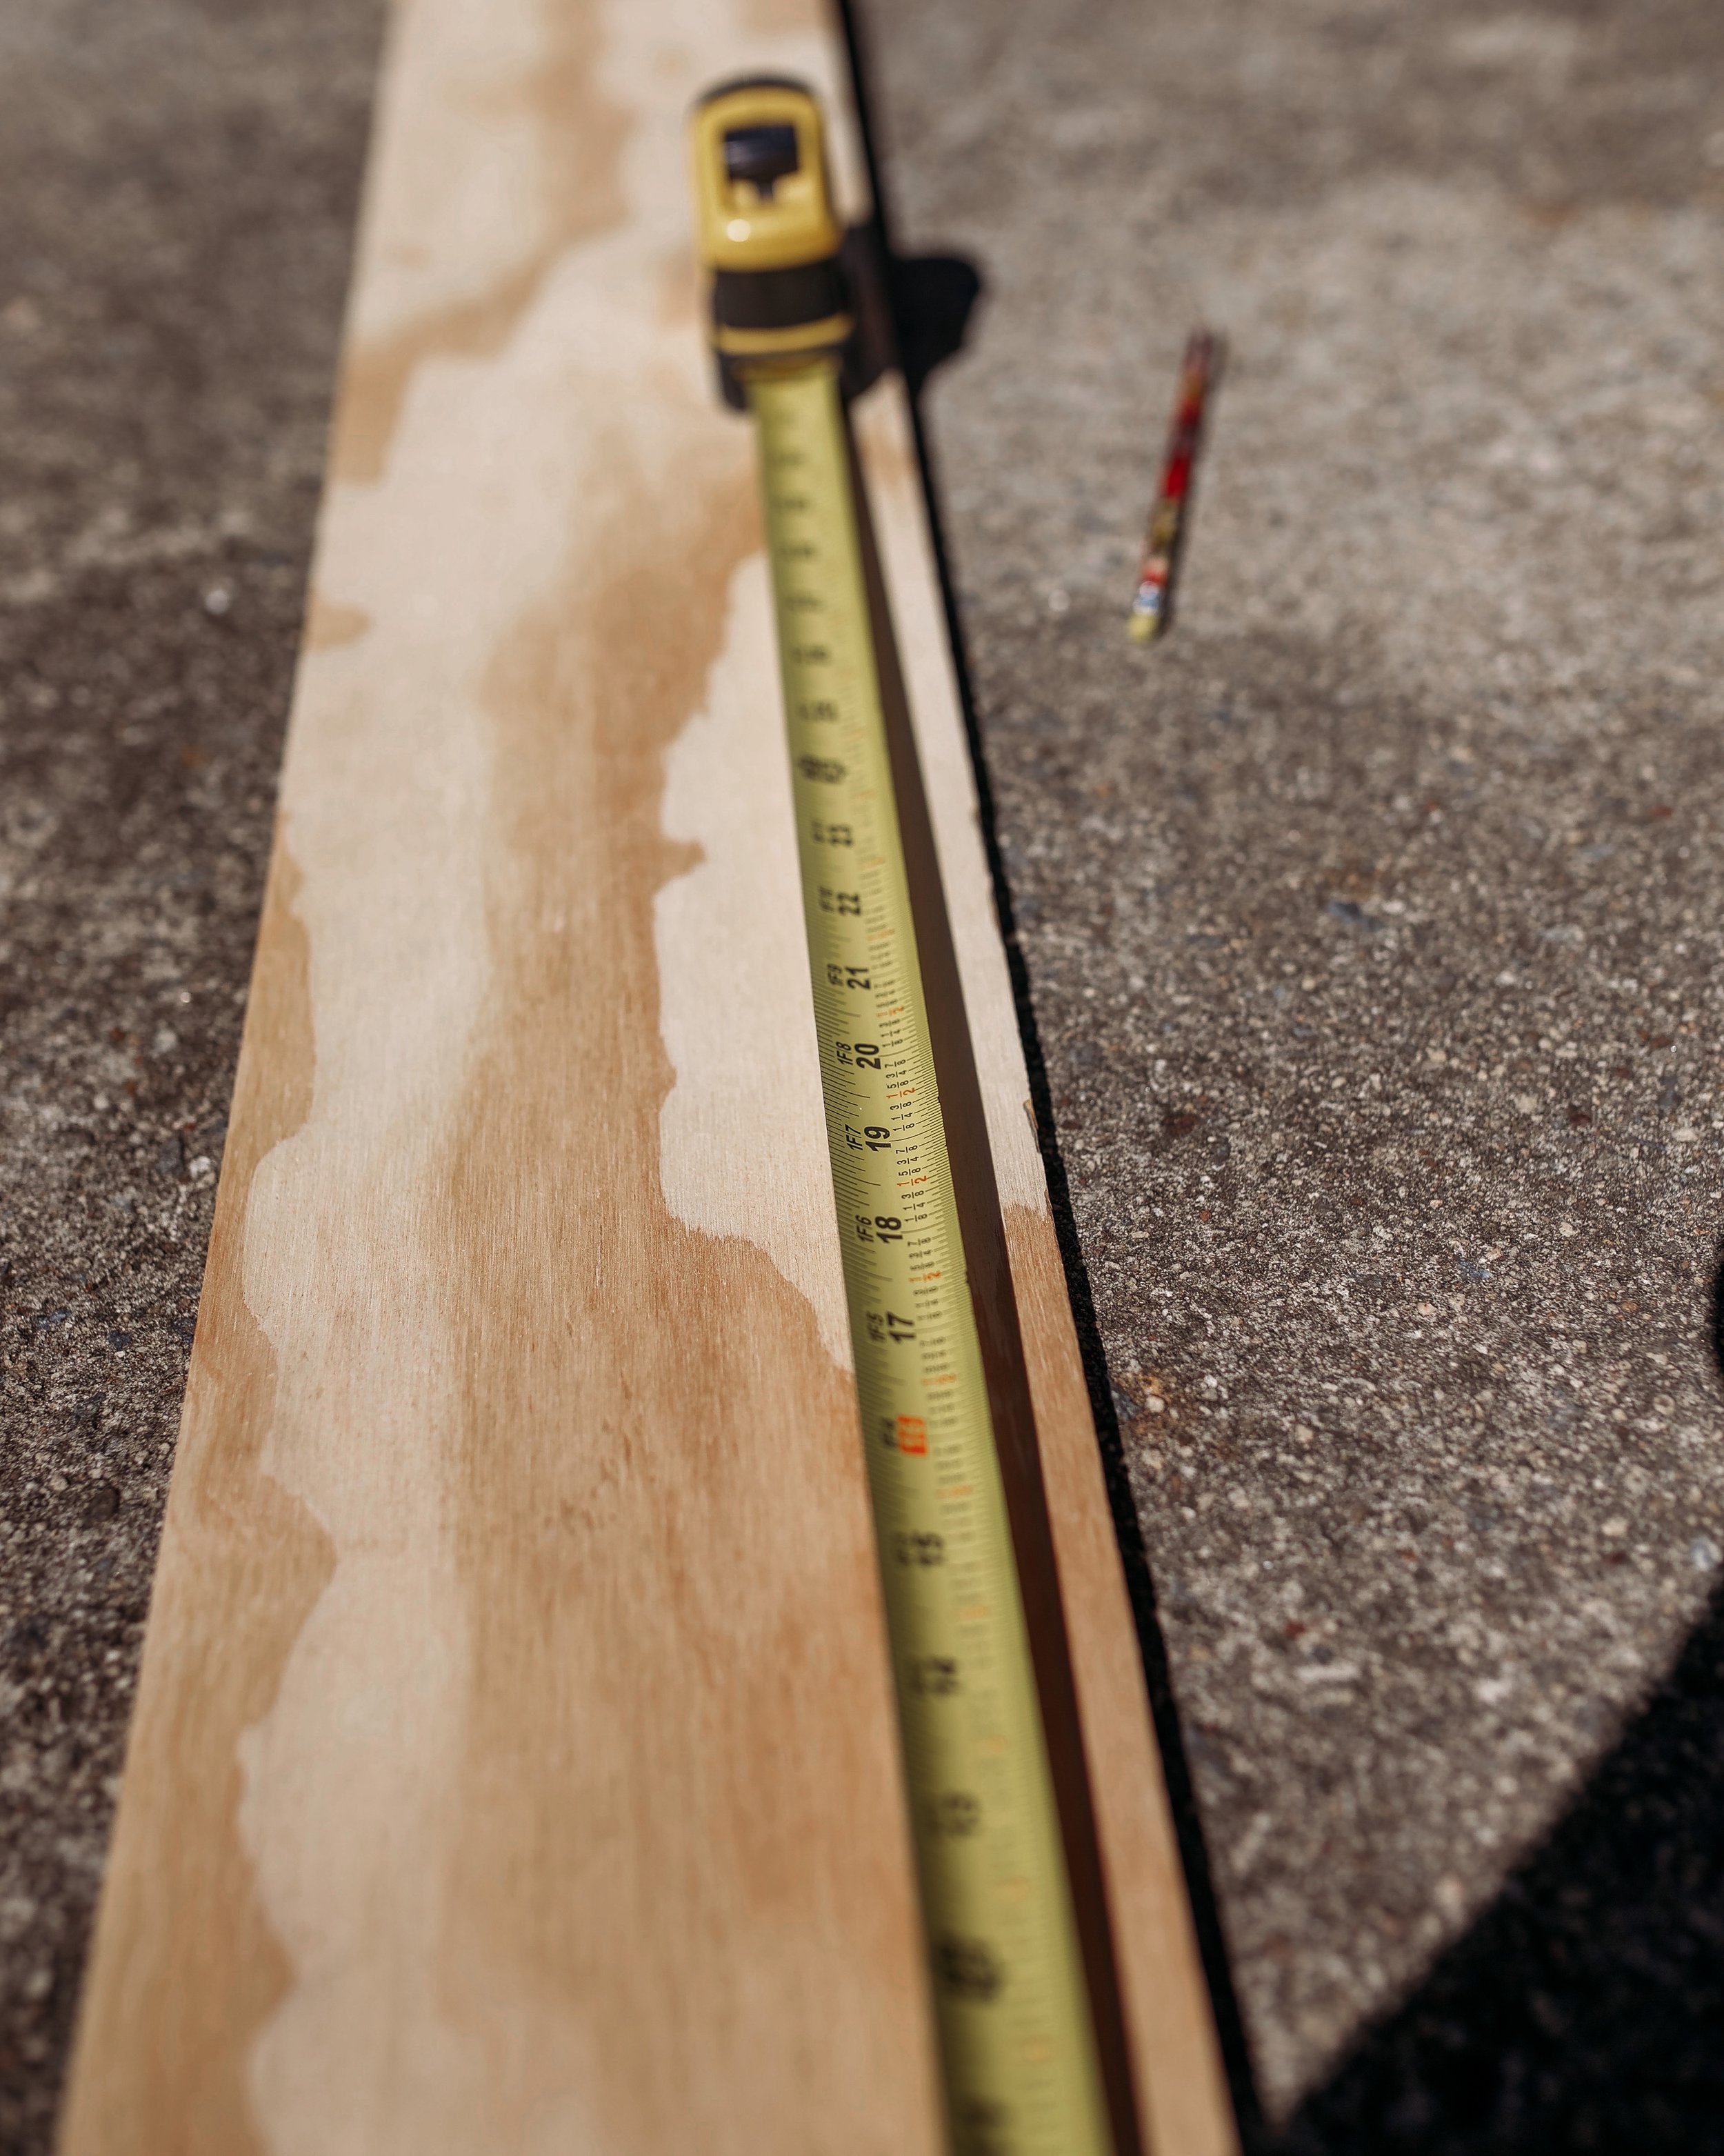
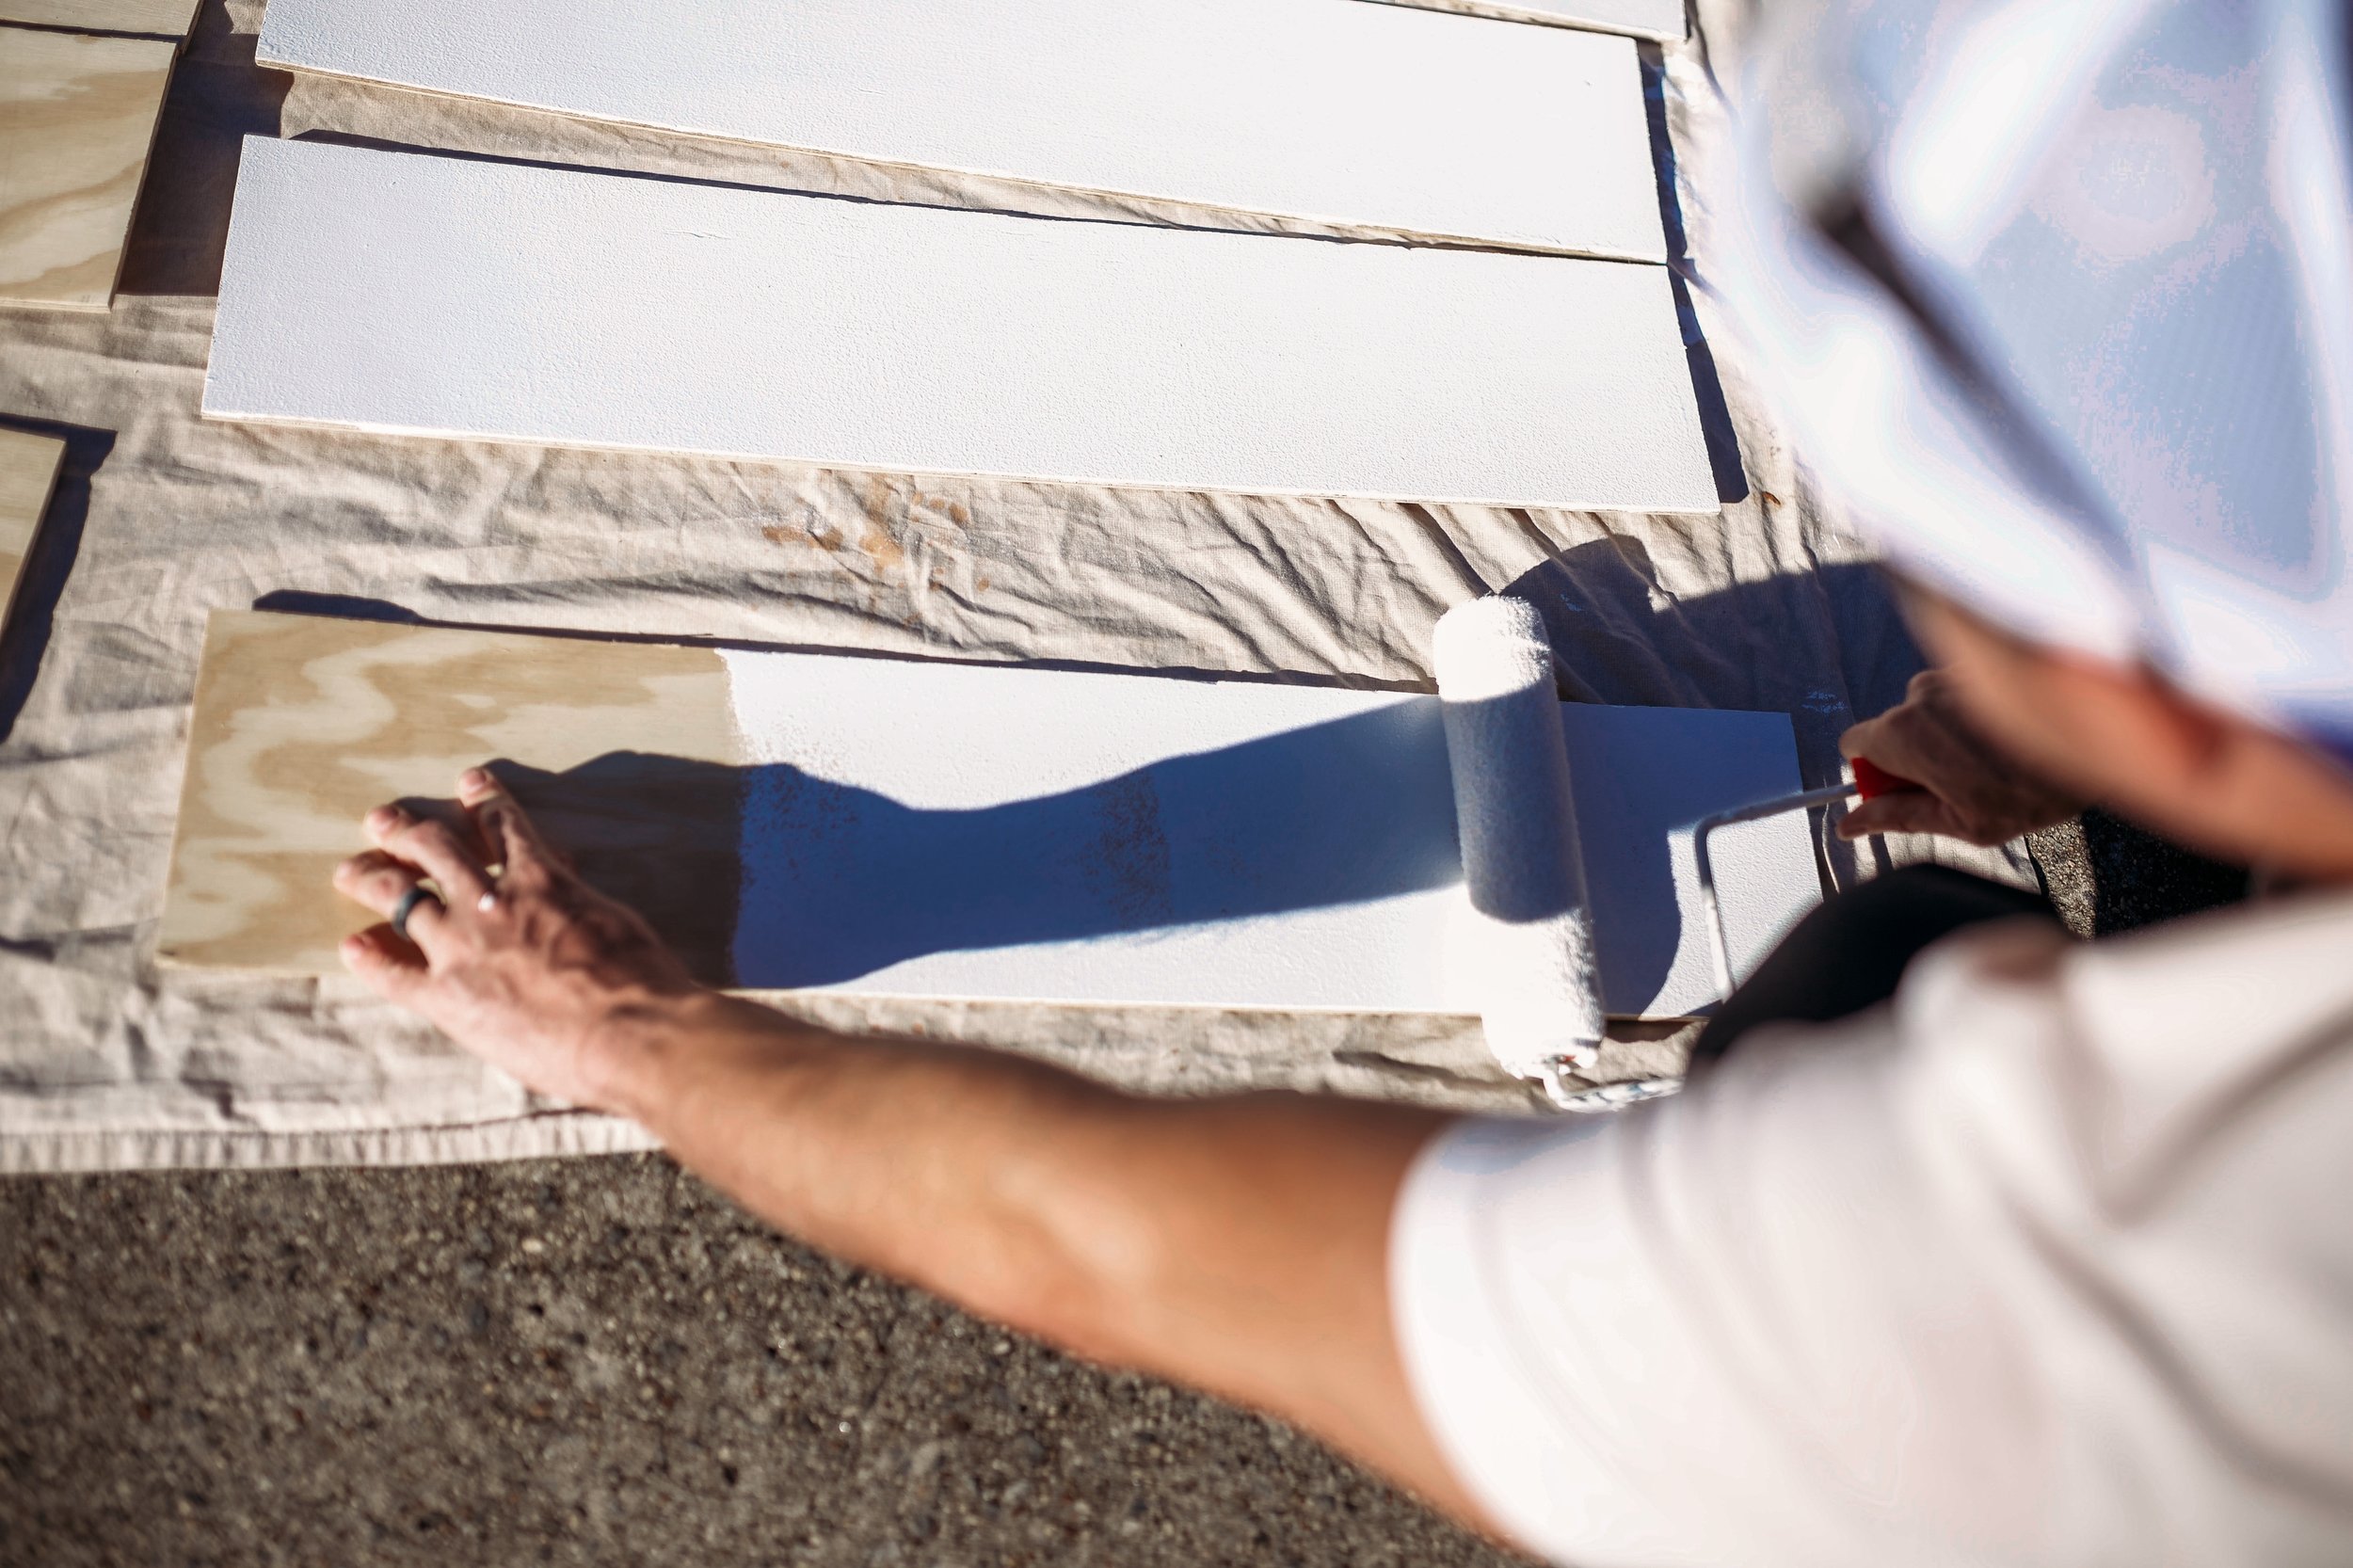
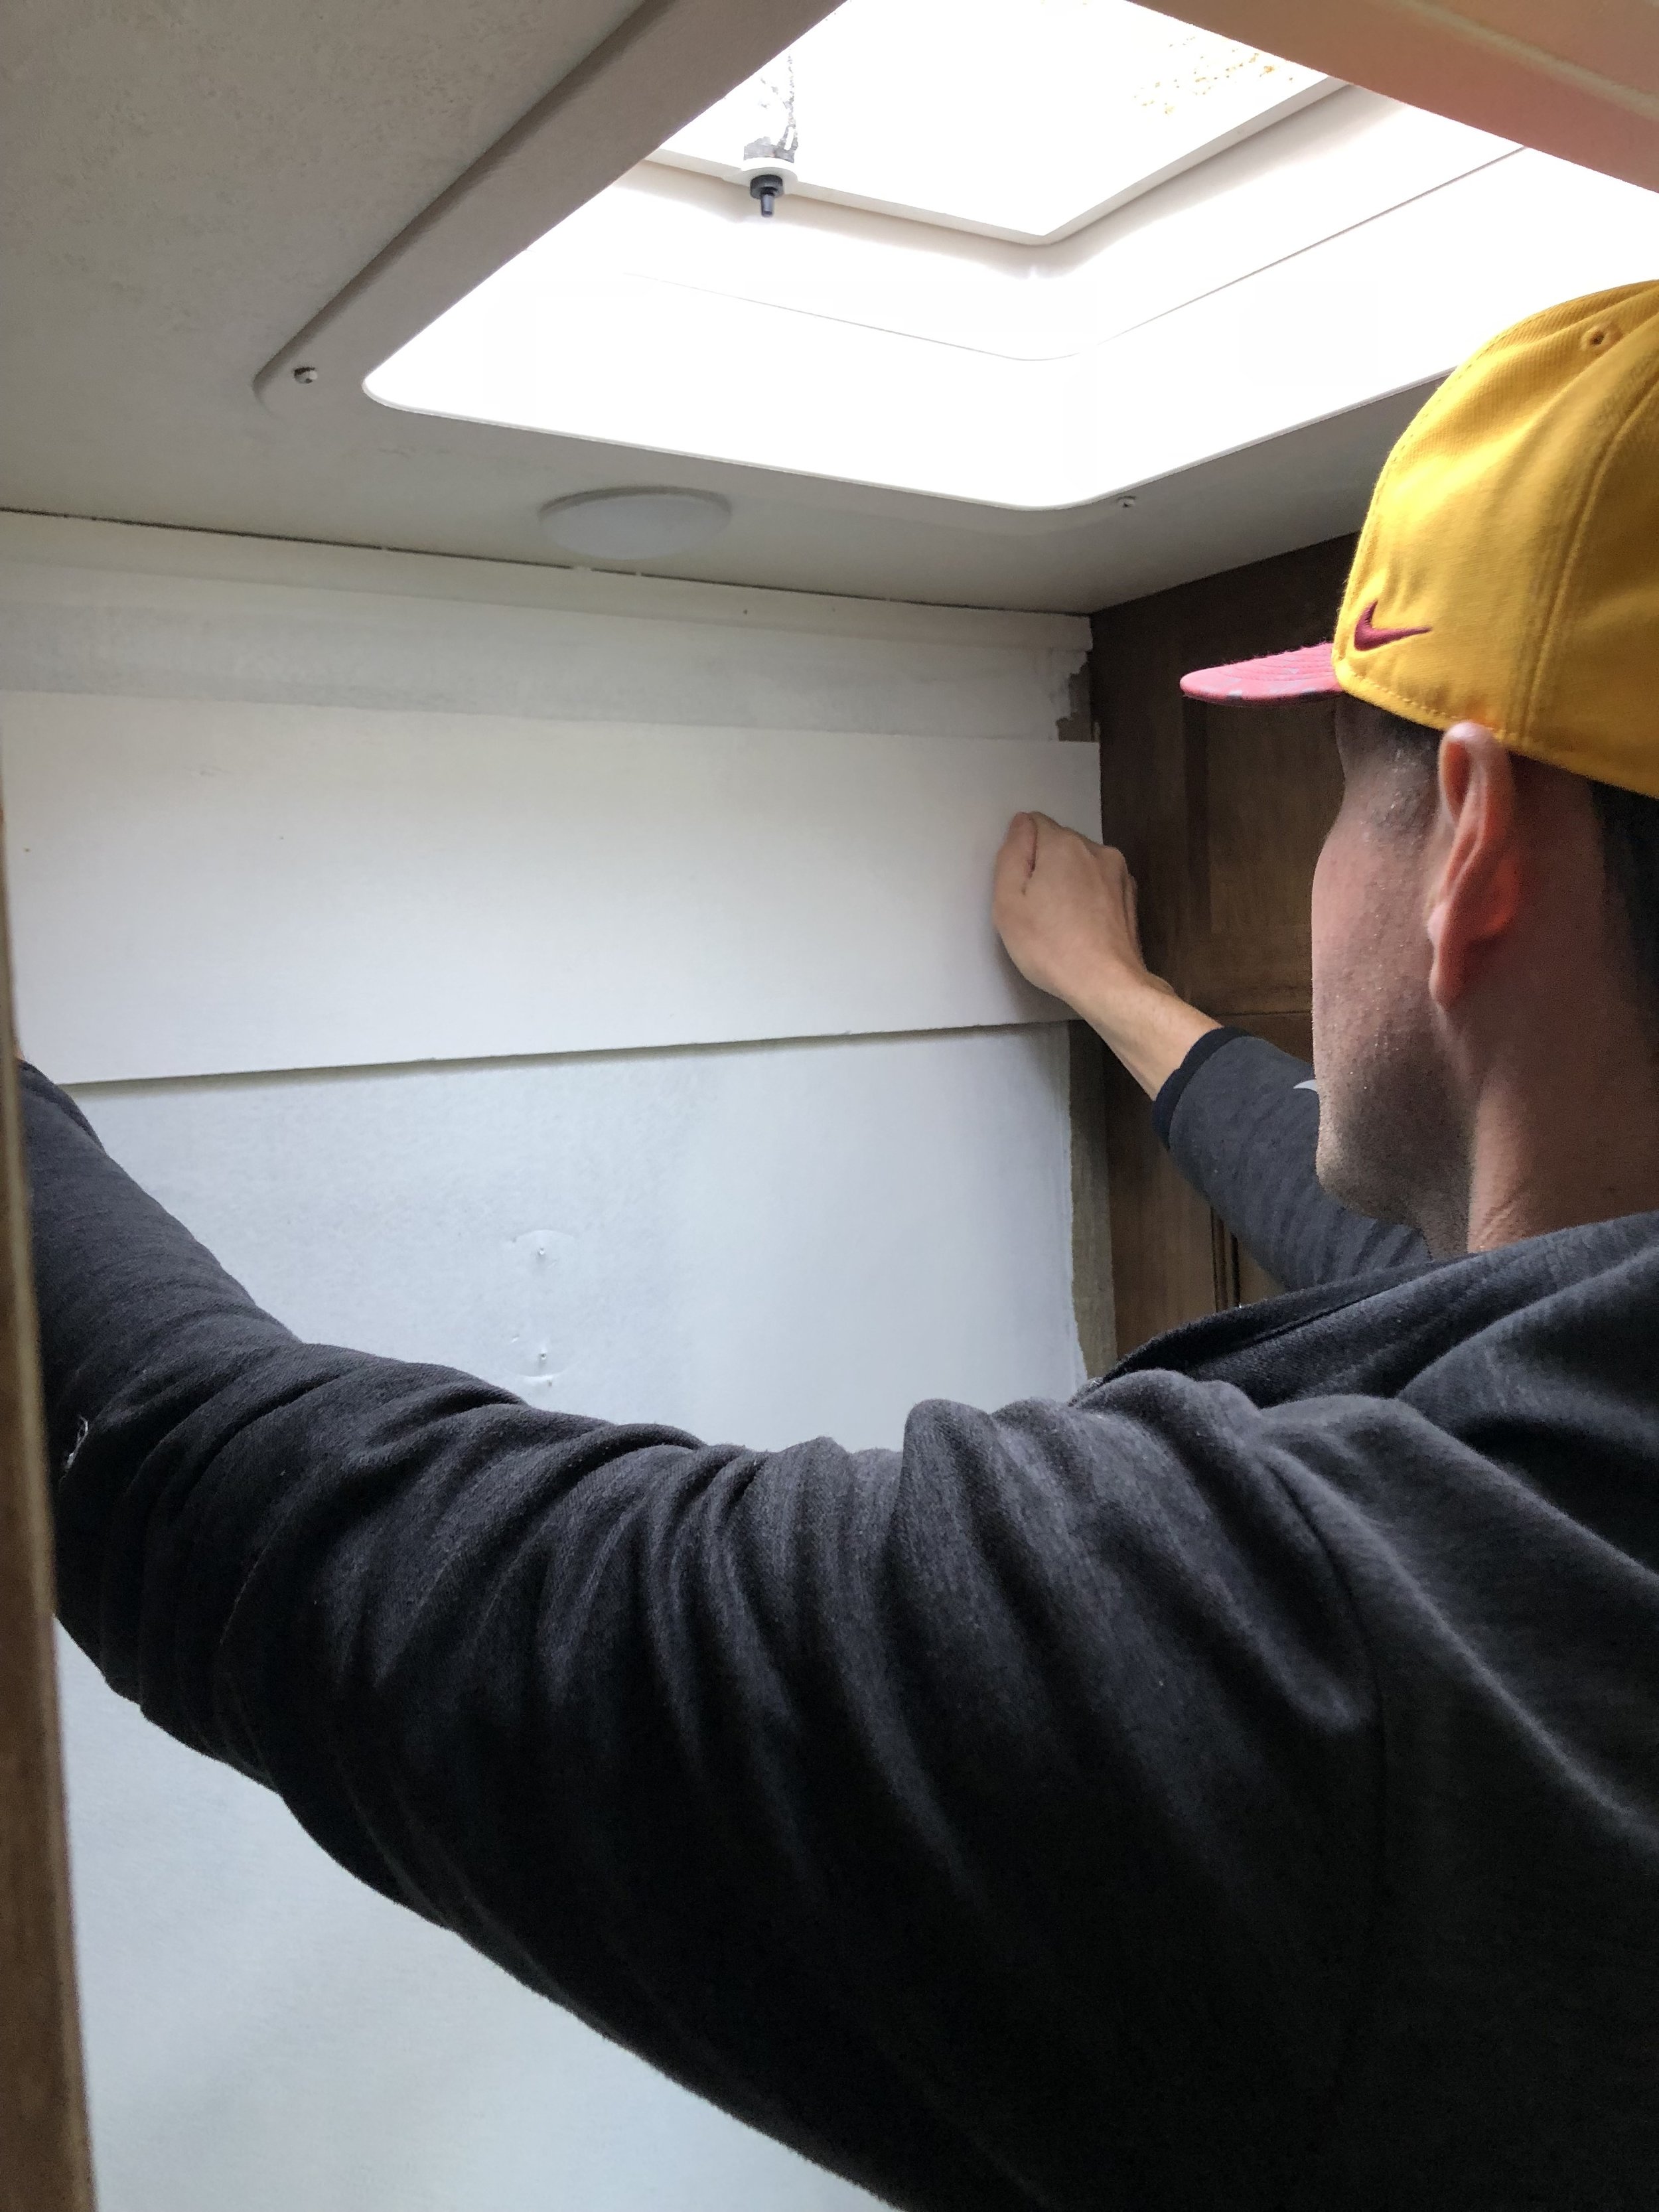
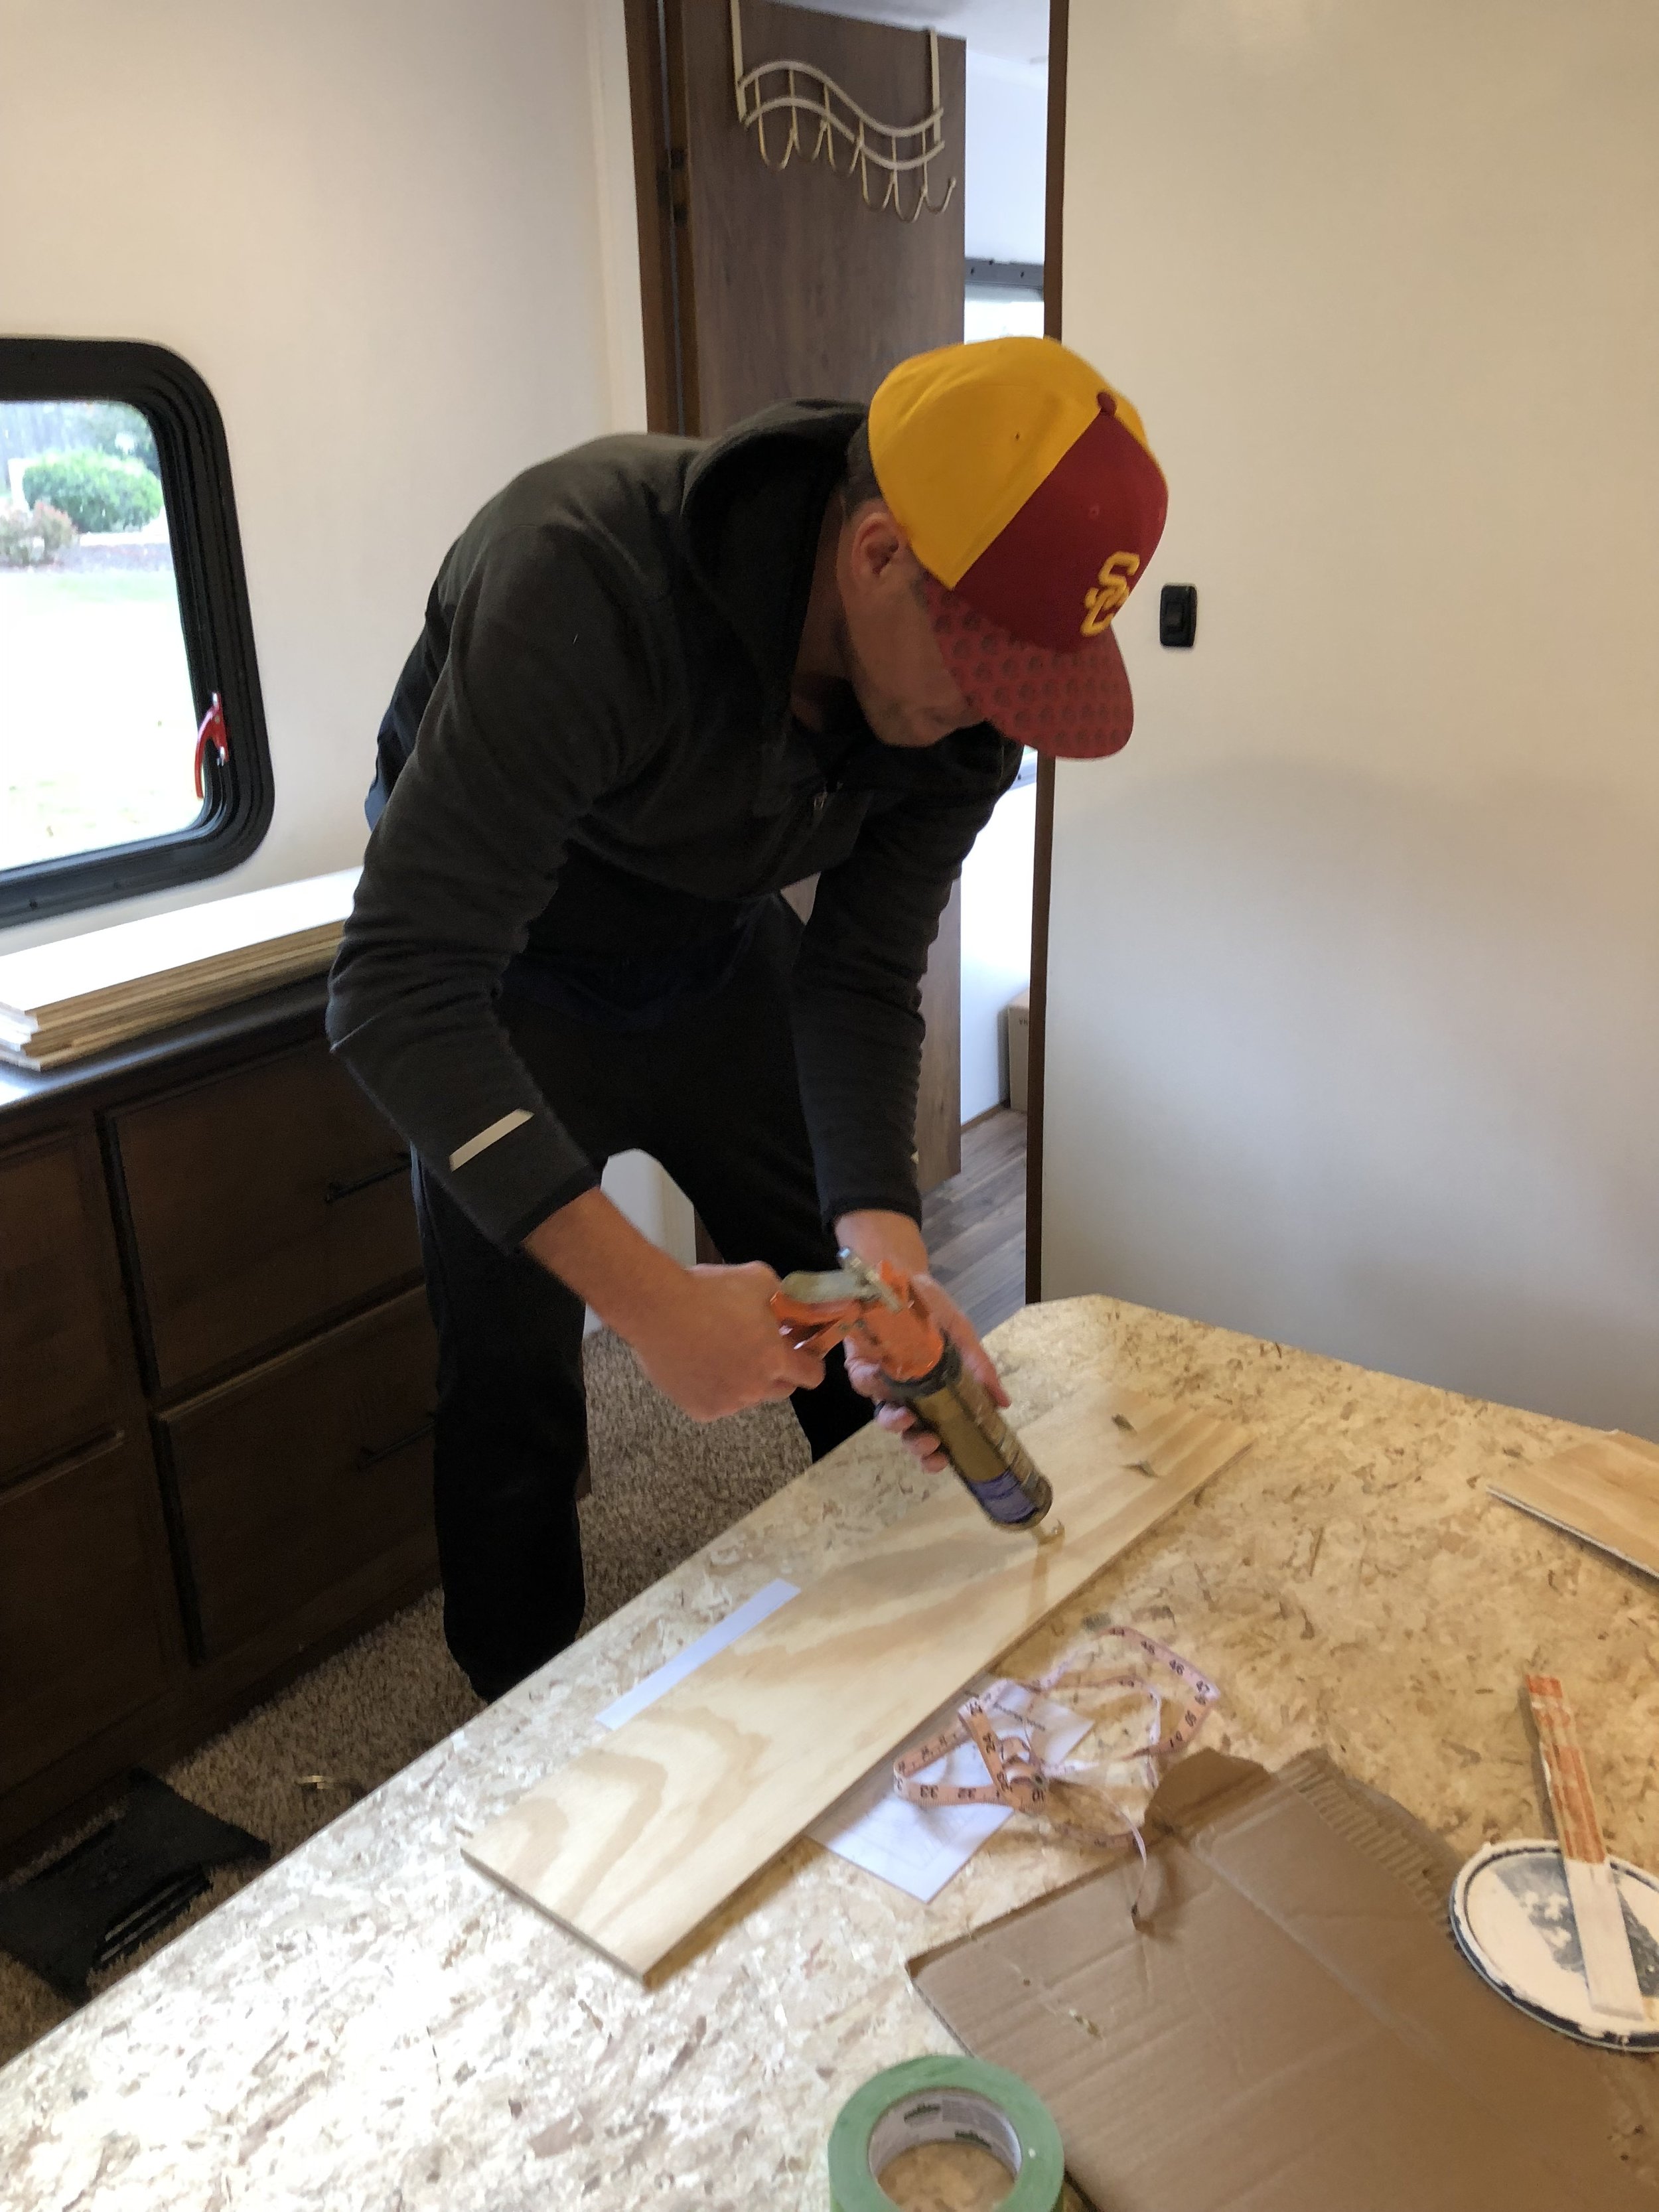
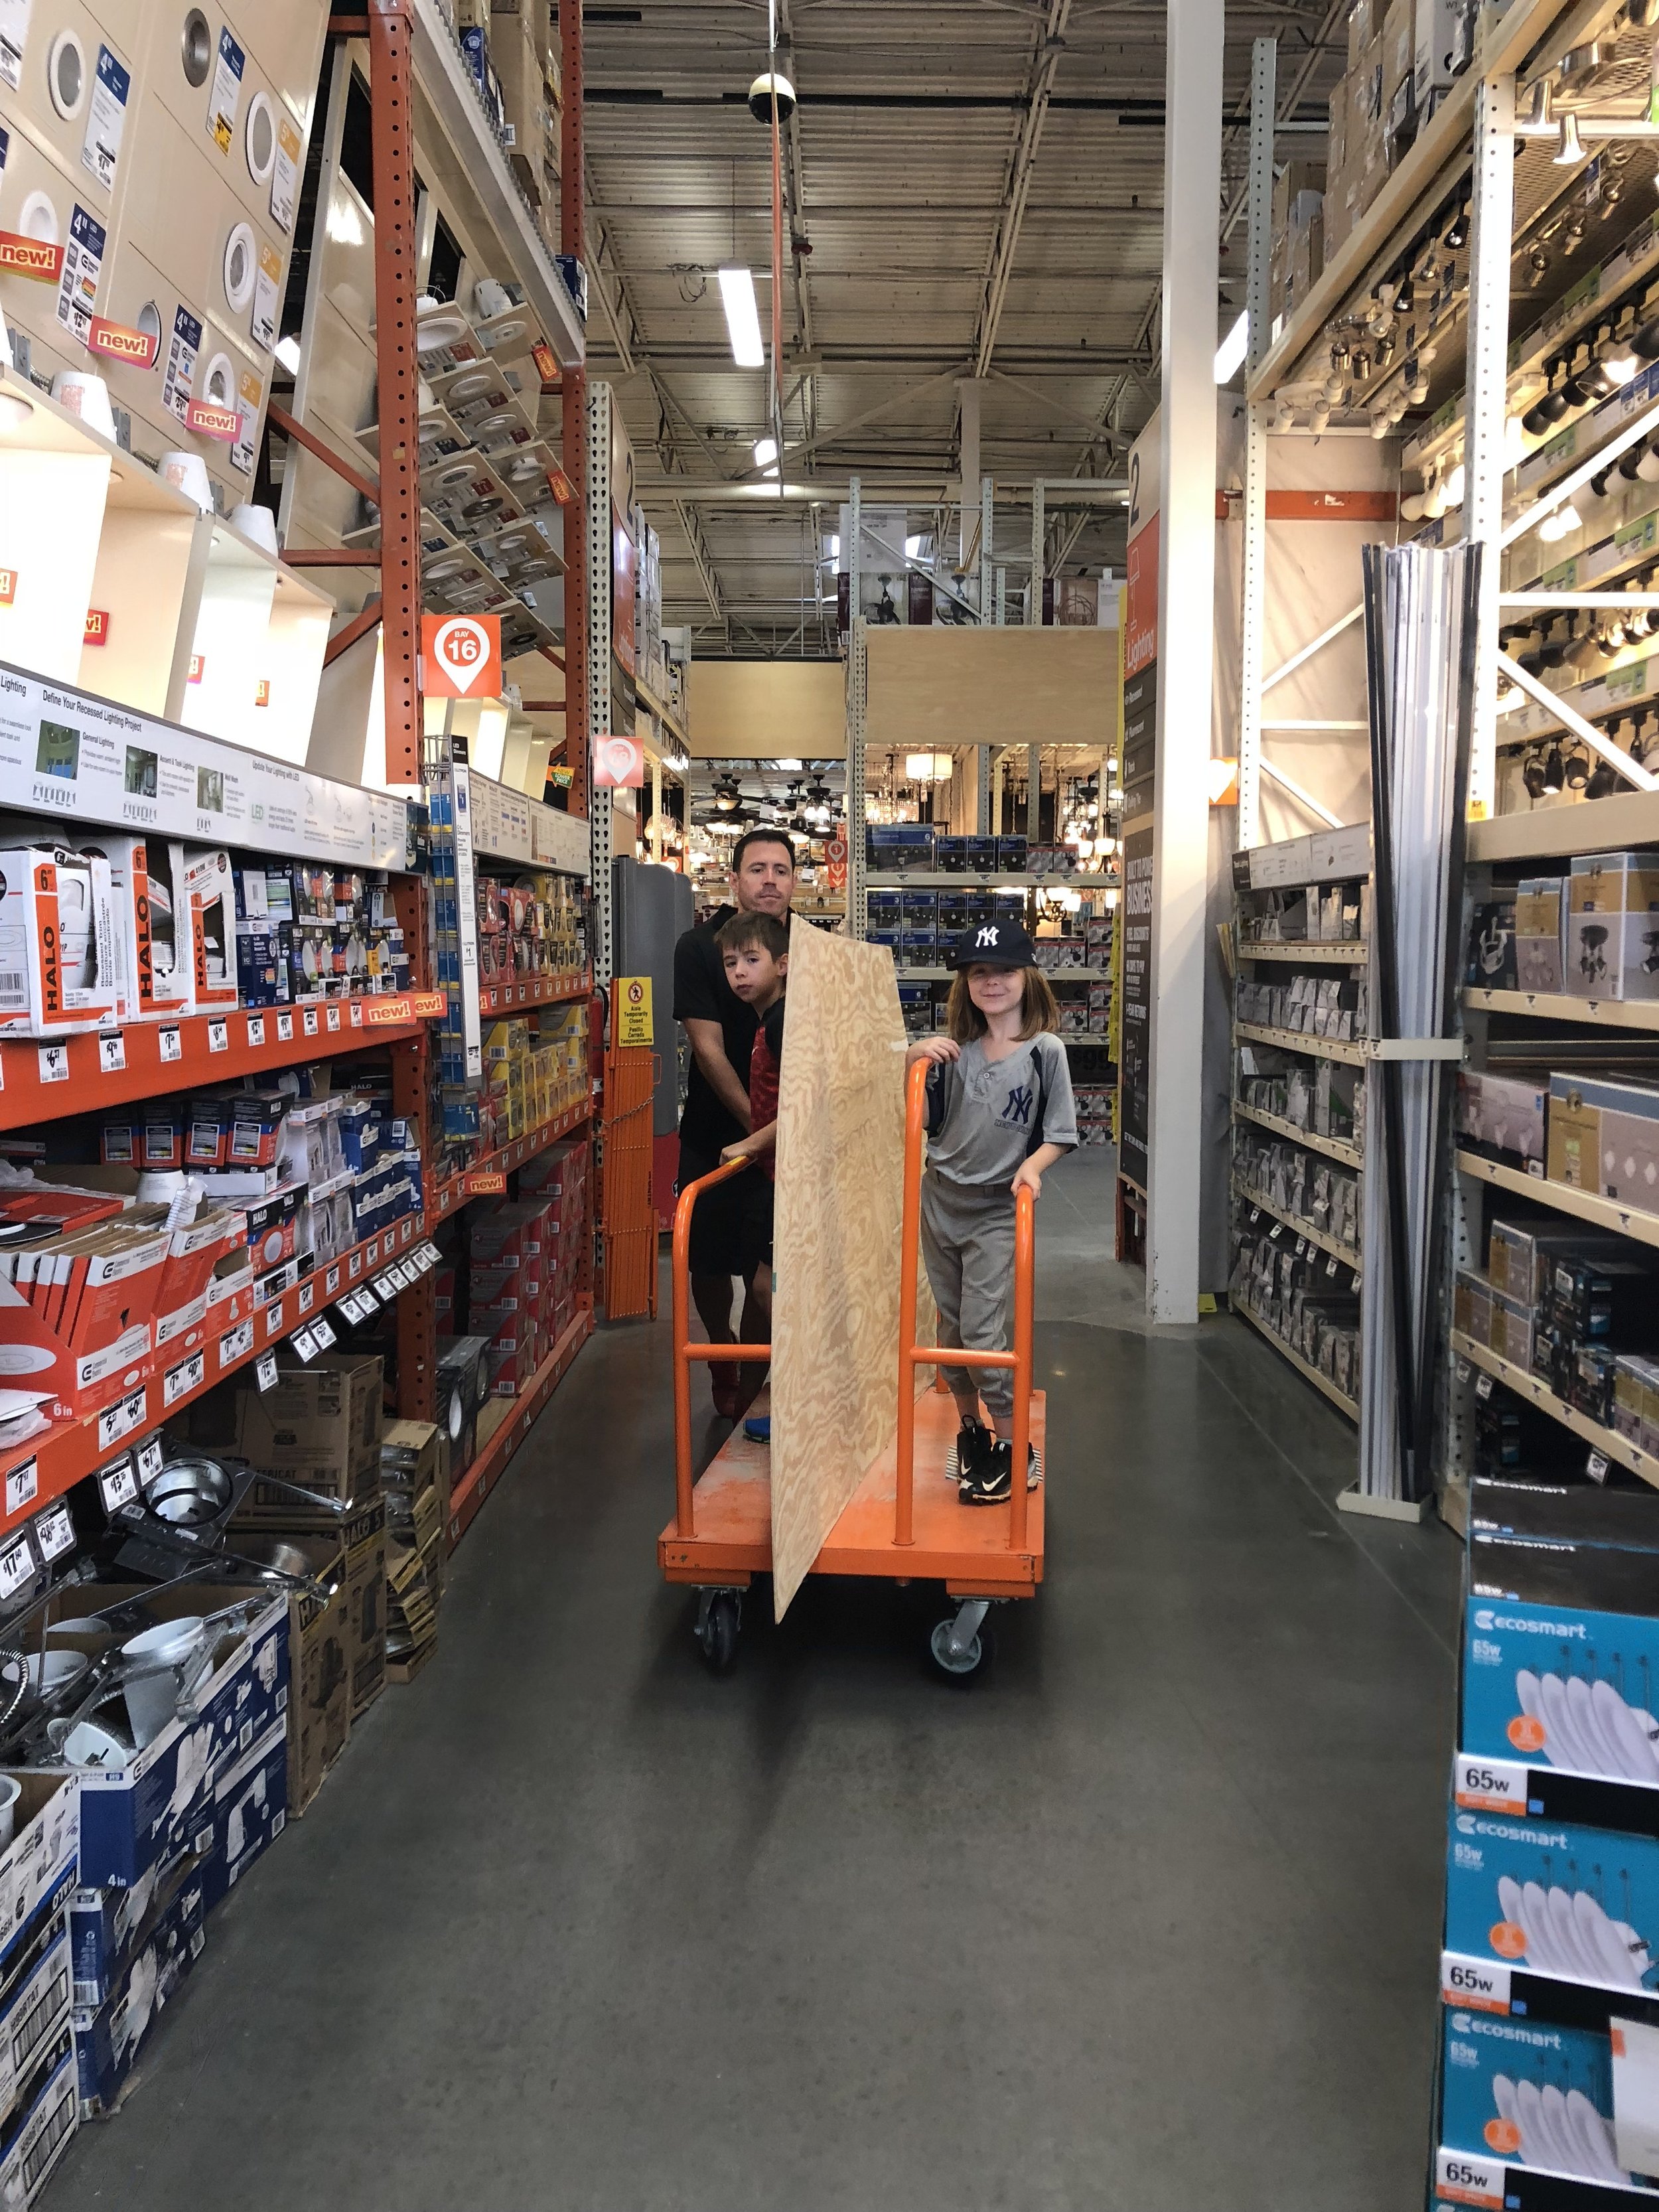
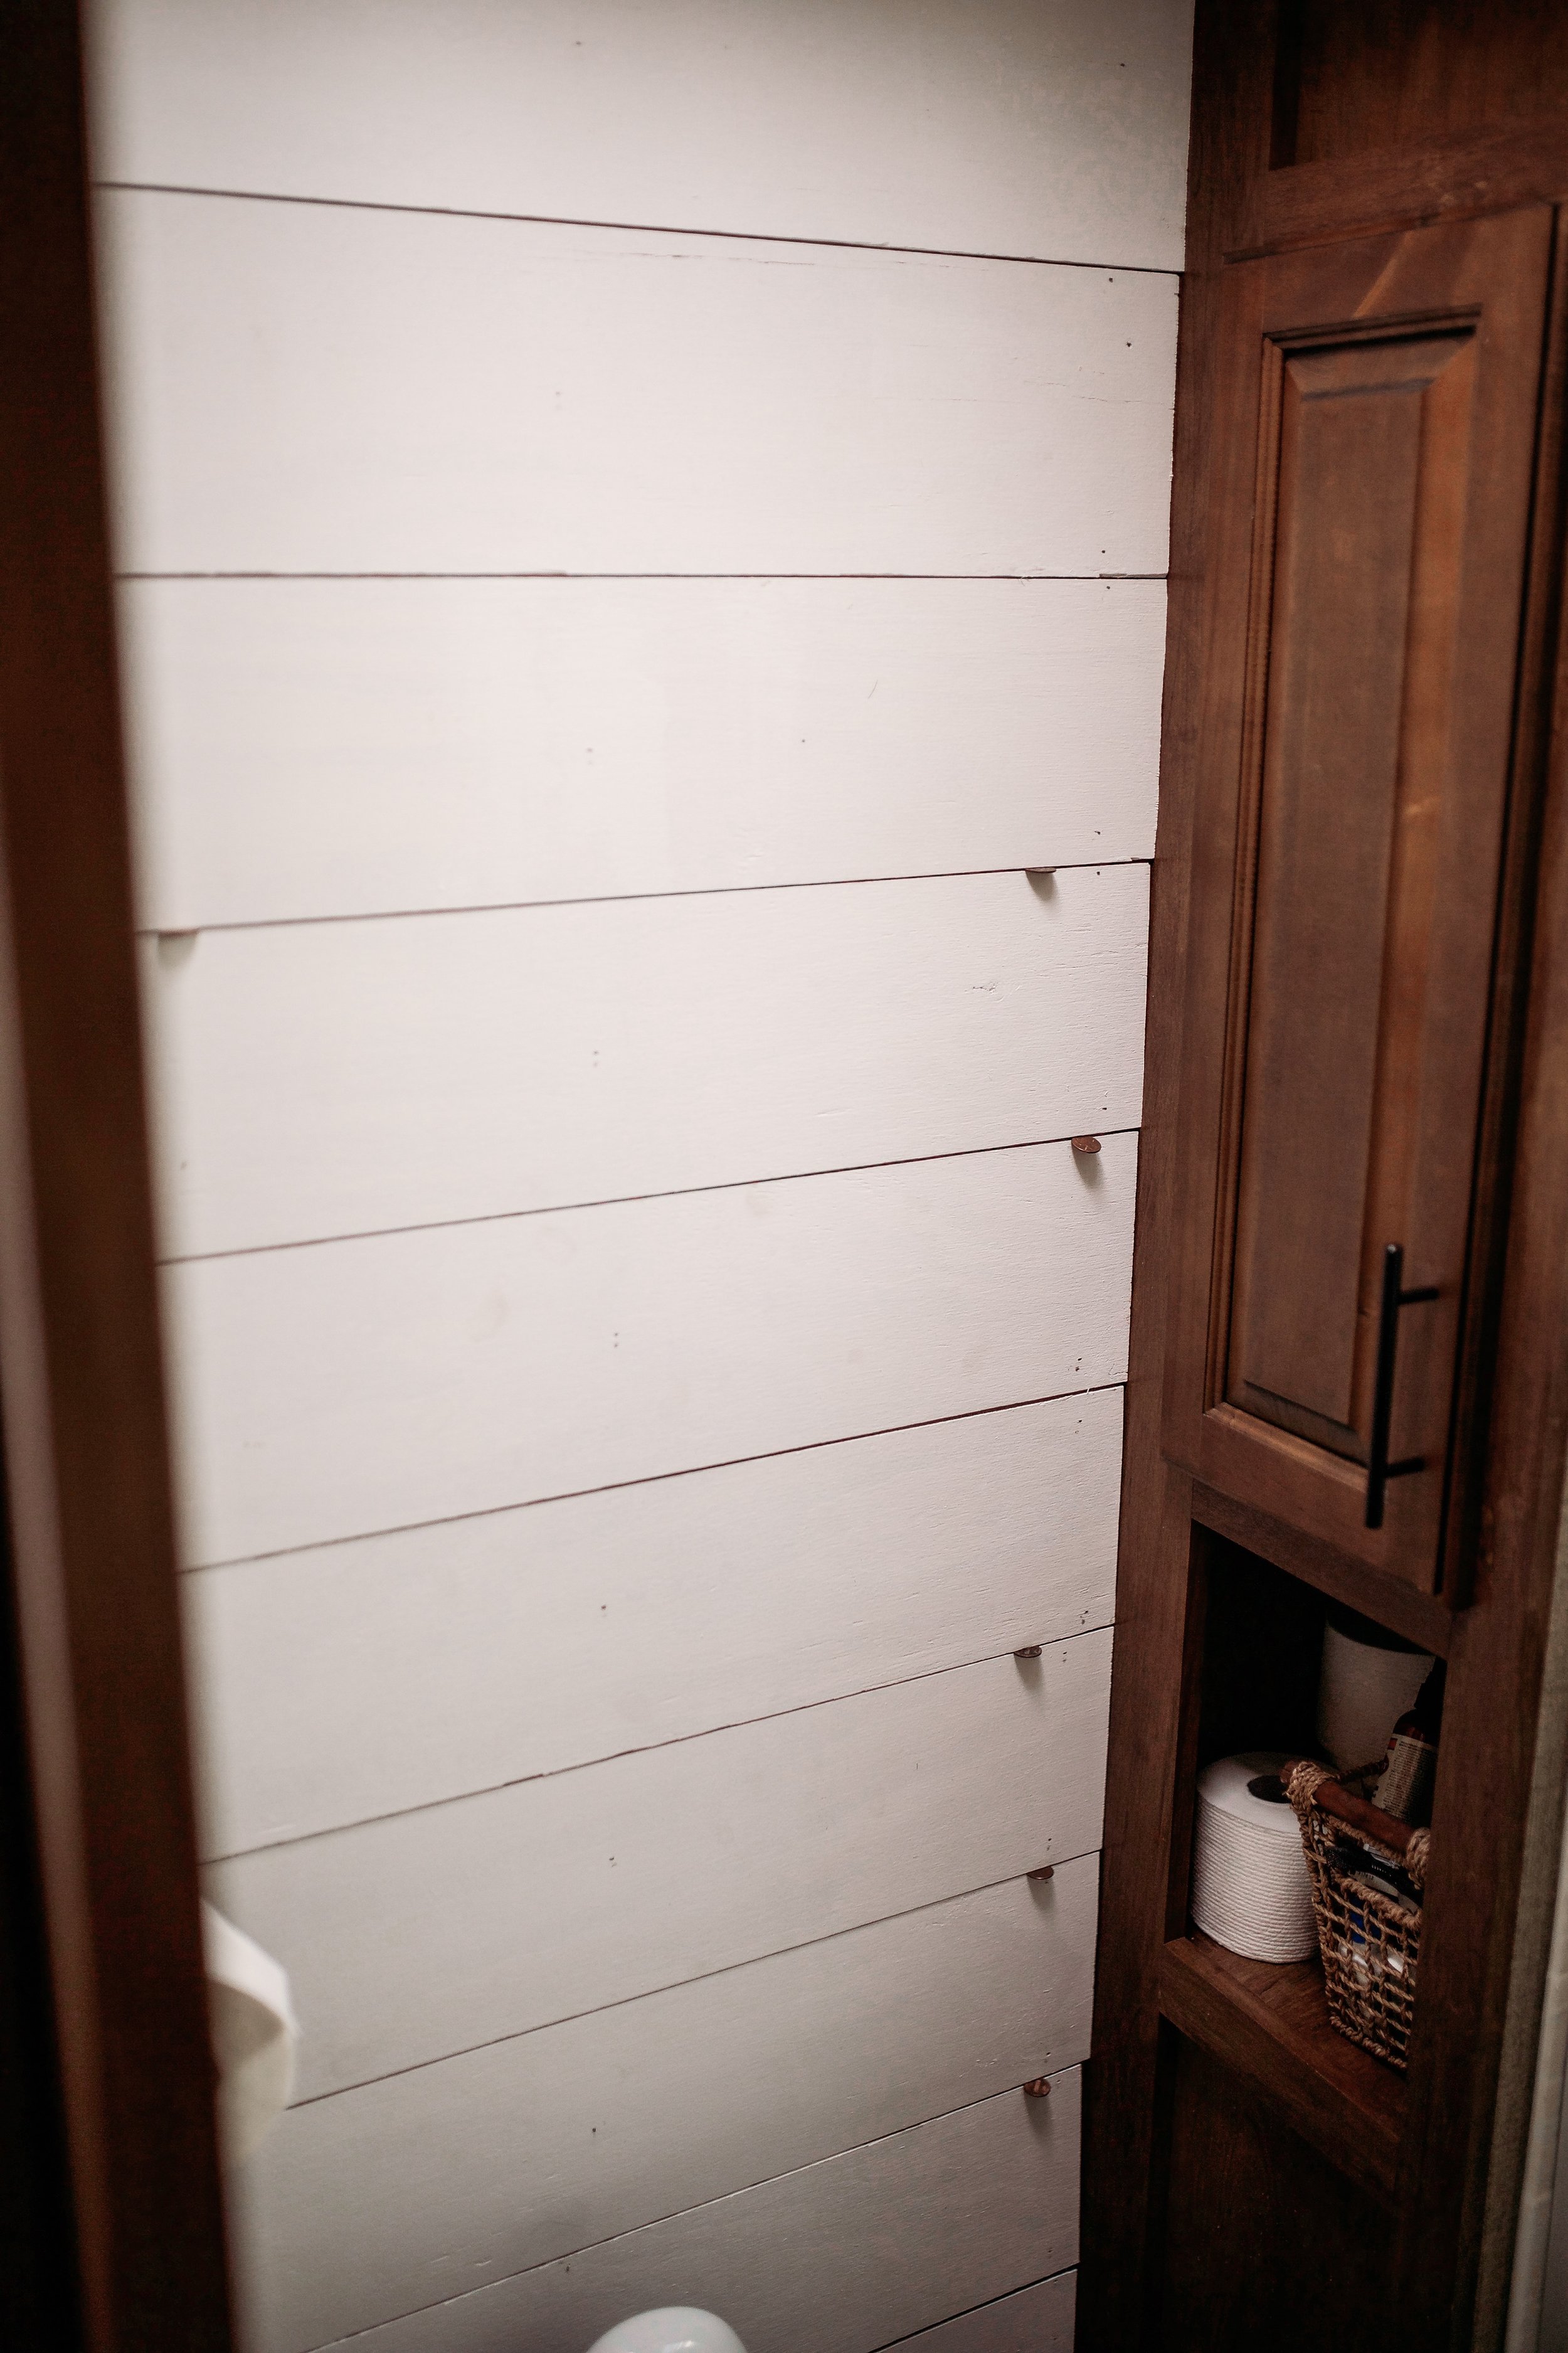
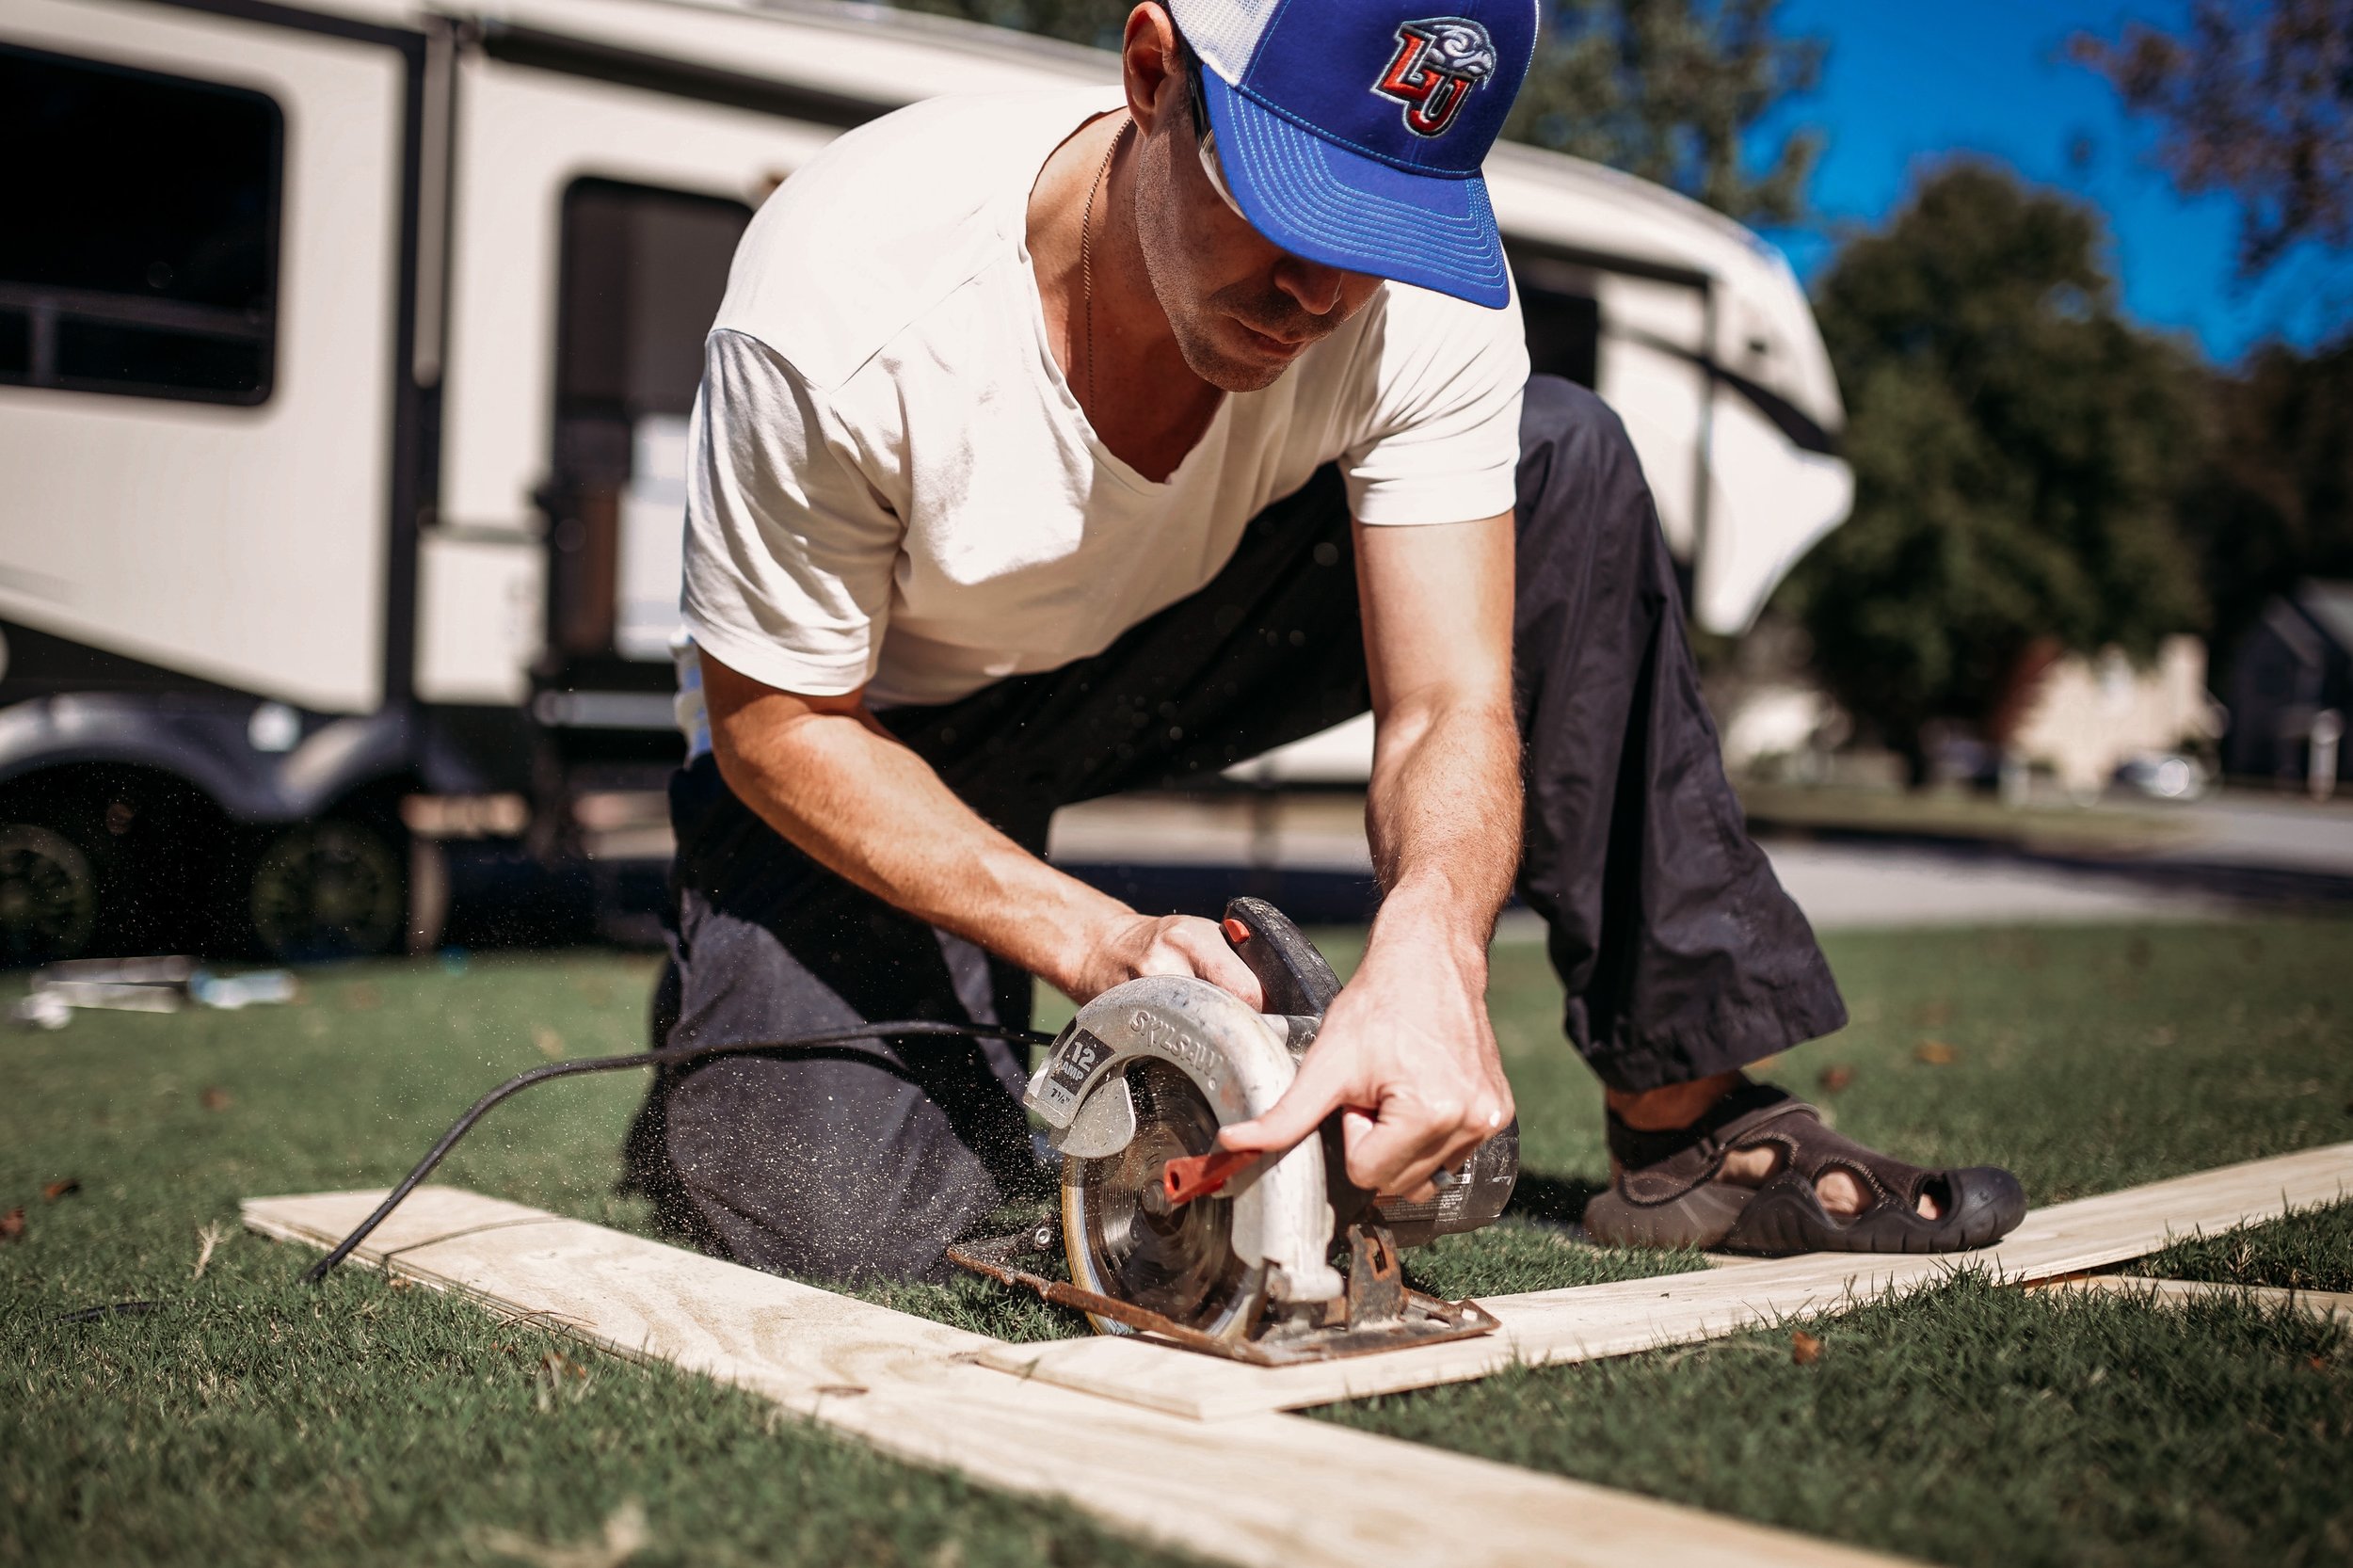
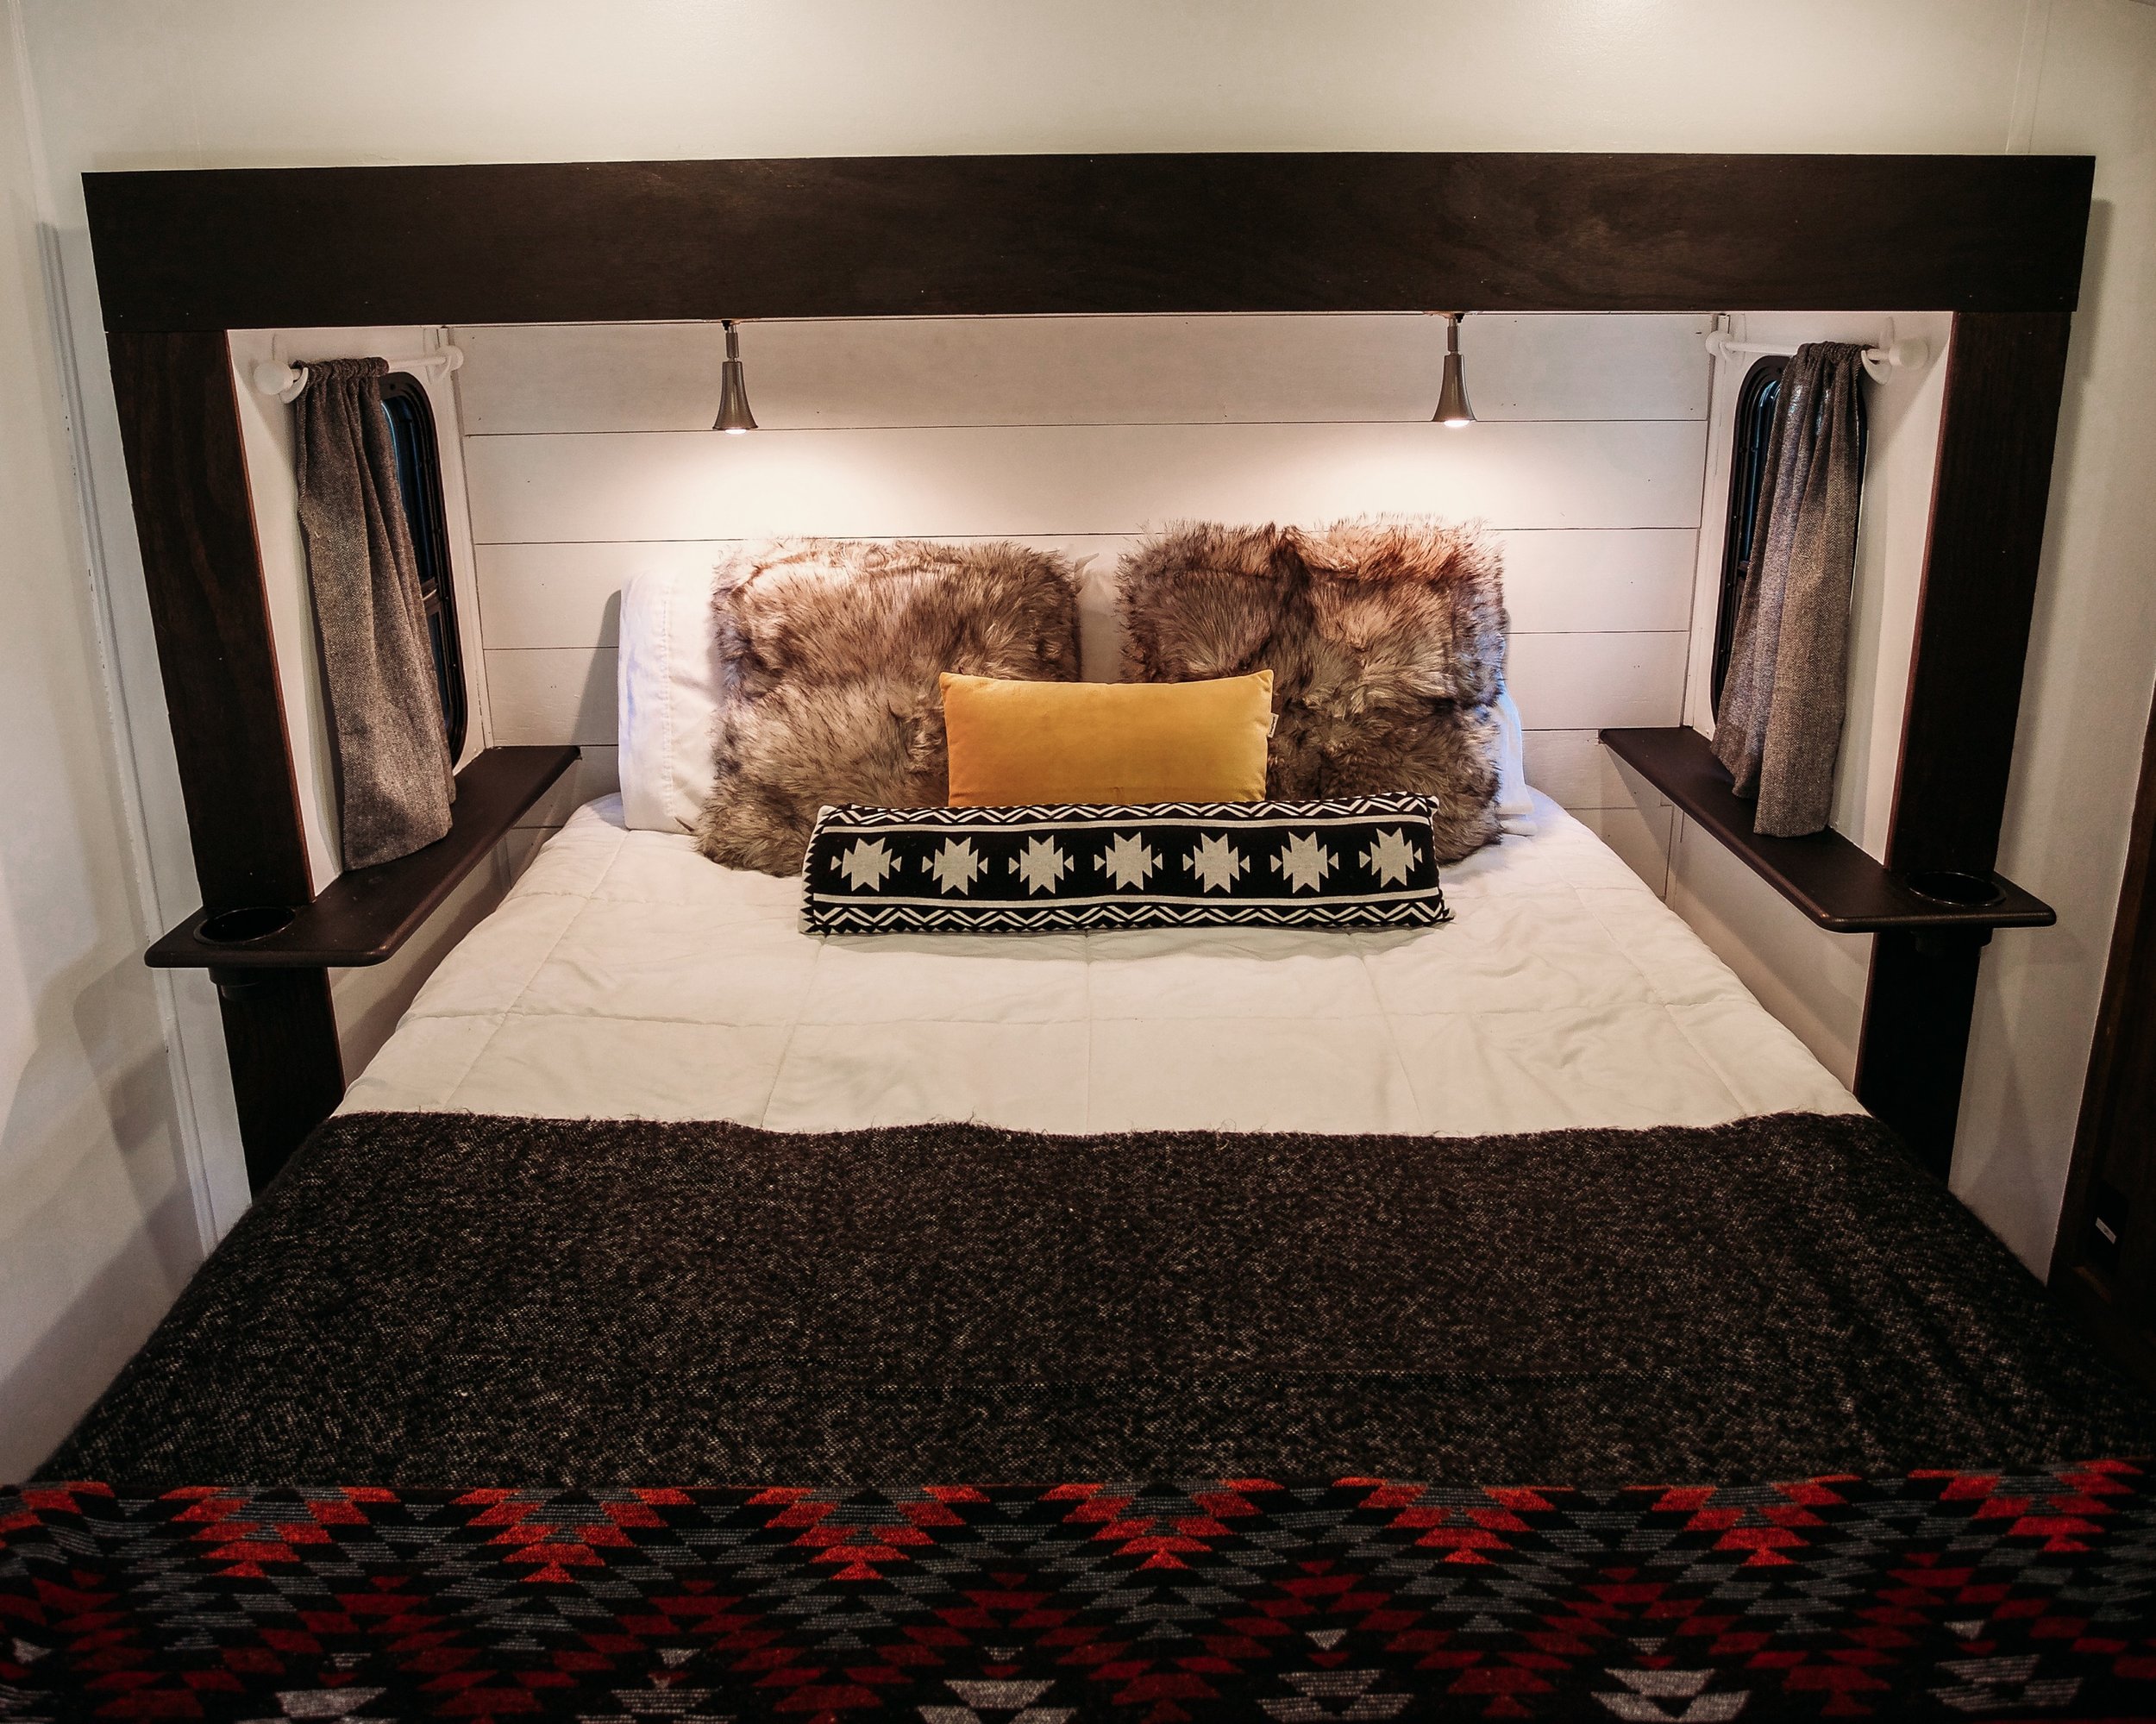
6. Shiplap
My inner Joanna Gaines came out and convinced me that I needed shiplap! We bought sheets of plywood, cut it into strips, painted it white, and glued AND secured the strips to the wall with a nail gun. We did this in the headboard area of the master bedroom as well as in the bathroom.


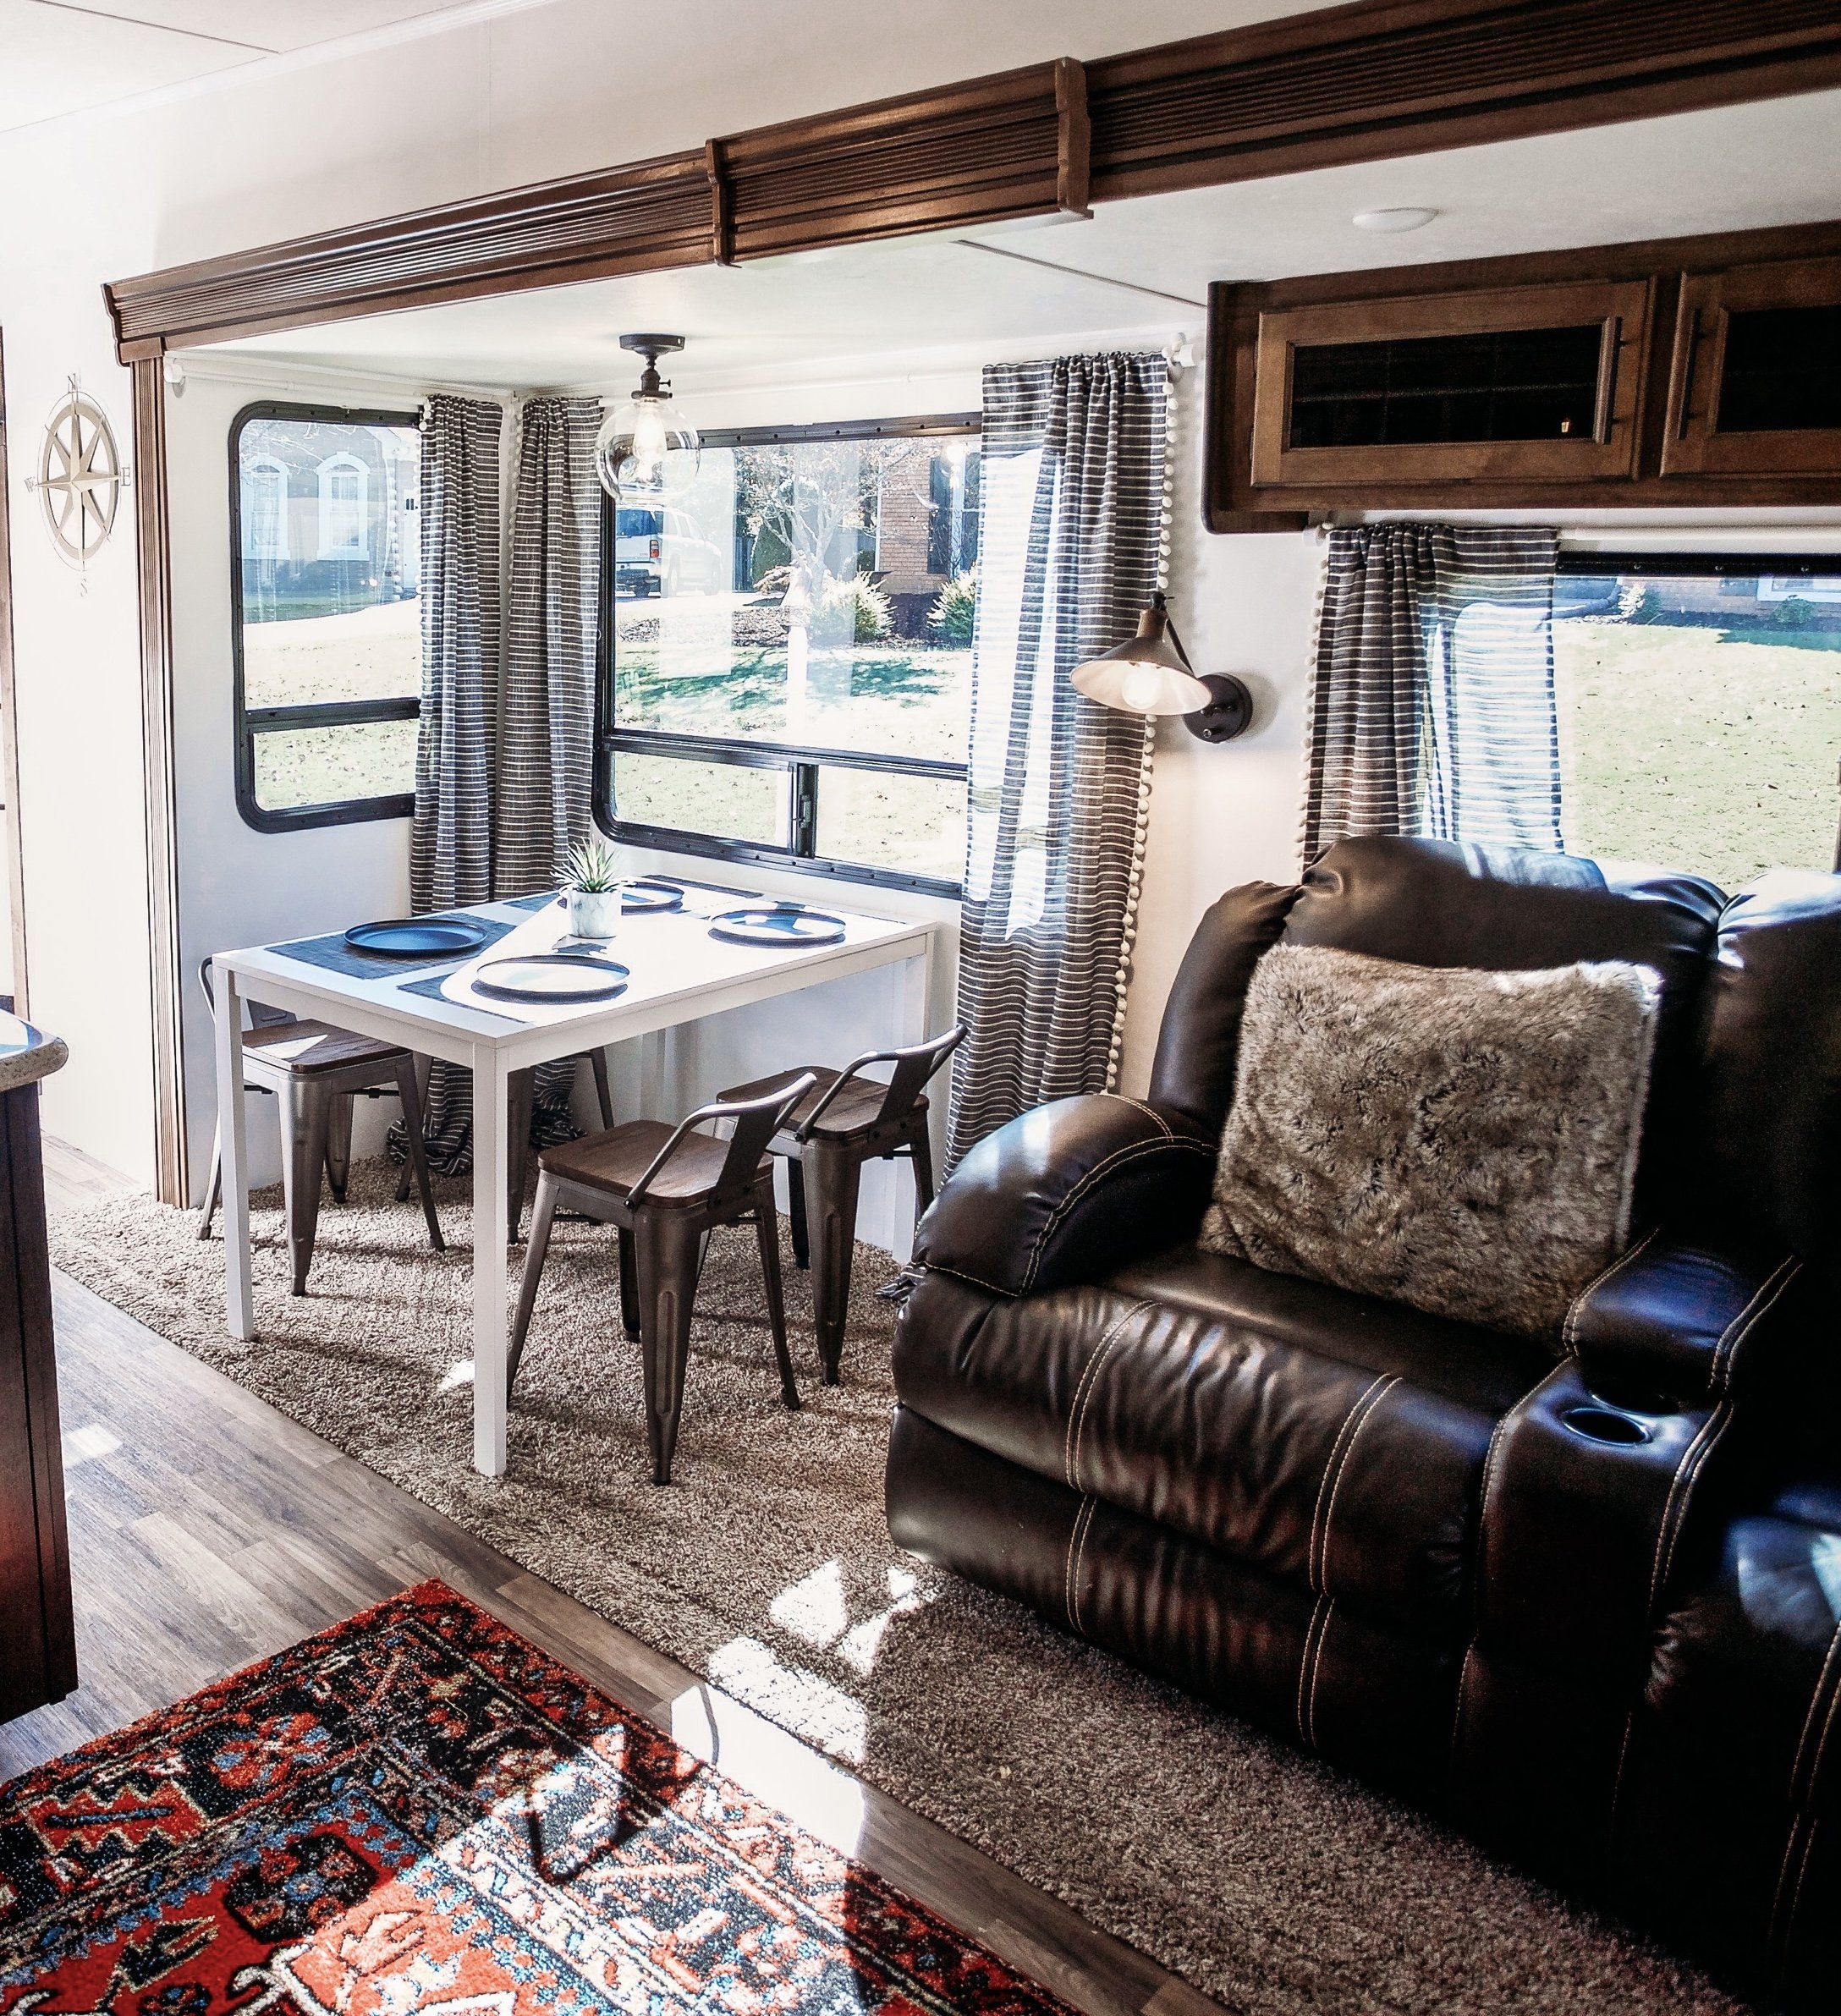
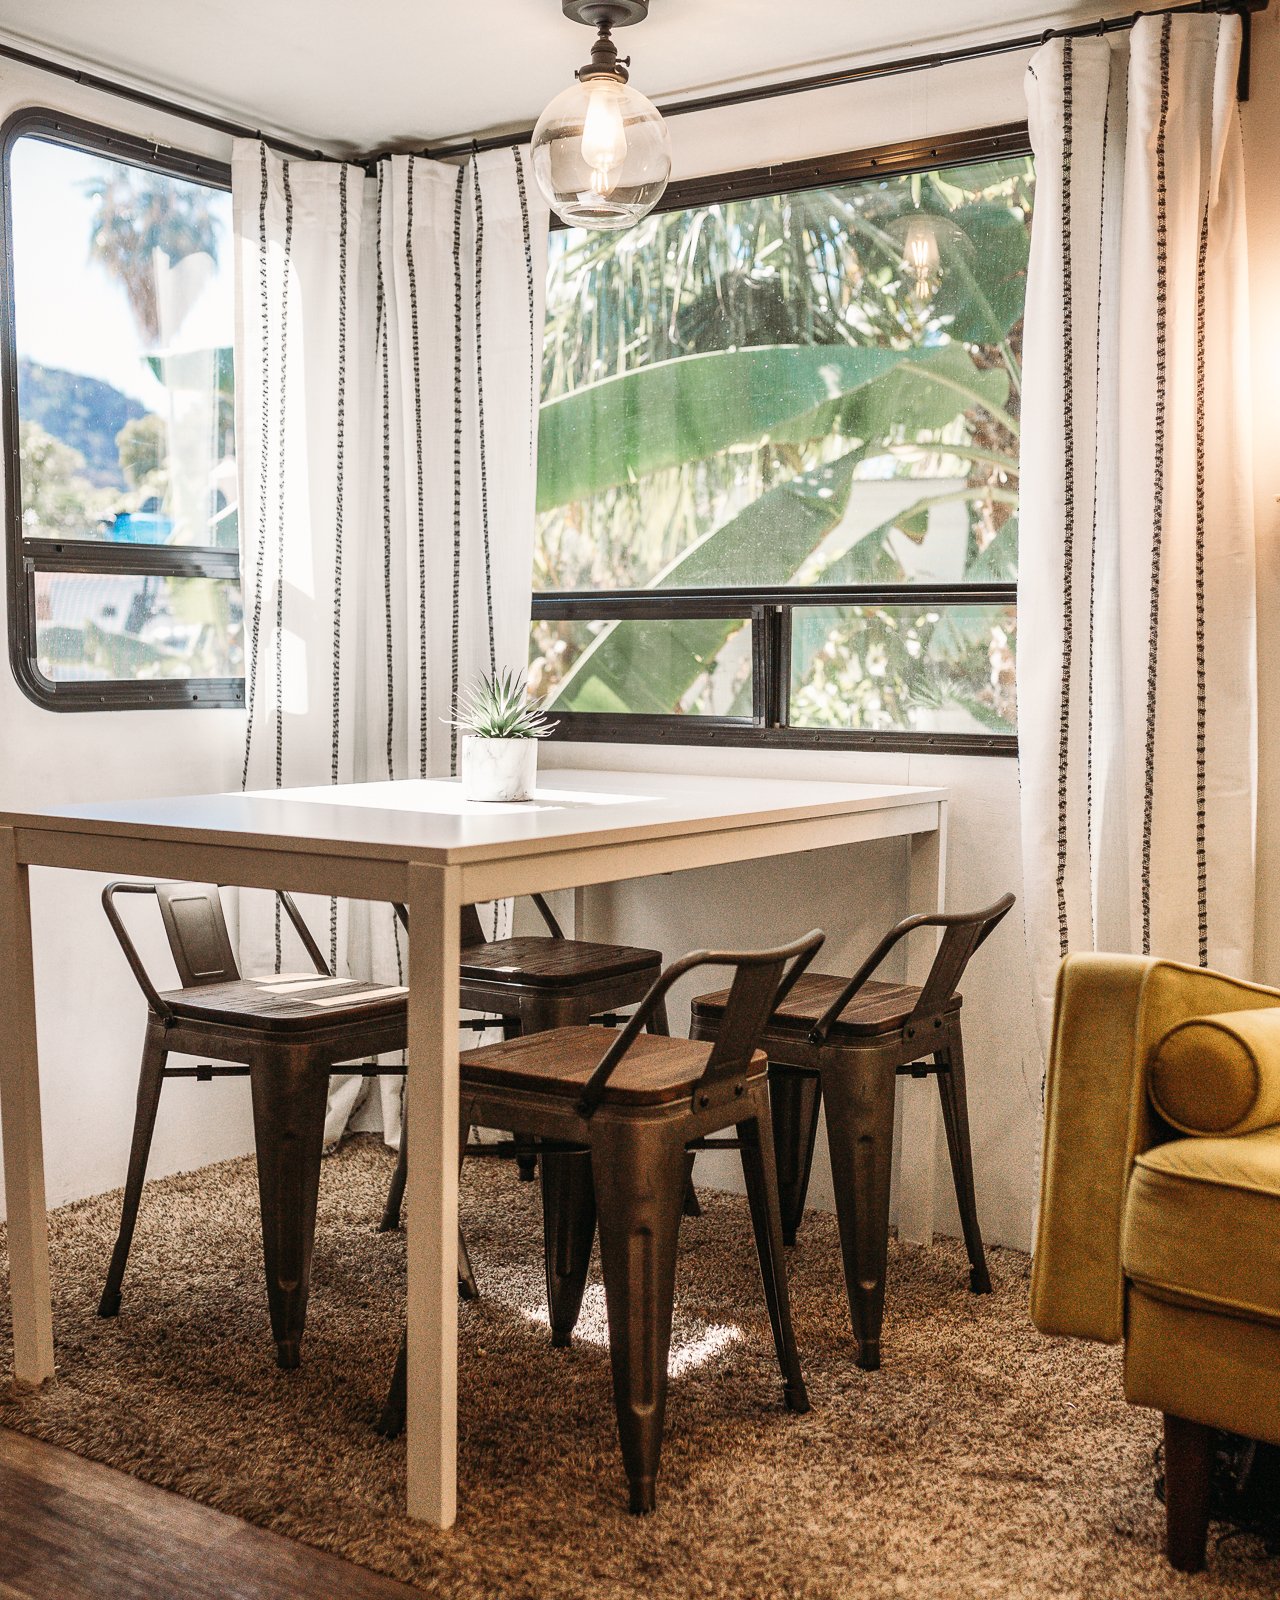
7. Dinette
Lots of RVs come with a built in dinette-booth thingy, but ours came with a stand alone table and four chairs. We didn’t like them, so it was a lot easier removing them than having to rip out a whole dinette! We found a white table at Ikea we liked a lot and four industrial style stools on Amazon that went well together, so we made the swap and love it!

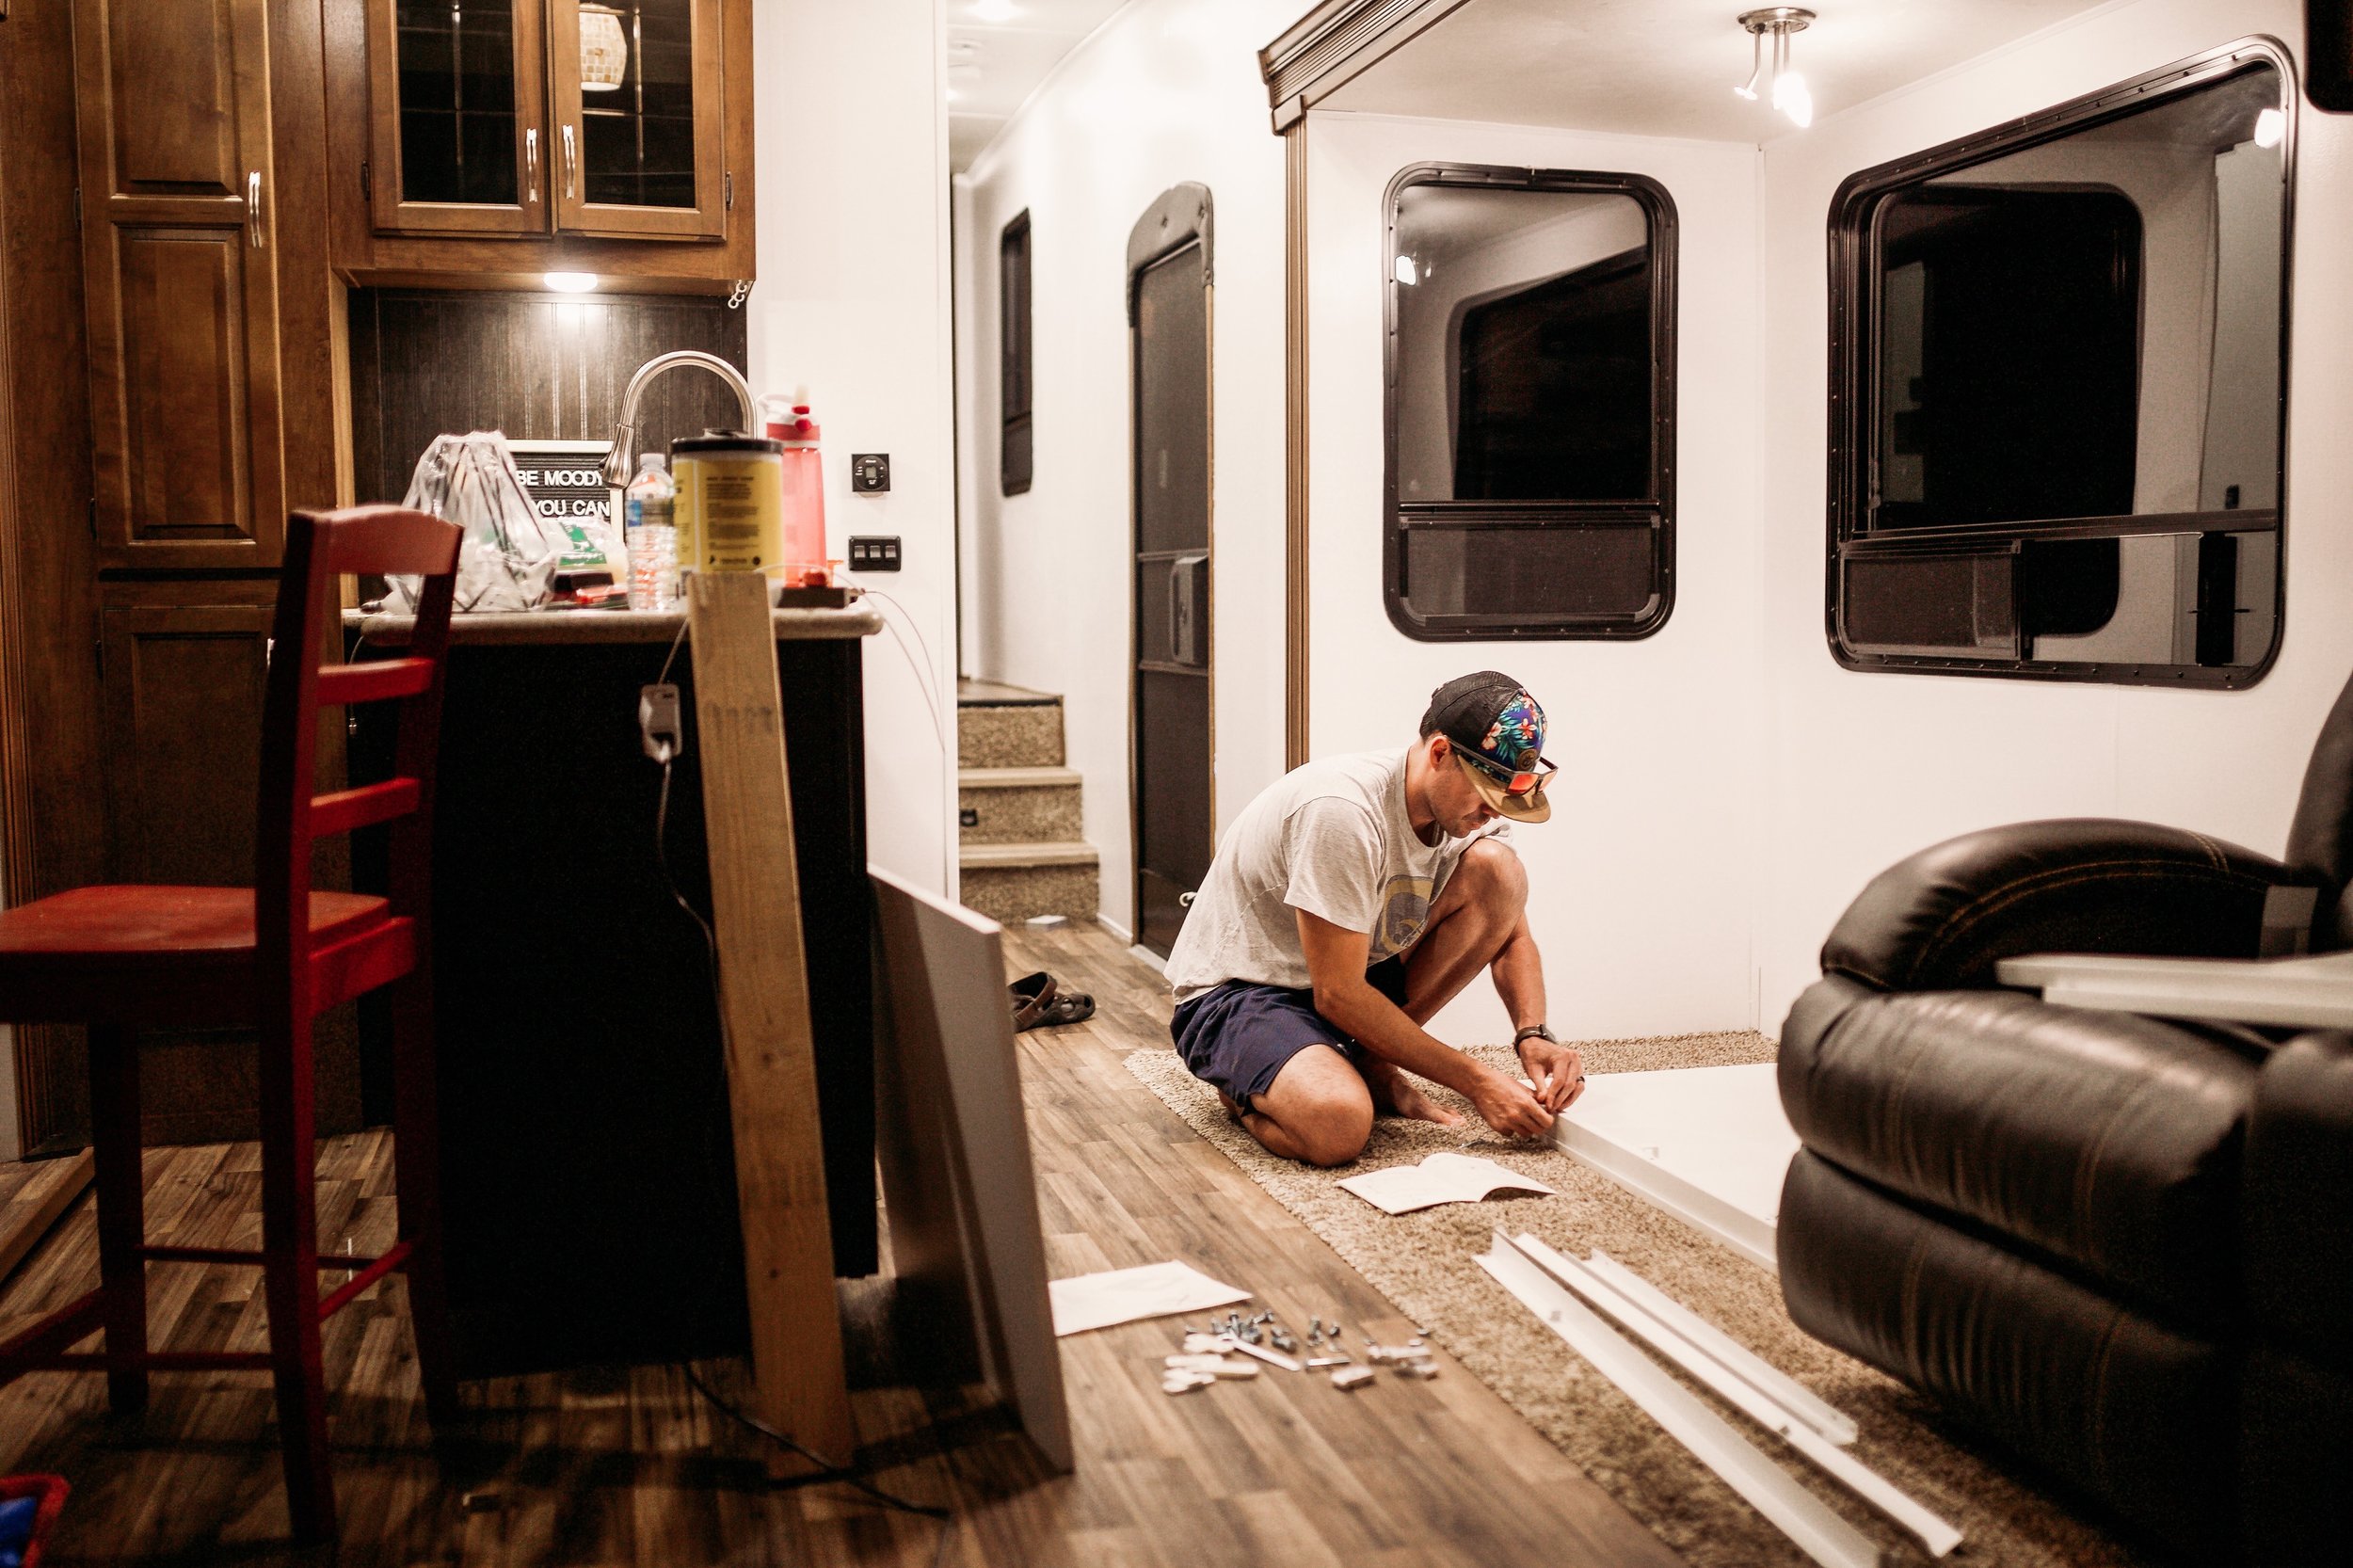
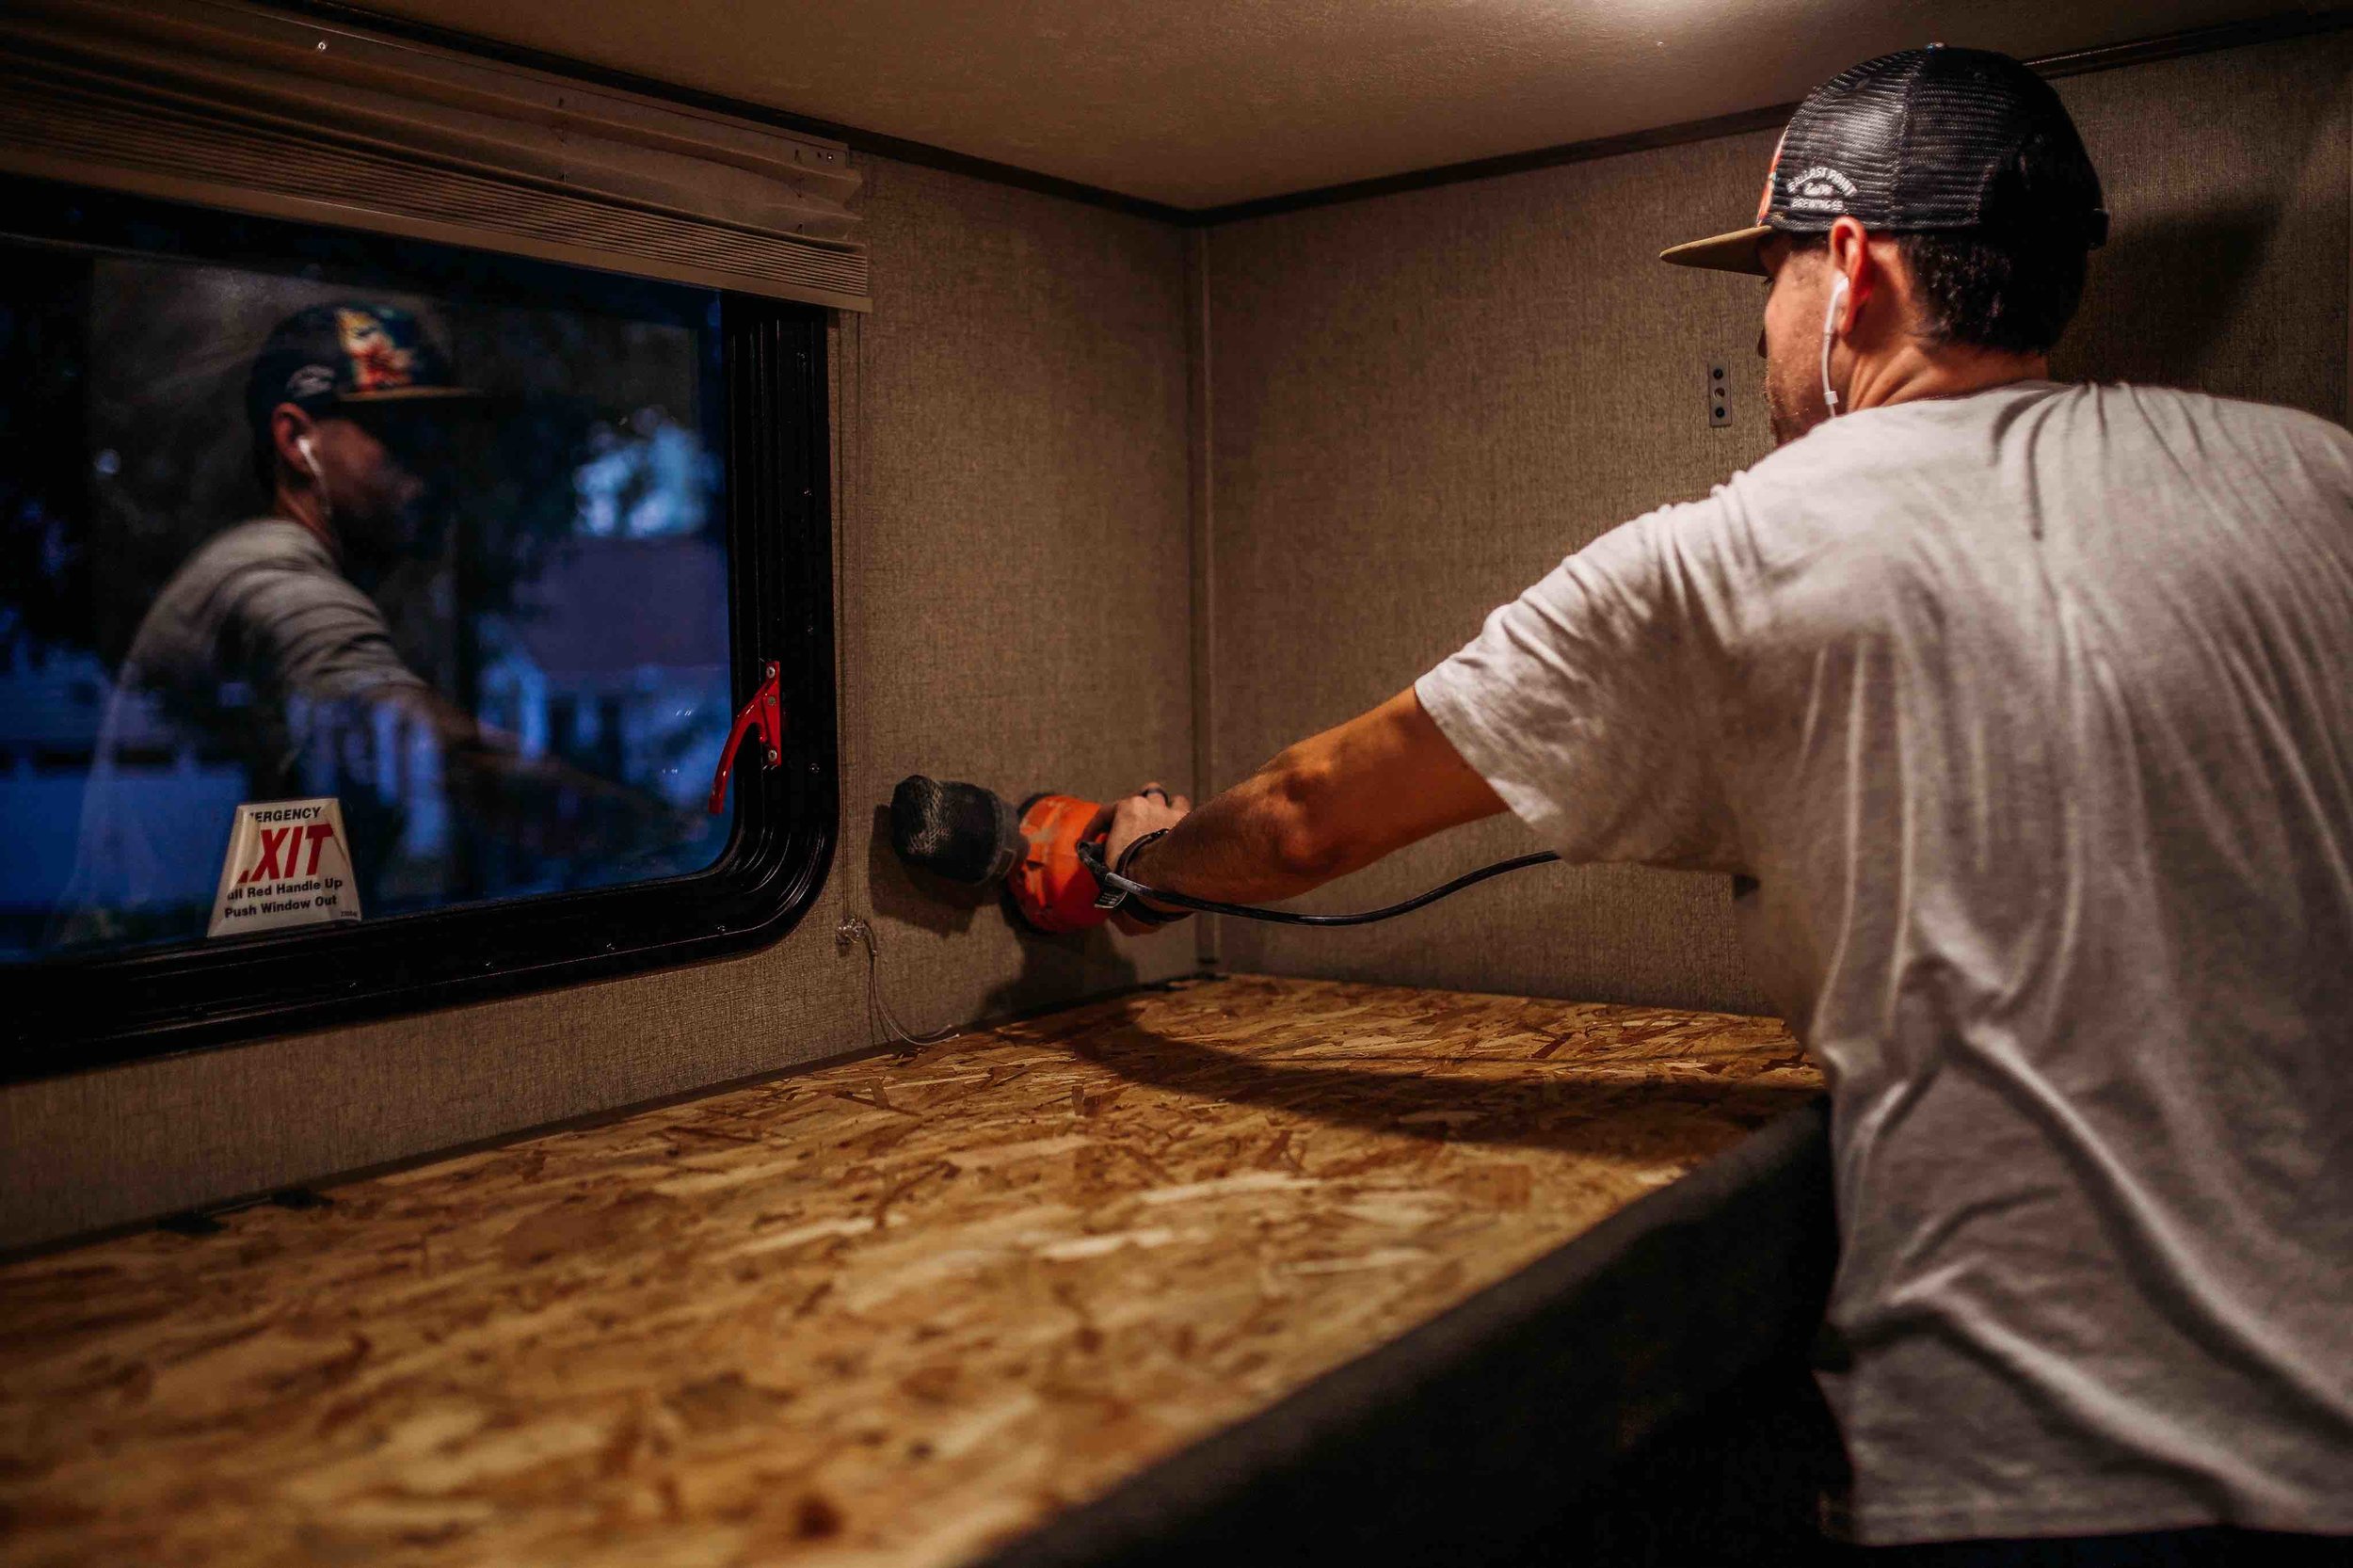
8. Trim
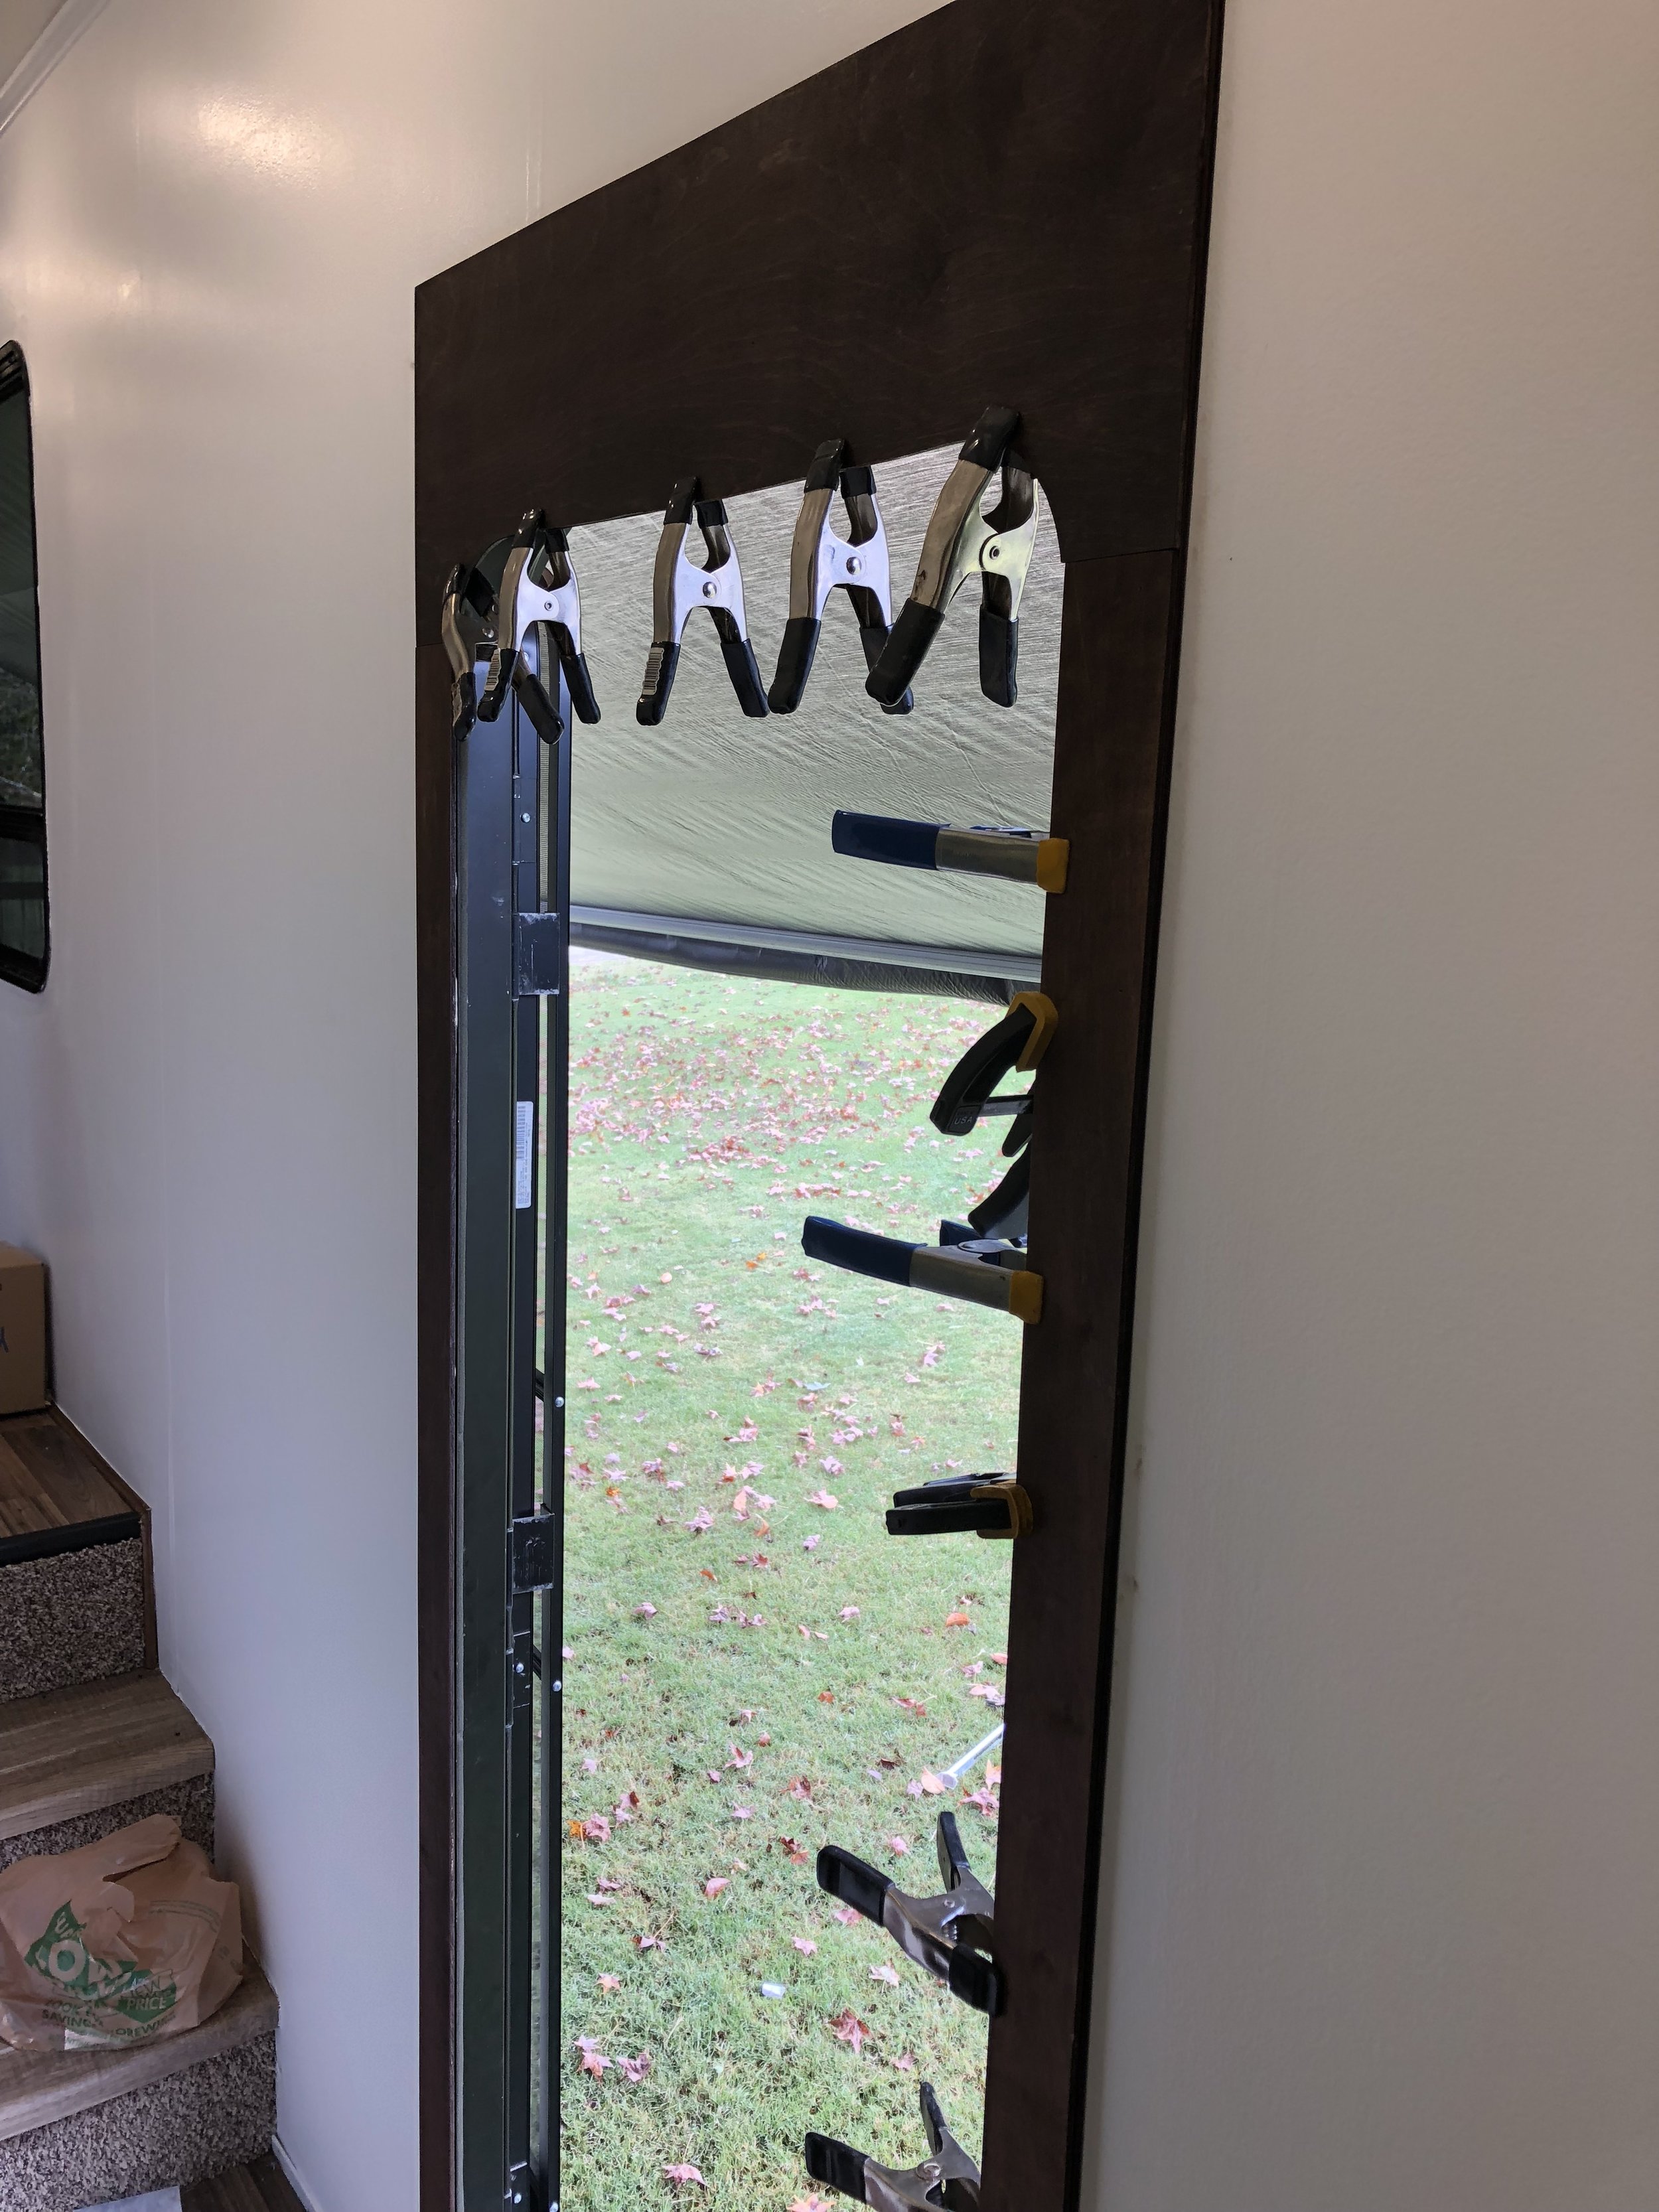
We decided to replace the trim in several places. There is trim around the beds in both bedrooms, around the door and also around the main room slides. If we’d had time, we would’ve loved to replace all of them! They were all bulky and a little ornate for our taste. We like a simpler, more rustic style trim. We easily pulled off the old trim with our hands and a little muscle! We used the same plywood we used for the shiplap, measured, cut it down, and stained it brown. Then we nailed and glued it where the old trim was! The door was a little trickier because it was curved on the top, so we let our neighbor measure and make the curved cut for us!
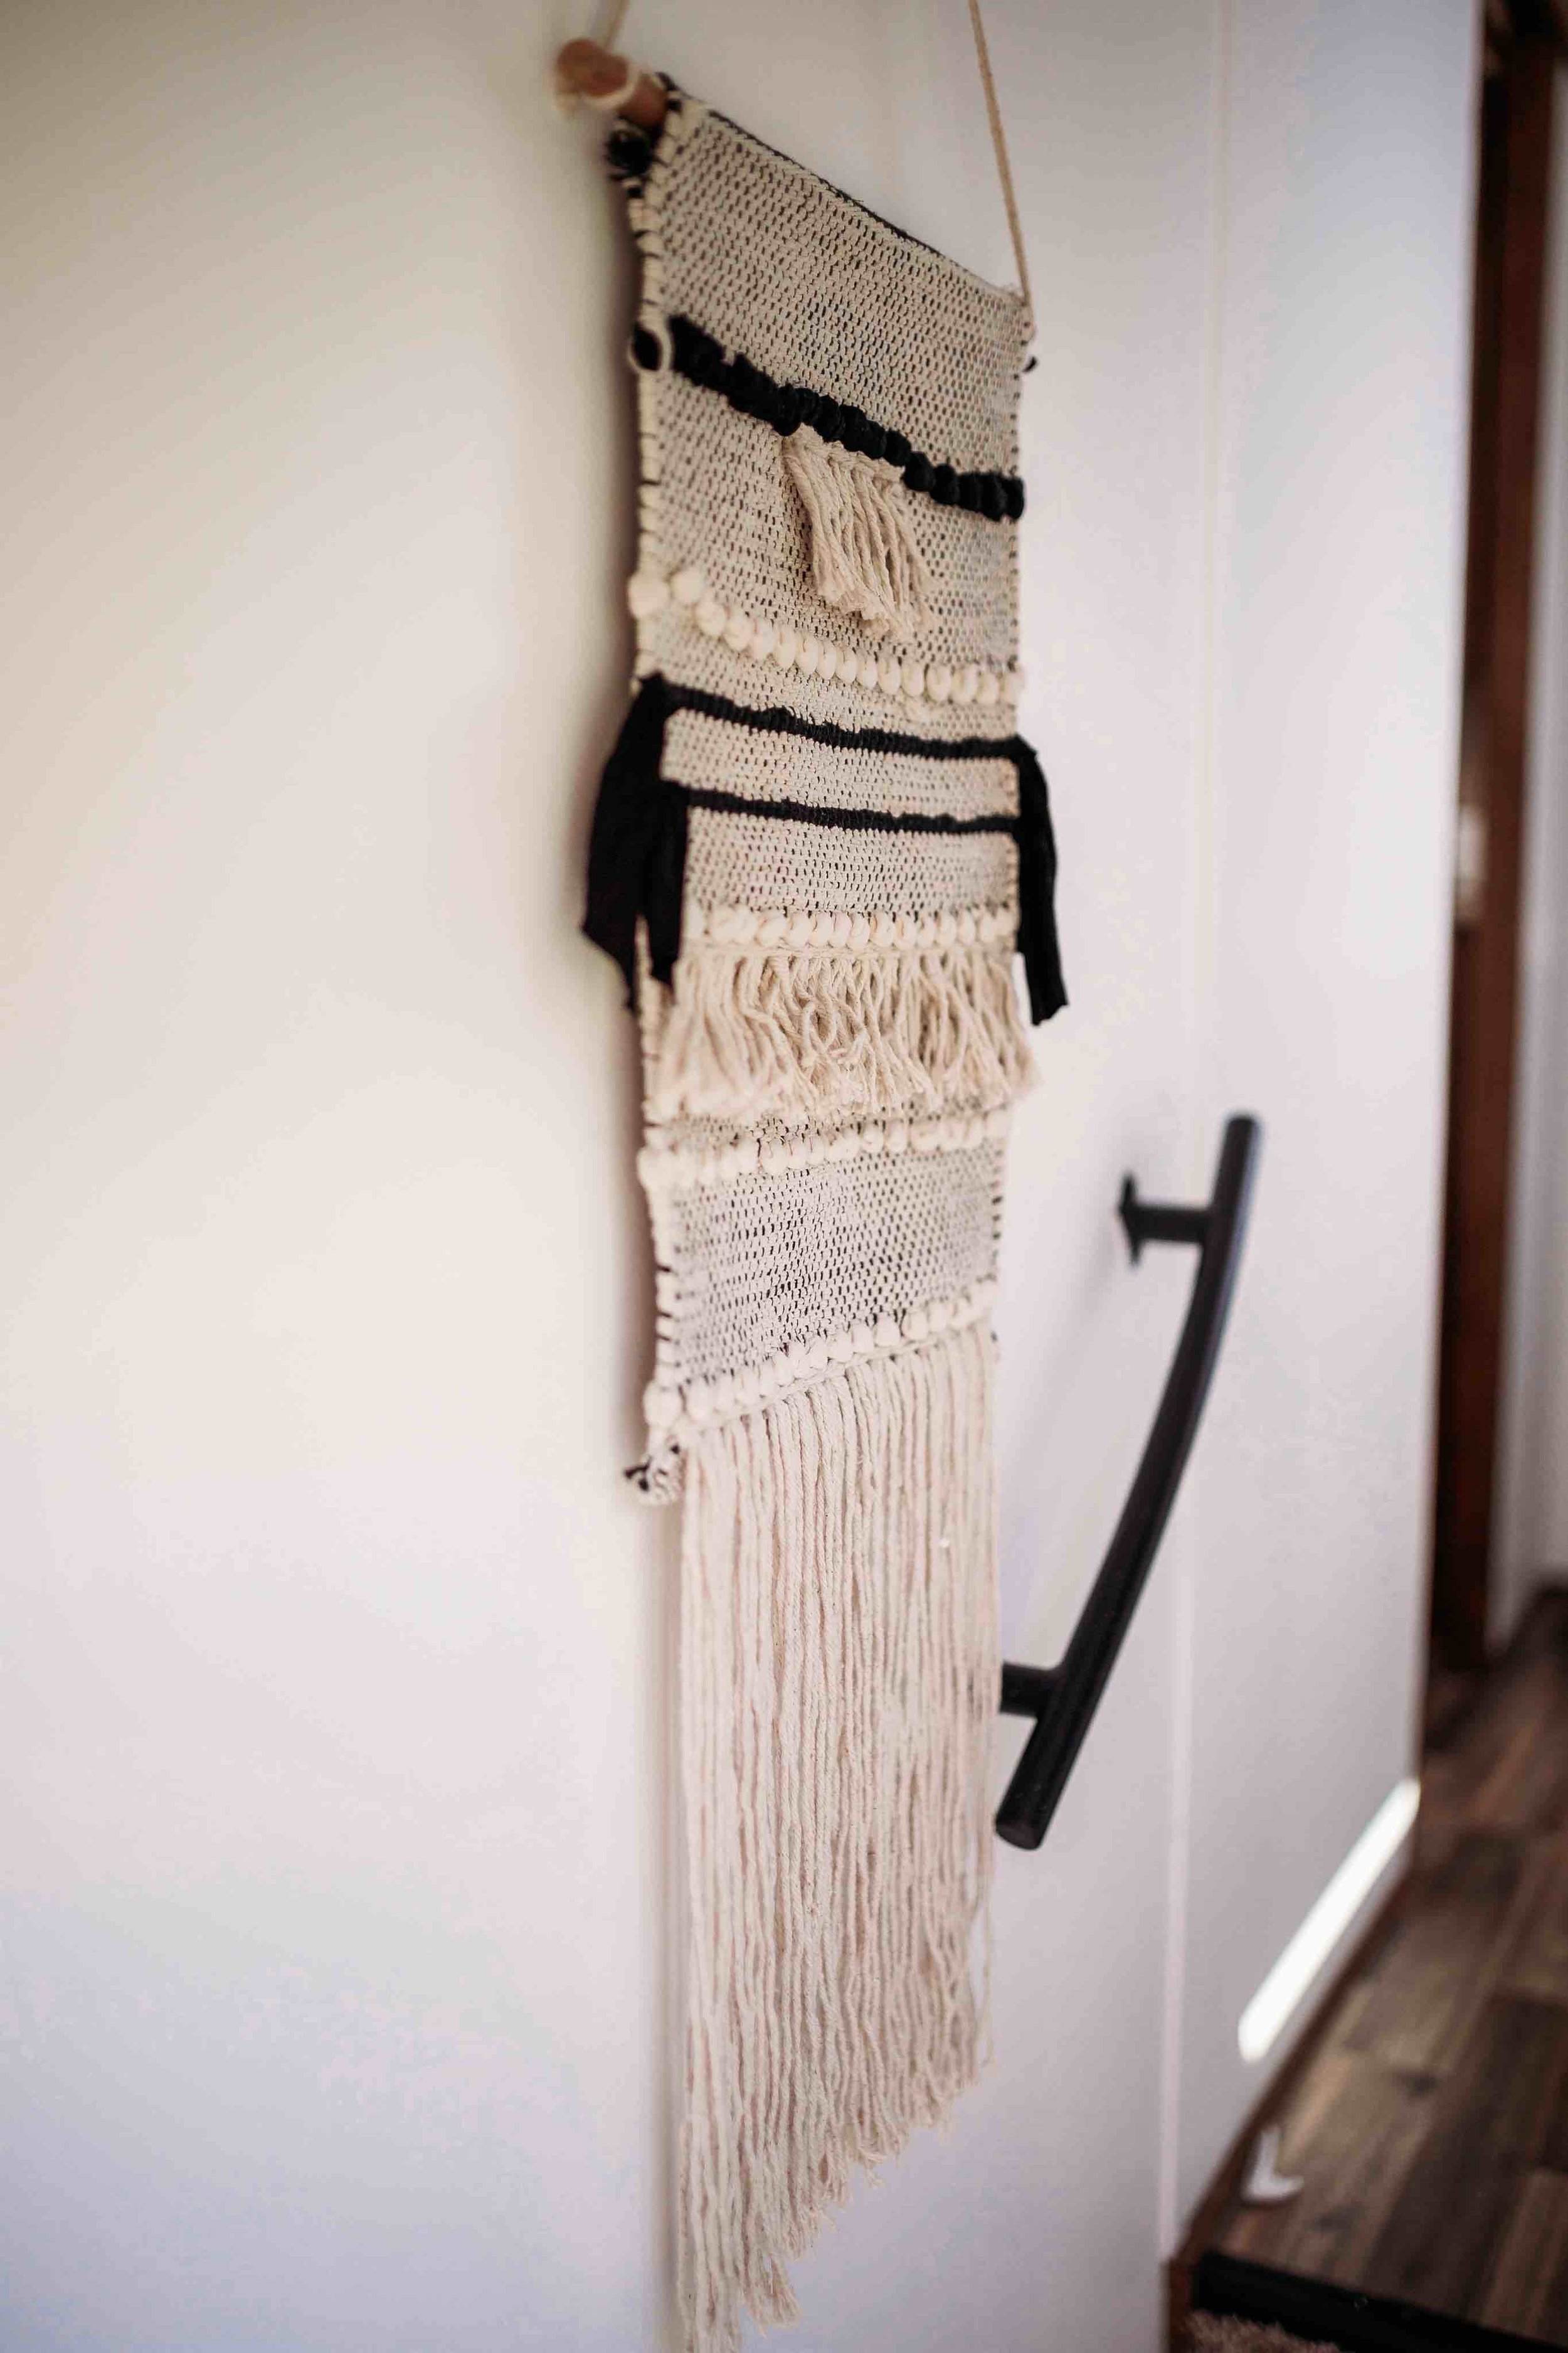
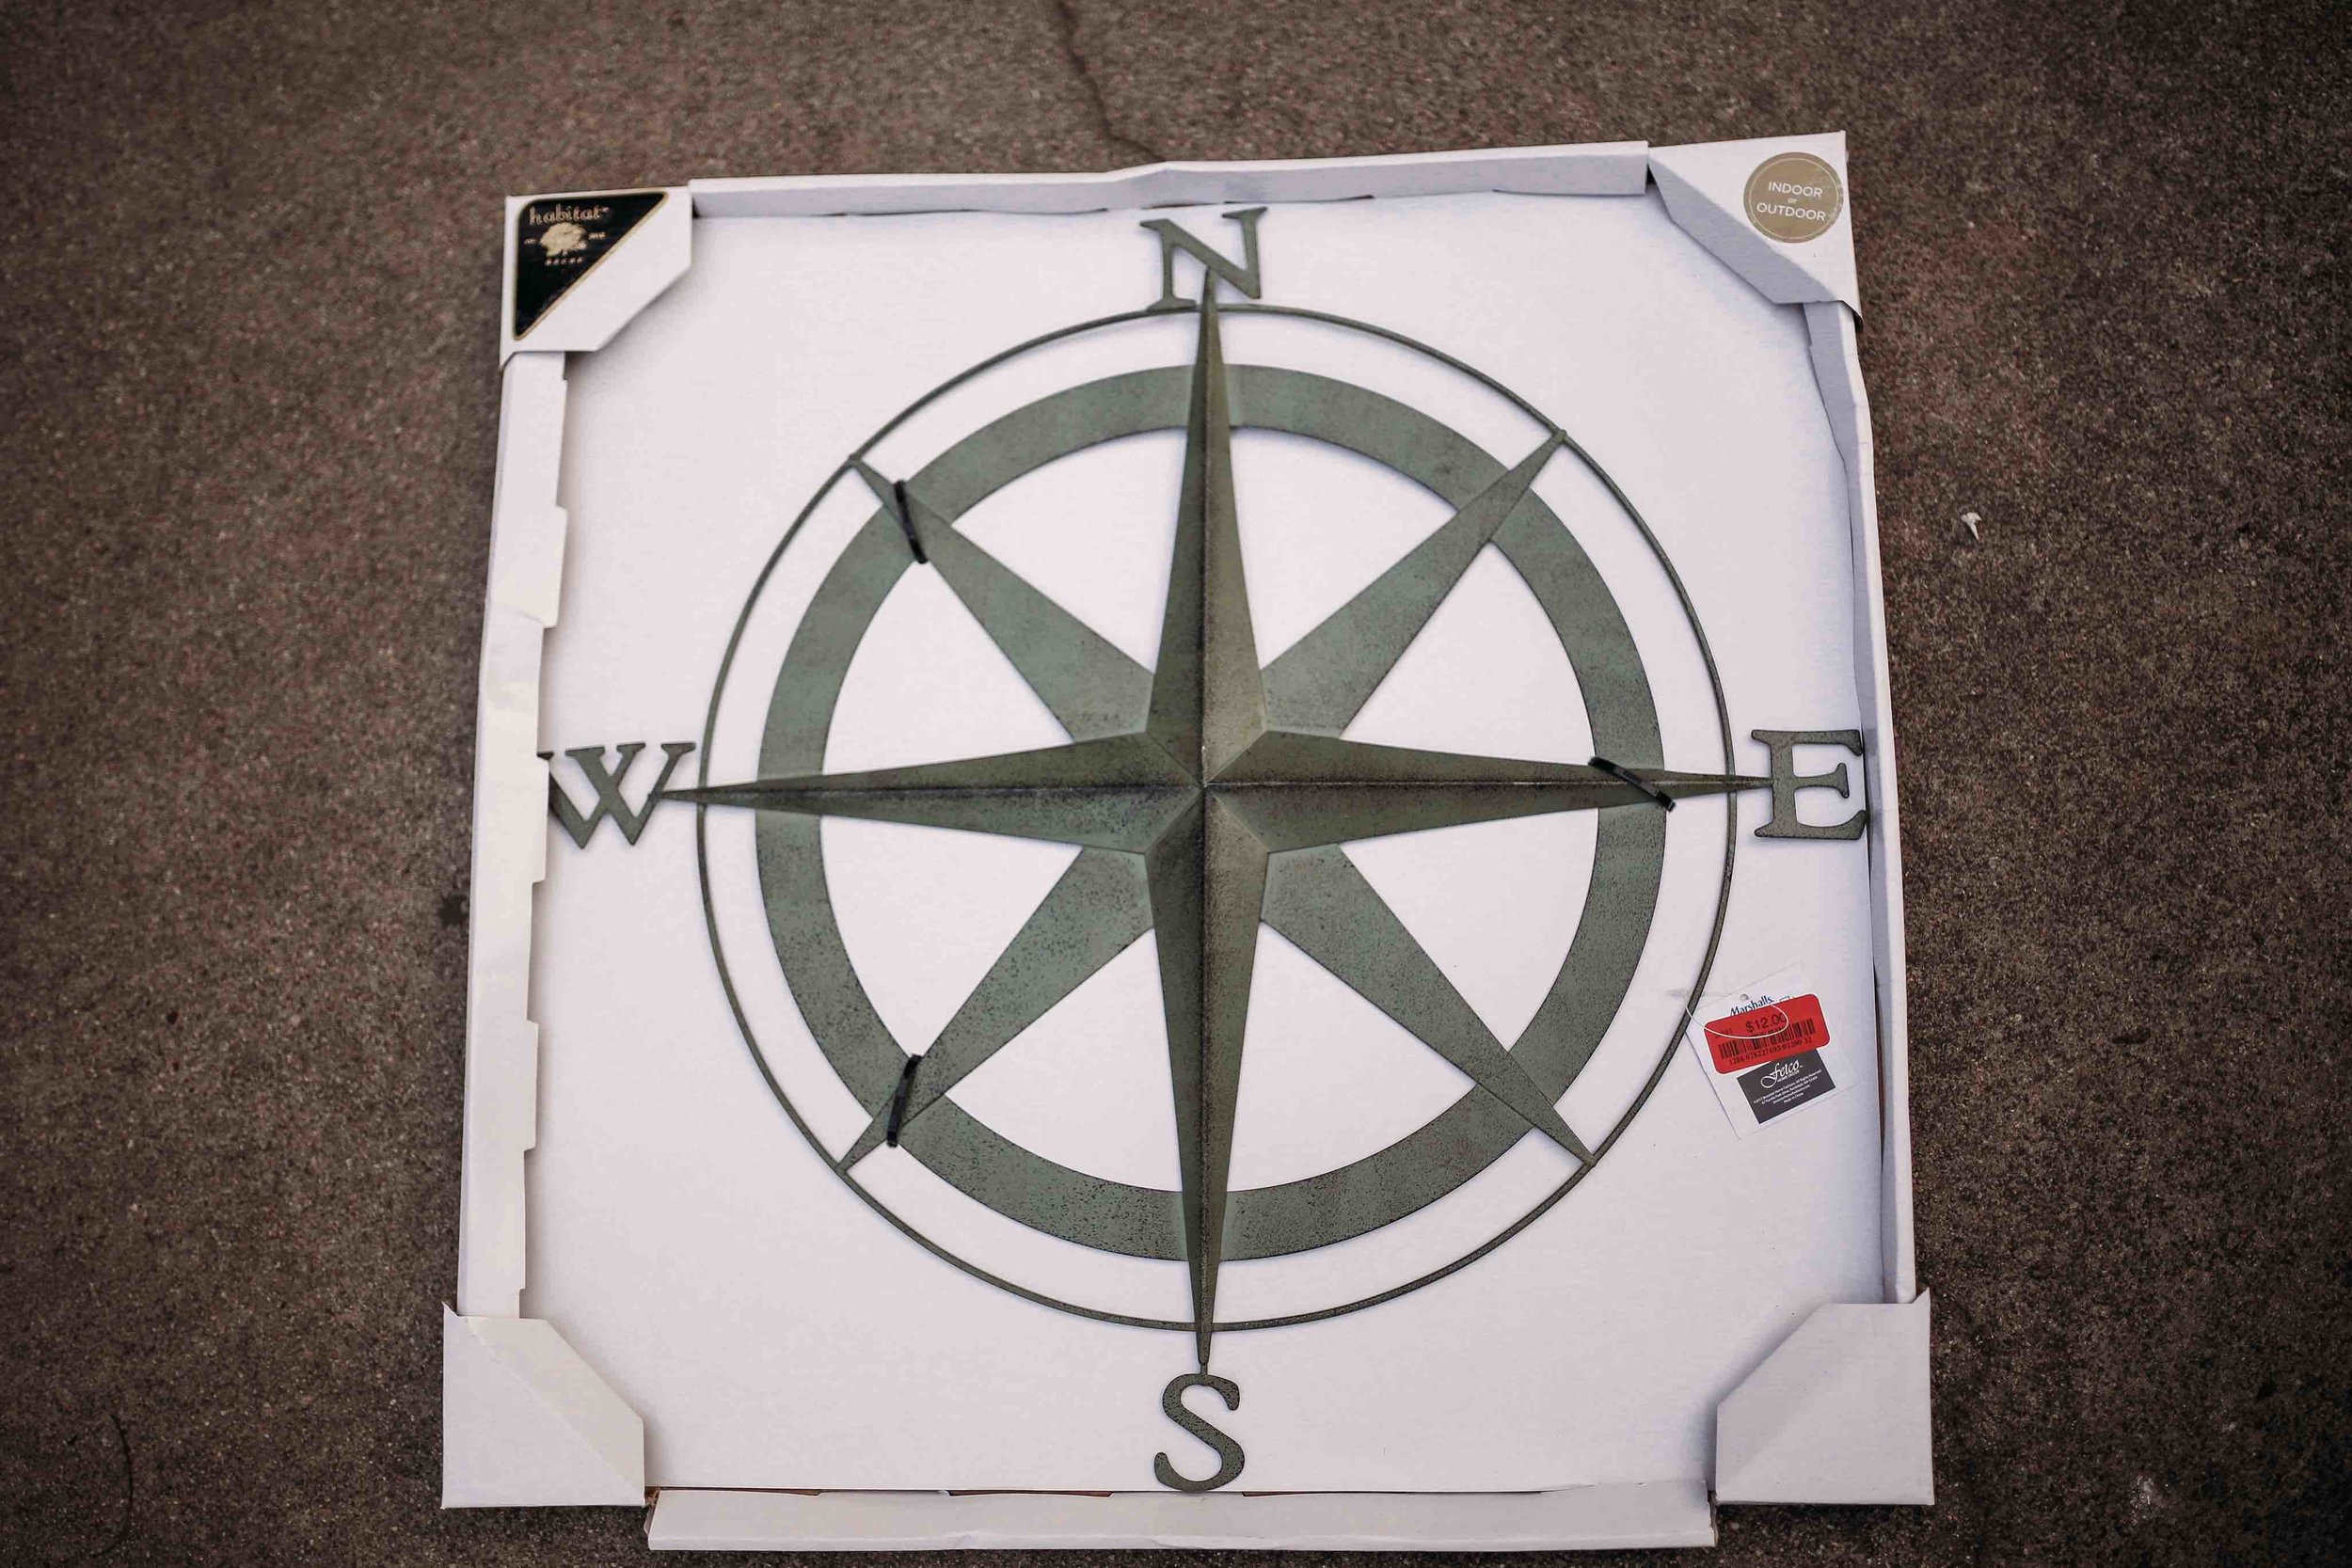
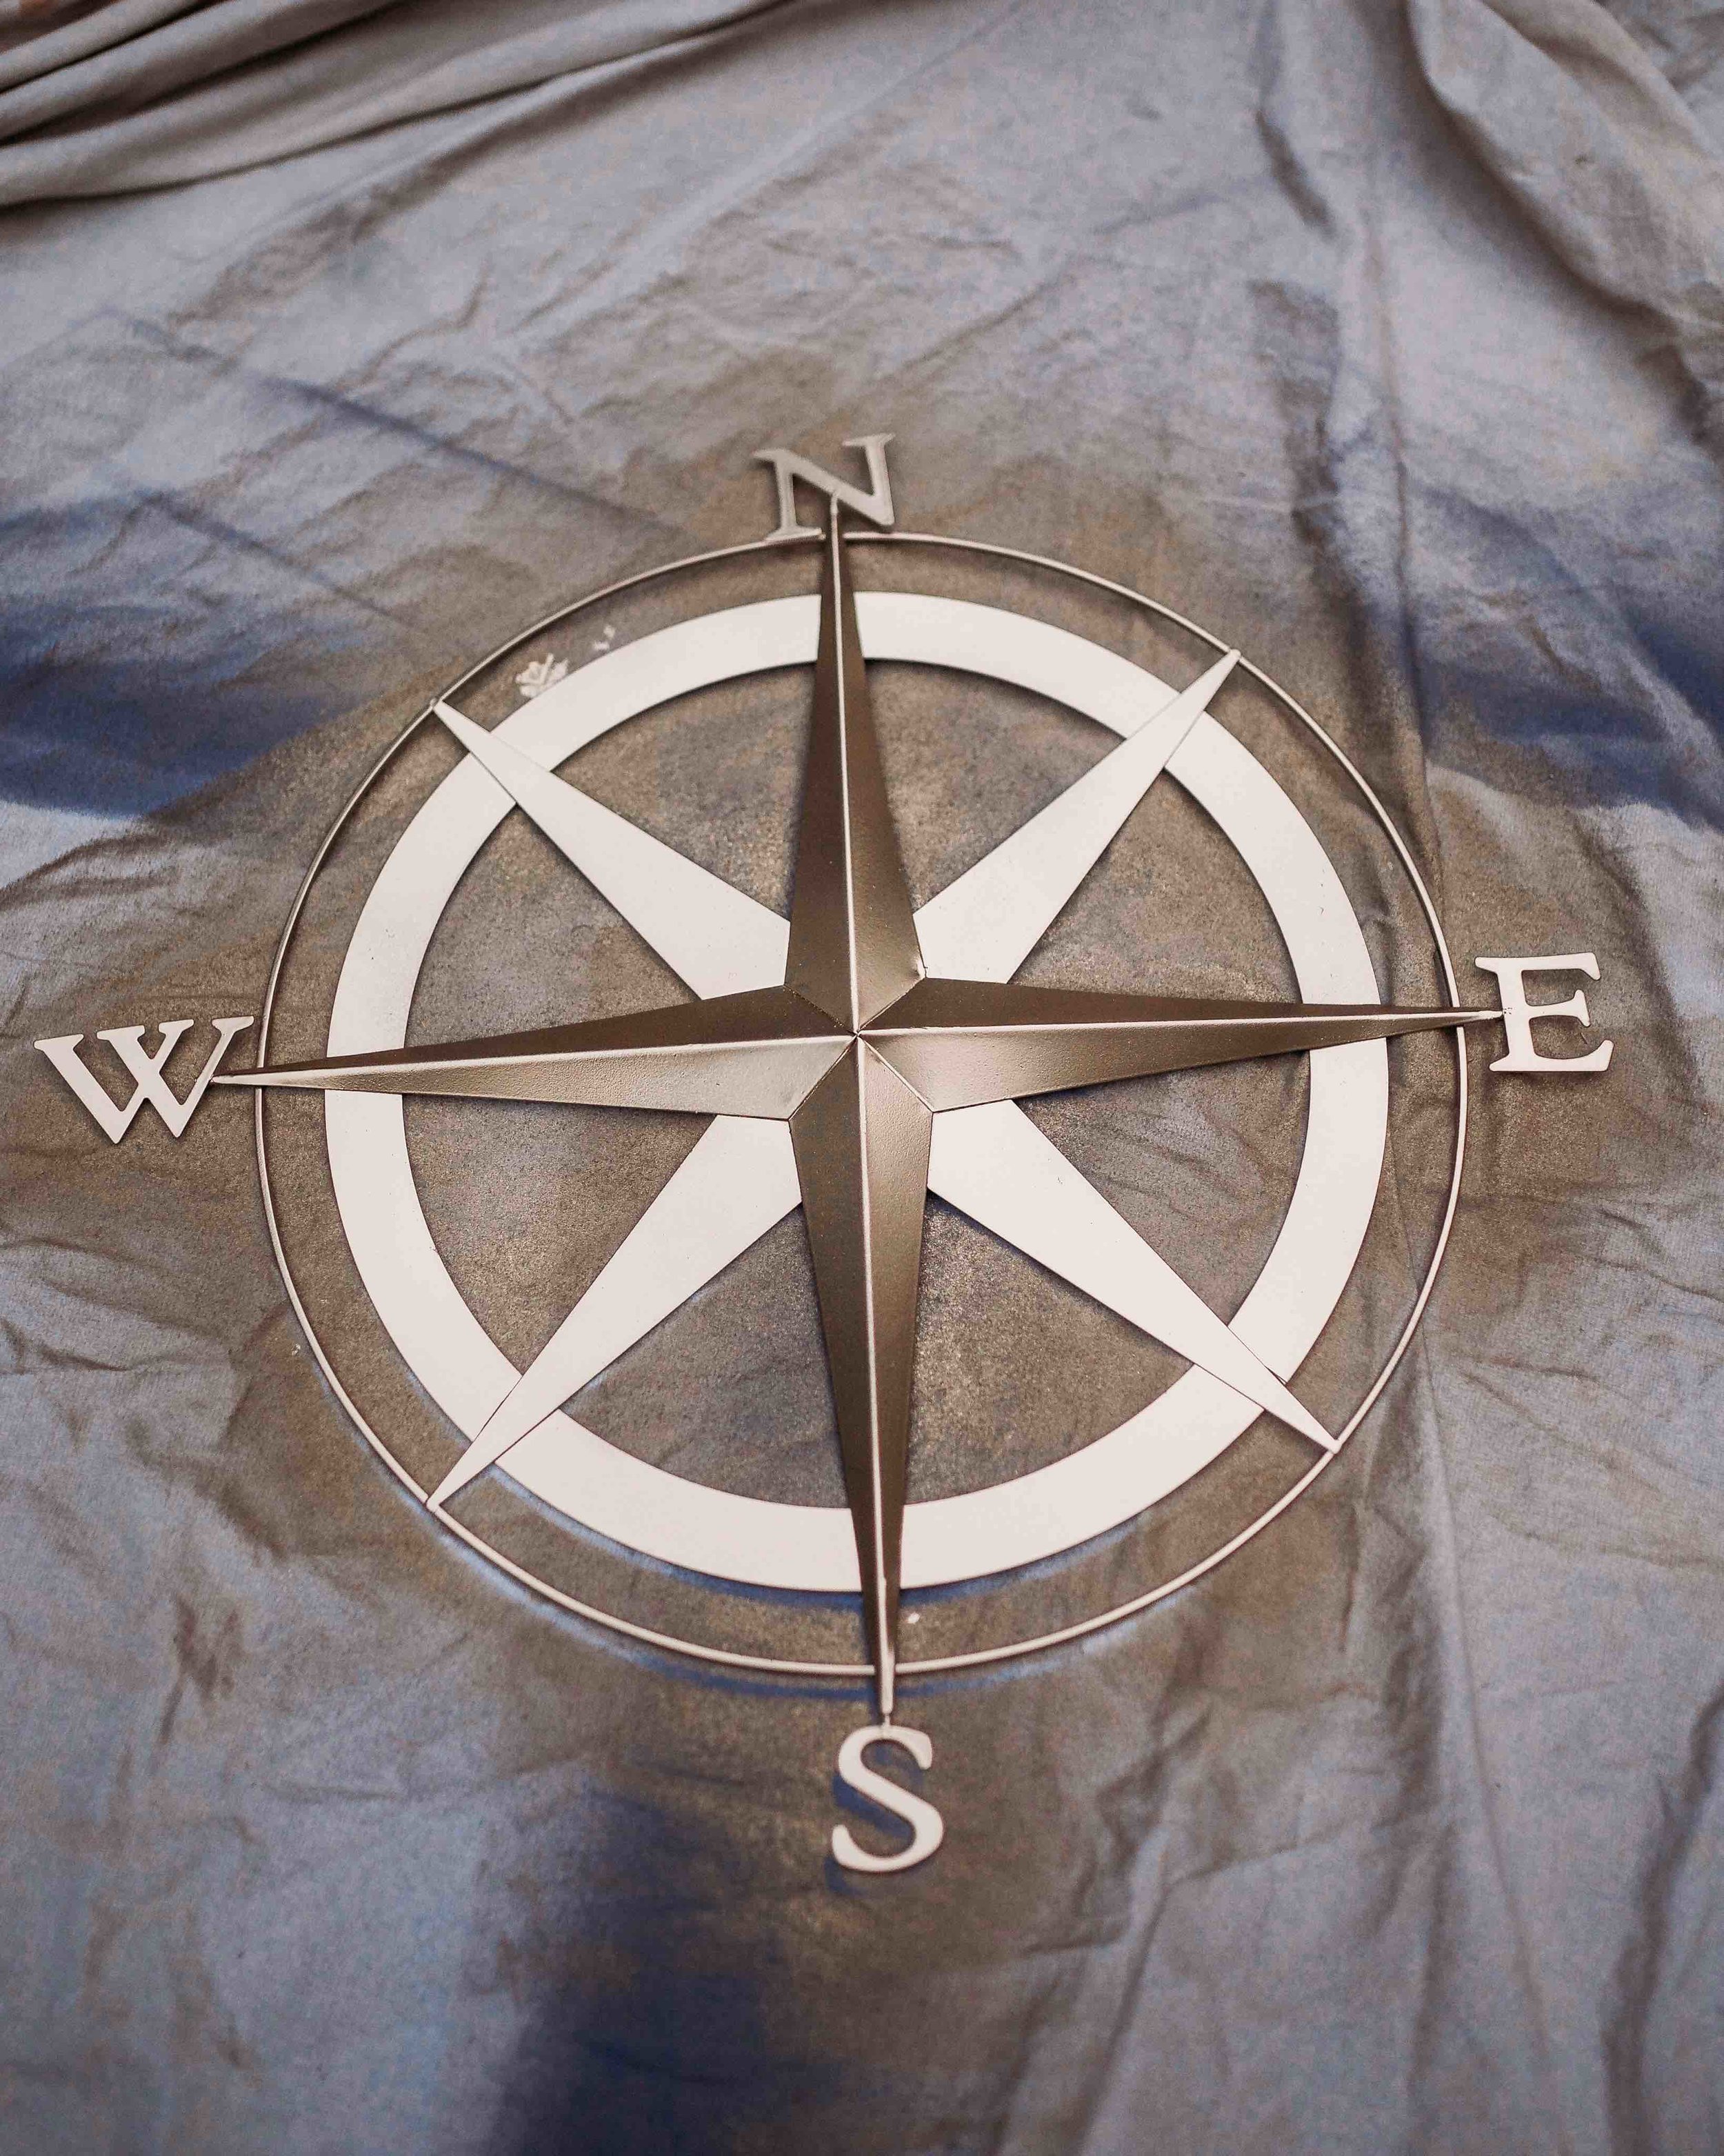
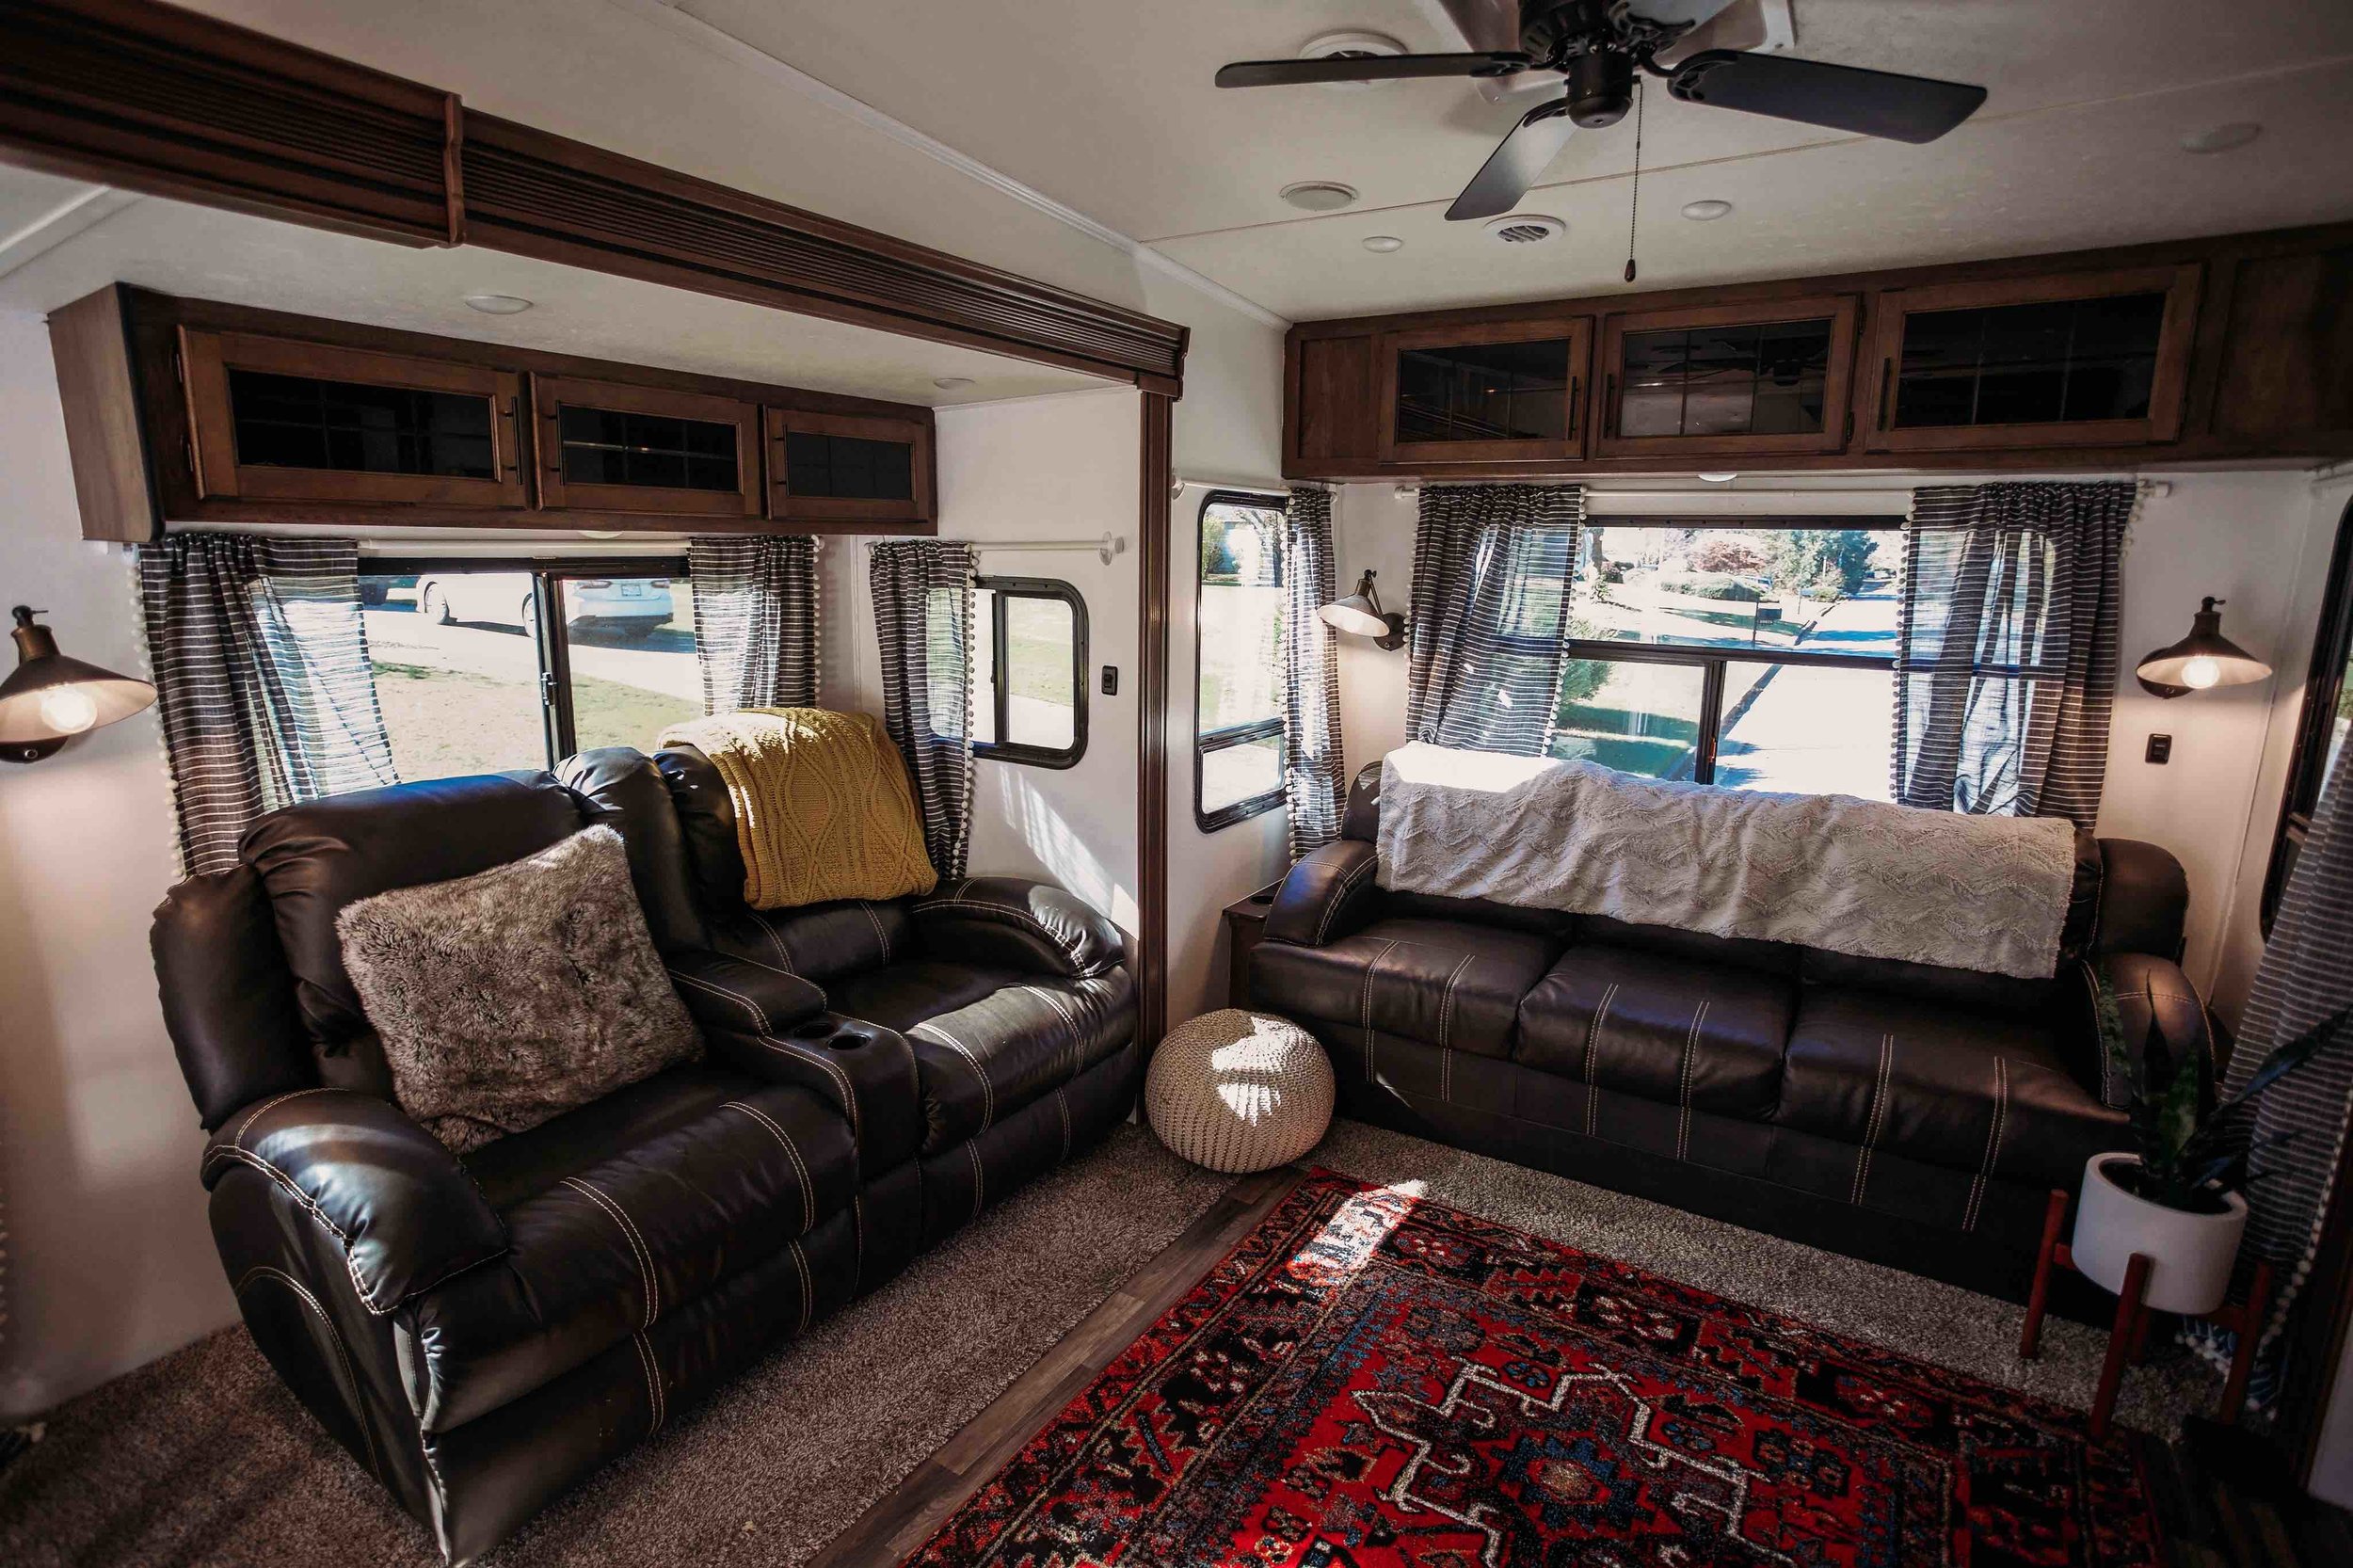
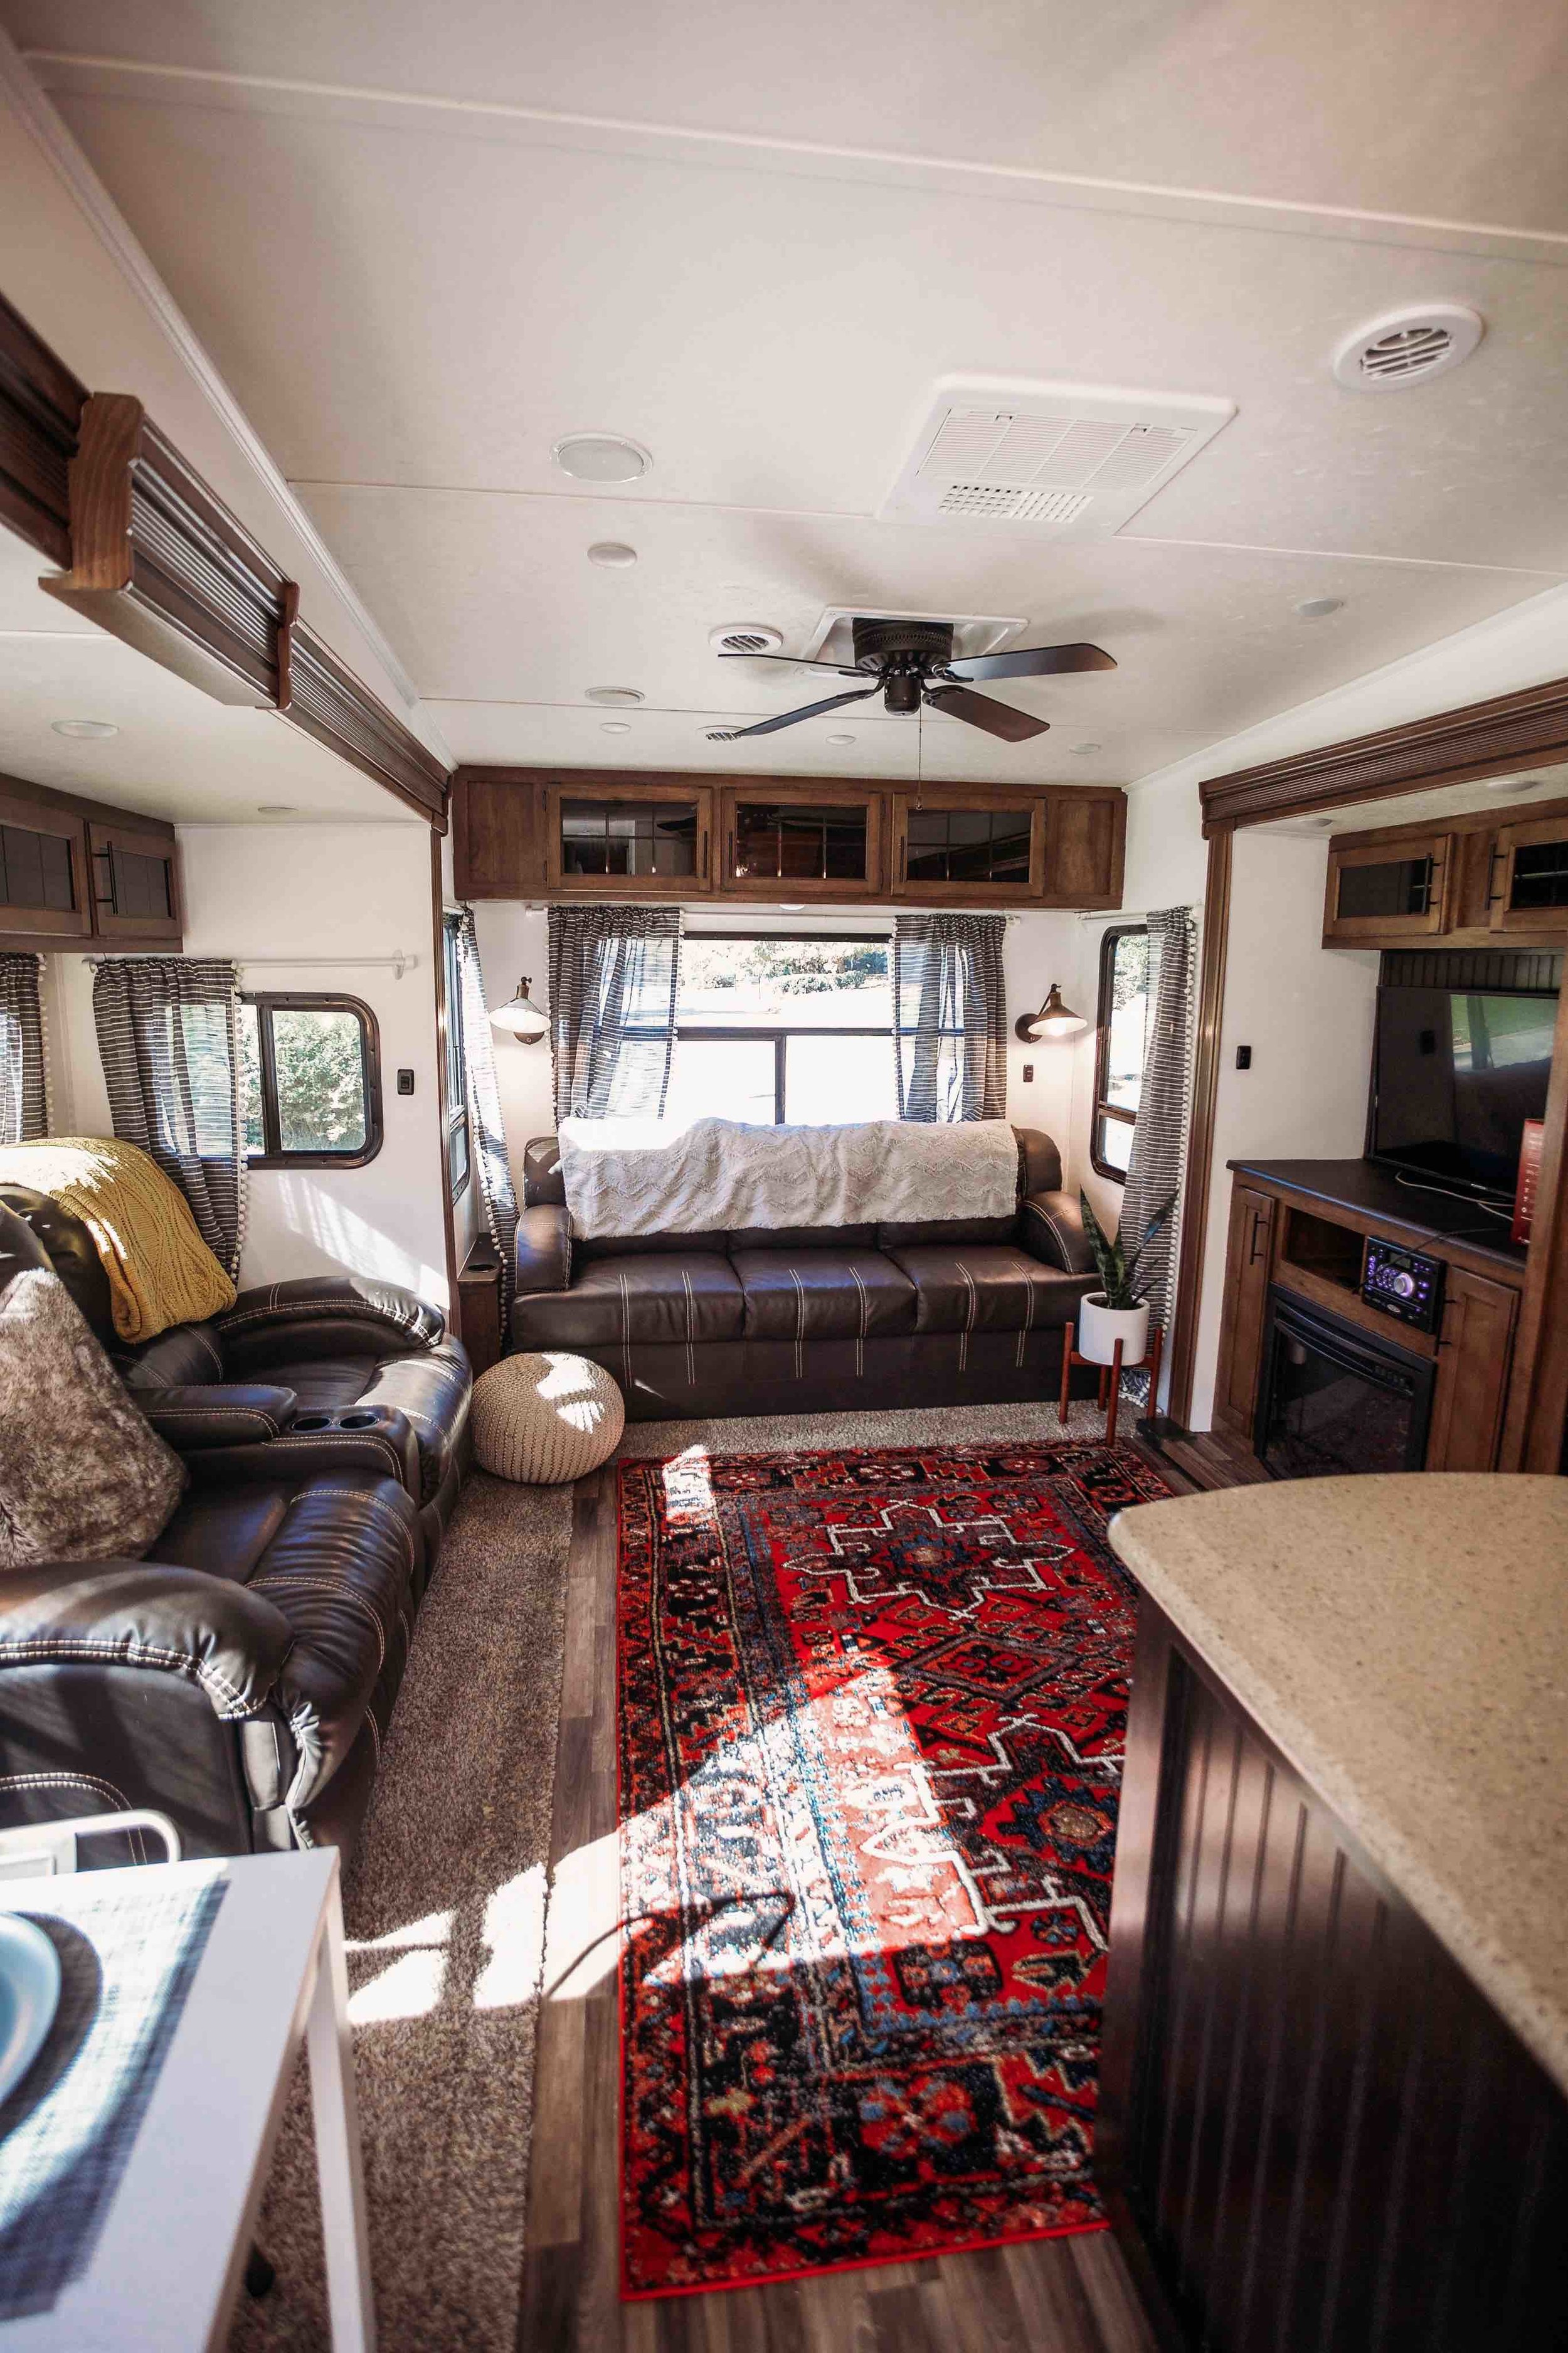
9. Decor
Decor can make a big impact. I loved our living room floor area and knew I wanted a rug that would be a focal point of interest. I found a rug I loved with great reviews on Amazon! I also bought 2 soft throws from Homegoods to make the room cozy and soft. Shopping my favorite discount stores like TJMaxx, Ross, Marshalls and Home Goods was a lot of fun as I picked out several inexpensive items for decor!
1 year update: we decided to replace our RV sofas! We found some new pieces that worked better for us on Amazon and we took a side table that a family member didn’t want anymore and painted it black to finish off the room! the two recliners we added can be found HERE and our rug is HERE.
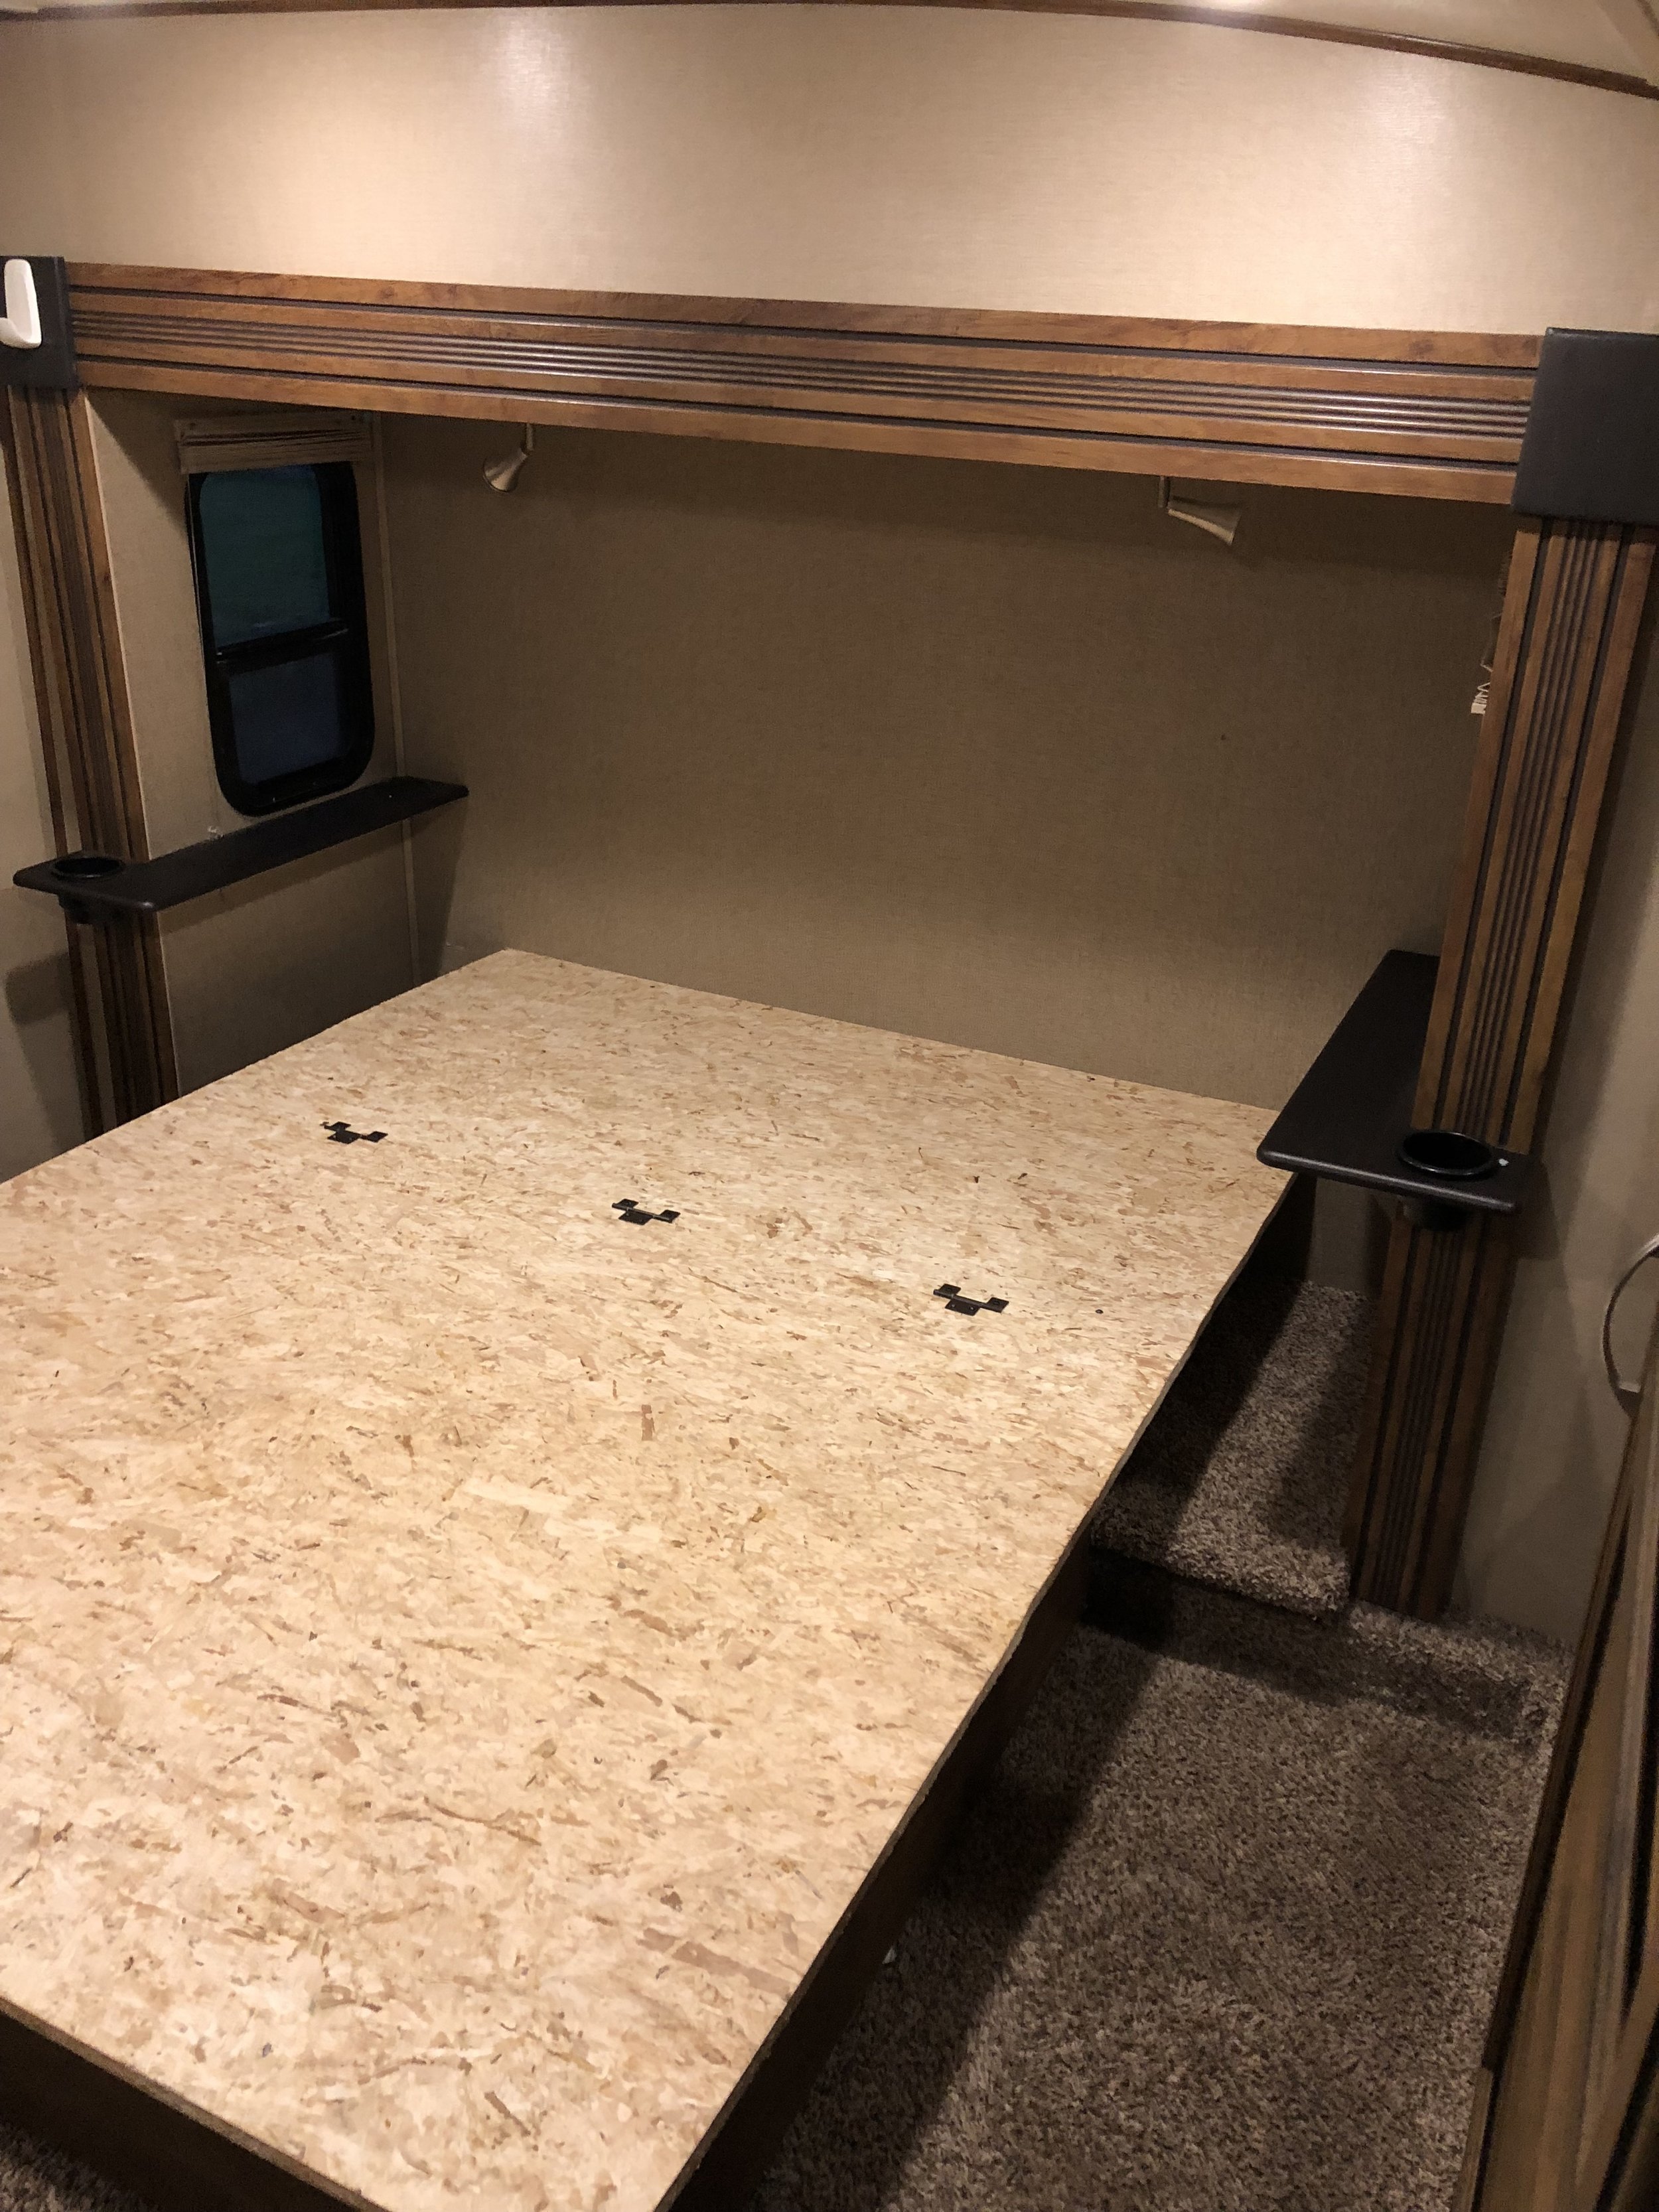
10. Miscellaneous Upgrades For your Needs
Even small changes like replacing all your cabinet hardware can make a huge difference in the overall look of your RV. We also added a flip-up work desk in the bedroom to create an office space for when we need some quiet work time away from the rest of the family.
To shop our stuff, click HERE for links of items you see in our RV!
After some time traveling in our RV, I realized I needed to make some more changes in the kitchen for it to be more functional. I wrote an article about those things that you can read HERE.
I hope you enjoyed reading about our RV renovation! If you have any questions about anything, feel free to reach out and comment below!